


2.2.2 Step 3: Define the Time Zone and Set the Time Clock
Figure 9. Settings > General > Device Time
Use the Settings > General screen to define the time zone and daylight saving option. The time zone and DST options are
saved into the configuration file. If you connect the DXM700 to a computer, click Sync PC Time with Device to set the time
on the DXM700 to match the time of the computer.
2.2.2 Step 4: Save the Configuration File
To save your configuration file, go to File > Save As. Enter a file name and save the file. The file name cannot contain
spaces or special characters.
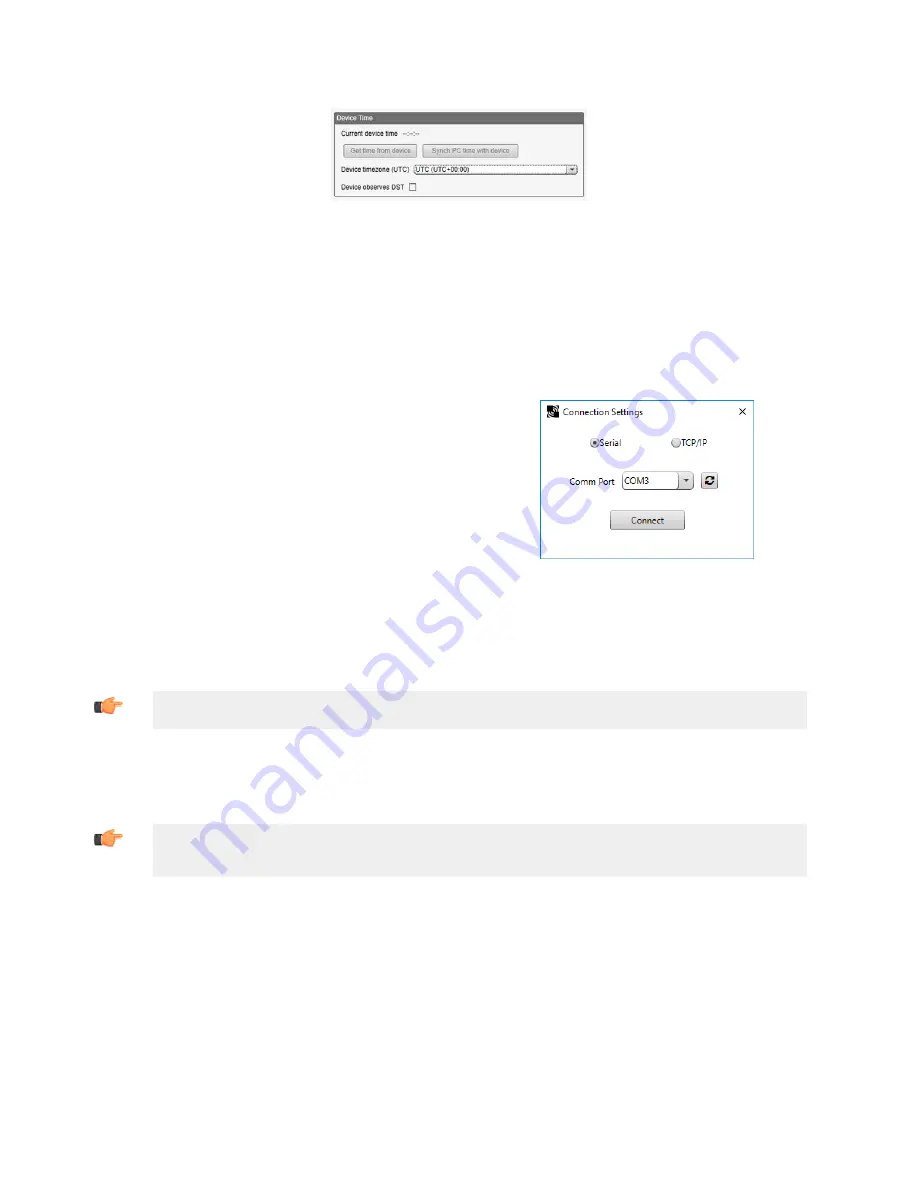
2.2.2 Step 5: Connect the
DXM700
1. Connect the DXM700 to the computer using the USB port.
2. From the Device menu, select Connection Settings.
3. From the dialog box, select the appropriate com port for the DXM
communications.
4. Click Connect to connect to the DXM700.
Figure 10. Connection settings pop-up window
2.2.2 Step 6: Send the Configuration File to the
DXM700
1. From the Device menu, select Send XML Configuration to Device.
2. Select the configuration file to load. The program will have pre-selected the file name you have previously saved.
Important: The program only loads a file to the DXM700. The internal parameter settings are not sent to
the device, only the saved configuration file is sent tp the DXM700.
After the file is selected, the configuration program begins uploading the file to the DXM700. The DXM configuration
program reboots the controller after the program finishes uploading the configuration file. The new configuration is only read
at startup and always requires a reboot or power cycle to take effect.
It will take a few seconds to the DXM700 to reboot.
Important: If the power cycles to the DXM700 while the DXM Configuration Tool is connected, close the
USB port from the software and unplug the USB cable. Reconnect the Controller by plugging the USB
cable into the Controller, then select Device > Connection Settings.
The DXM700 is now running the new configuration. On the DXM700's LCD screen, select the Registers menu by clicking
the Enter button with the -> Registers menu highlighted. The local registers defined in the configuration tool display.
Sure Cross
®
DXM700-Bx Wireless Controller
www.bannerengineering.com - Tel: + 1 888 373 6767
15


