1. Click on
Add One Time Event
.
A new one-time event is created.
2. Click on the arrow to expand the parameters into view.
The user-defined parameters are displayed.
3. Name your one-time event by clicking on the name link and entering a name.
4. Enter the local register.
5. Enter the starting time, date, and starting value for the local register.
6. Enter the ending time, date, and ending value for the local register.
8.1.3 Create a Holiday Event
Use the
Scheduler
>
Holidays
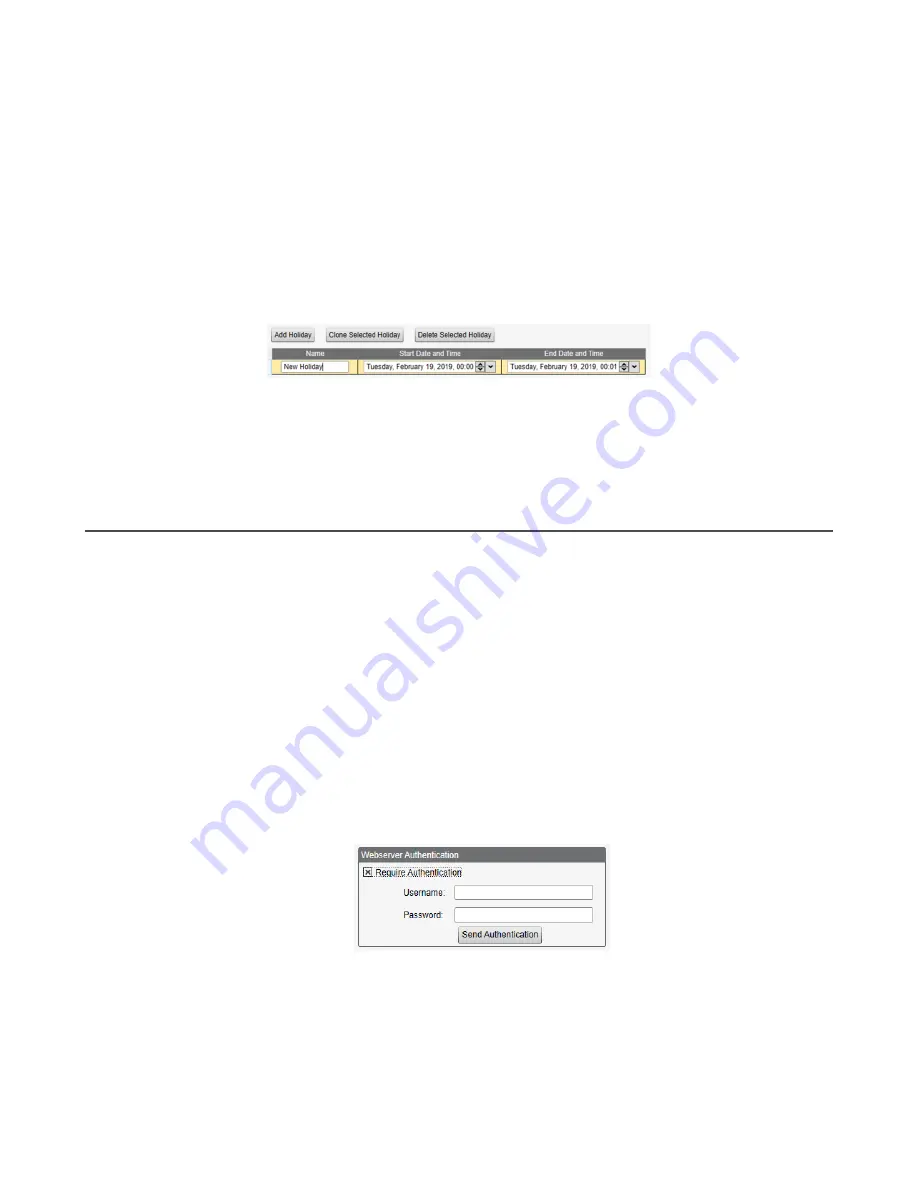
screen to create date and/or time ranges that interrupt weekly events.
Figure 34. Scheduler > Holidays screen
1. Click on
Add Holiday
.
A new rule is created.
2. Enter a name your new holiday rule.
3. Select the start date and time for the new holiday.
4. Select the stop date and time for the new holiday.
8.2 Authentication Setup
The DXM700 has three different areas that can be configured to require a login and password authentication.
•
Webserver/ Cloud Services Authentication
•
Mail Server Authentication
•
DXM Configuration Authentication
The webserver and mail server authentication depends upon the service provider.
8.2.1 Set the Controller to use Authentication
The DXM700 can be configured to send login and password credentials for every HTTP packet sent to the webserver. This
provides another layer of security for the webserver data.
Configuration requires both the webserver and the DXM700 to be given the same credentials for the login and password. The
webserver authentication username and password are not stored in the XML configuration file and must be stored in the
DXM700.
1. From within the DXM Configuration Software, go to the
Settings
>
Cloud Services
screen.
2. In the upper right, select
Show advanced settings
.
3. Define the username and password in the
Web Server Authentication
section of the screen.
Figure 35. Web Server Authentication screen
The first time you select
Require Authentication
, a pop-up box appears with additional instructions. Since the data
is not stored in the XML configuration file, it is hidden from view of the DXM Configuration Software.
4. Click on
Send Authentication
.
The controller must be connected to the PC for this operation to succeed.
The data transmits directly to the DXM700's non-volatile memory. If successful, a pop-up window appears, asking to
reboot the device.
5. Select
Yes
to reboot the device.
Sure Cross
®
DXM700-Bx Wireless Controller
48
www.bannerengineering.com - Tel: + 1 888 373 6767


