6
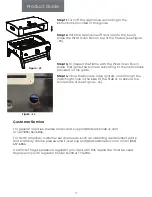
STEP 8.
Fit the remaining REAR STONE (G) into the
notches of the 2 SIDE STONES (F).
STEP 9.
Place the BACK PANEL (B) back onto the
HOUSING (A) and secure with 4 SELF TAPPING SCREWS
(J) and 4 FLAT WASHERS (H).
NOTICE: Do not over tighten
screws, cracking of the enamel finish may occur.
G
F
STEP 7.
The other large stone is the BASE STONE (E). Fit
this in between and on top of the 2 SIDE STONES (F).
J
H
B
E
E
F
A
F
STEP 6.
Identify the 2 SIDE STONES (F). Fit the 2 SIDE
STONES into the notches of the TOP STONE (D).
NOTE:
The flat end of the SIDE STONES (F) should face the
front of the oven.
D
F
A
Product Guide


