background image


8/15/2019 

20


a.


If the 

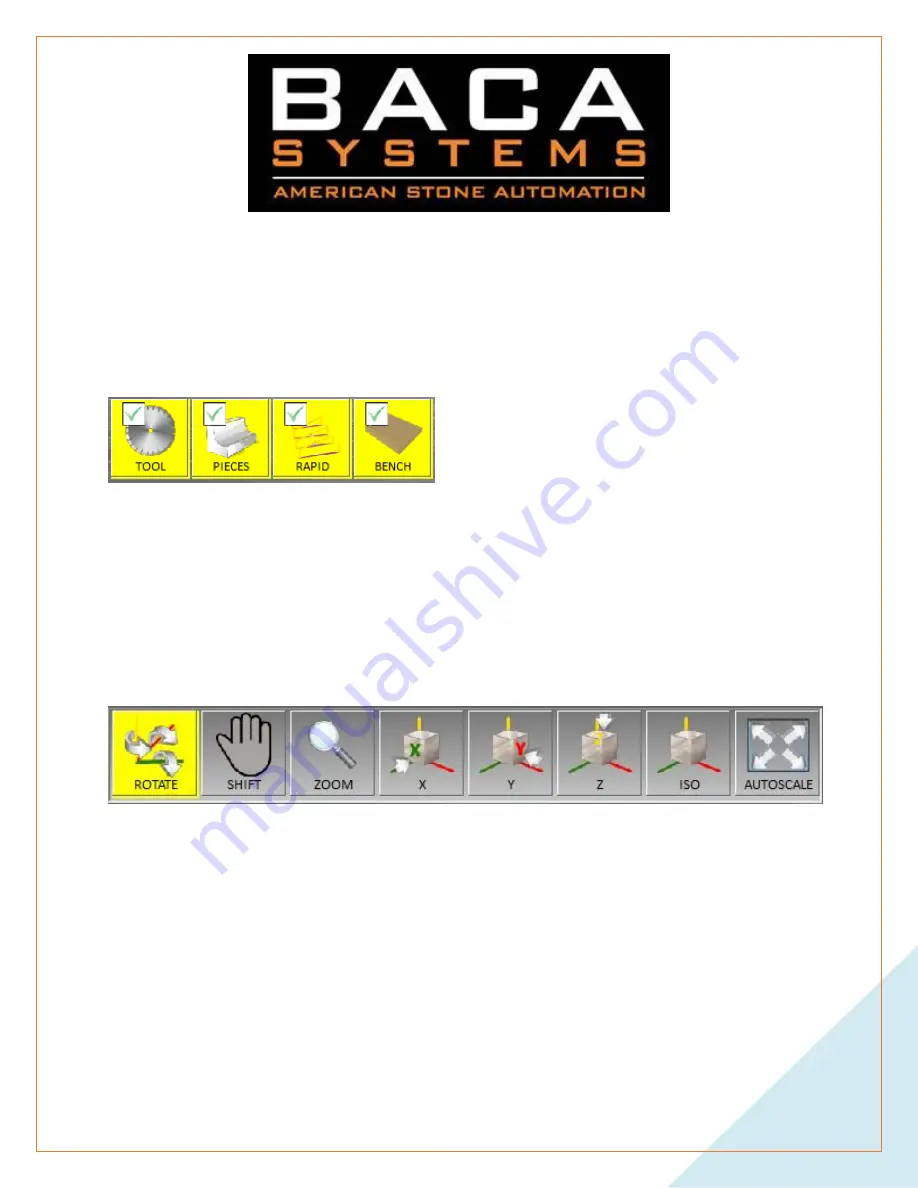
TOOL

 button is highlighted, the tool will be visible in the simulation.  

b.


If the 

PIECES

 button is highlighted, the pieces will be visible in the simulation. 

c.


If the 

RAPID

 button is highlighted, the machines rapid movements will be visible 

in the simulation. 

d.


If the 

BENCH 

button is highlighted, the worksurface will be visible in the 

simulation. 


6.


You may interact with the simulation environment in multiple ways: 

a.


The 

ROTATE

 button allows you to rotate the simulation around the tool. 

b.


The 

SHIFT

 button allows you to move the image of the simulation. 

c.


The 

ZOOM

 button allows you to zoom in and out of the simulation. You may also 

do this by using the scroll wheel on the computer mouse. 

d.


The 

X

Y

Z

, and 

ISO

 buttons change the perspective of the simulation. 

e.


The 

AUTOSCALE

 button will adjust the image so that everything fits on the 

screen. 


Содержание EDGE XL

Страница 1: ...ne Black and red lever on the right side on machine 5 Once computer starts wait until the blue Emergency Reset button on the operator station begins to flash this may take a few minutes If the light does not start to flash turn off the machine WAIT at least 2 minutes then turn the machine on again a Press and hold the blue button down for 1 second then release b Make sure the key switch is set to ...

Страница 2: ... to see that it is connected to the controller a In the top right corner of TouchDrive it should flash READY b If it says IN ERROR open Remote Desktop and read the alarm warning or message Refer to the troubleshooting section at the end of this document for a possible remedy ...

Страница 3: ...looks this this 3 From each submenu you may use the shortcut navigation button MENU in the lower right corner Or use the BACK button to navigate from the main menu 4 You may also undo or redo any action with the UNDO and REDO button in the lower right corner ...

Страница 4: ...8 15 2019 4 SLAB EDGE 1 This button is NOT used for this machine ...

Страница 5: ...rawing from the library d ADD Create squares 3 Click and drag screens that look this the image below to the left to reveal more items Scroll is left to right instead of up to down 4 After the pieces have been imported click each piece to manipulate them individually Click multiple pieces to manipulate groups of parts or manipulate all pieces by clicking SELECT ALL Click the background to deselect ...

Страница 6: ...eces c LEFT Aligns the left side of selected pieces d RIGHT Aligns the right side of selected pieces e HORIZONTAL Aligns the horizontal center of selected pieces f OVER Aligns the top side of selected pieces g VERTICAL Aligns the vertical center of selected pieces h UNDER Aligns the bottom side of selected pieces i SELECT ALL Select all pieces in the workspace 6 The PARAMETERS button is used to ch...

Страница 7: ...of the pieces 8 The FLOOD button makes the pieces appear as a solid color or transparent If the button is yellow it means the flood is on and the pieces will display as a solid color 9 If no pieces are selected the DELETE ALL button will be available You will have the option to delete all the pieces in the workspace using this button If at least one piece is selected the DELETE button will be avai...

Страница 8: ...table to the lower left corner of the piece c Use the arrows in the lower left corner of the screen 3 options are available At least one piece must be selected to use this feature Toggle between the options by clicking in the middle of the arrow cluster i Click the arrow in the direction you wish to snap the selected piece to an adjacent piece ii Click the arrow in the direction you wish to increm...

Страница 9: ...you wish to incrementally move the selected piece IN RELATION TO the yellow arrow on the selected side shown in blue The distance the piece is moved is defined by the Step distance in the pull down menu located in the upper right corner of the screen ...

Страница 10: ...in 90 degree increments Use the rotation arrows to rotate the pieces in increments defined by the Angular Step value in the pull down menu located in the upper right corner of the screen The counter clockwise arrow in the center is used to rotate the piece back to zero degrees ...

Страница 11: ... click of a profile will select the entire profile highlighted in green A second click on the green arrow will turn the profile blue The green and red thumbtacks represent the lead in and lead out respectfully You may click and drag the thumbtacks apart to tool path partial profiles The SHIFT FORWARD and SHIFT BACKWARDS buttons move the location of the lead in and lead out ...

Страница 12: ...n will apply the tool path to the piece of the tool selected in the PARAMETERS page if a single tool is used A sequence is a set of multiple tools If a sequence is selected in the PARAMERTERS page only the PROFILES button is necessary ...

Страница 13: ...8 15 2019 13 The Activate Pilot hole checkbox is used when you do a sink cutout When the checkbox is checked the machine will drill a hole which will be used for the finger bit to have a start location ...

Страница 14: ...delete all machinings It will appear when no machinings are selected The DELETE button with the red X is used to delete only selected machinings It will appear when at least one machining is selected 6 The CLAMPS button is used to place SUCTION CUPS STOPS and CLAMPS in the workspace The COPY button will create a copy of a selected clamp 7 Click and drag screens that look this the image below to th...

Страница 15: ...mps are selected The DELETE button with the red X is used to delete only selected clamps It will appear when at least one clamp is selected 10 The STOP button with the red arrows is used to automatically move a selected stop in the workspace up to the edge of the nearest piece 11 The FLOOD button makes the pieces appear as a solid color or transparent If the button is yellow it means the flood is ...

Страница 16: ...8 15 2019 16 ...

Страница 17: ...l will be grouped together to minimize tool changing 4 The LIST button will display a window which will show the order that machinings will be done You may manually rearrange machinings in this window The CLF button will create and send the full program to the machine The PARTIAL button is used to create and send to the machine a partial program You may select the machining in the list that you wi...

Страница 18: ...8 15 2019 18 ...

Страница 19: ...k before running the actual program 3 The START START NEXT and END buttons are used to rewind play continue and jump to the end of a simulation 4 The REDUCE and INCREASE buttons are used to change the speed at which the simulation plays 5 The TOOL PIECES RAPID and BENCH buttons control visibility of items in the simulation ...

Страница 20: ...e will be visible in the simulation 6 You may interact with the simulation environment in multiple ways a The ROTATE button allows you to rotate the simulation around the tool b The SHIFT button allows you to move the image of the simulation c The ZOOM button allows you to zoom in and out of the simulation You may also do this by using the scroll wheel on the computer mouse d The X Y Z and ISO but...

Страница 21: ...ameters about the selected tool 3 The MATERIAL button is used to change the type of material and the material thickness 4 The TABLES button is where all tooling data is stored within TouchDrive The Tools and Sequences buttons are the only options which will be used after initial setup of the machine ...

Страница 22: ...8 15 2019 22 5 The Tools window is shown below This window is where all tools are defined within TouchDrive a Use the Delete button to remove tools from the list ...

Страница 23: ...ton to search for a tool f Click the Duplicate button to create a copy of the current tool g Use the Archives Types Tool button to create an archive of the selected tool h Click the Abort button to close the Tools window 6 The Sequences window is shown below This window is where all sequences are defined within TouchDrive Sequences are sets of multiple tools so the tools must be setup in the tools...

Страница 24: ...elds Click the l c Click the Duplicate button to create a copy of the current tool d Save the tool with the Confirm button e Click the Print button to create a record of the tool data f Use the Detail button to define stock removal and other parameters for the selected tool g Click the Abort button to close the Sequences window ...

Страница 25: ...8 15 2019 25 7 The LANGUAGE buttons are used to change the language of the software The CONFIGURATION button and the PROIETTORE buttons are only used by software administrators ...

Страница 26: ...m the workspace 2 The FILE button will list all the saved projects to open 3 The SAVE button allows you to save a copy of the workspace 4 The CUTS button will remove all machinings from the workspace 5 The PIECES button will remove all pieces from the workspace 6 The ALL and QUANTITA buttons will remove everything from the workspace ...

Страница 27: ...rol the machine after programming is complete 2 The VACUUM button will turn on and off the vacuum pump 3 The FLOAT button will toggle the top side of the vacuum manifolds between vacuum and air pressure 4 The LASER OFF button will turn off the laser projector ...

Страница 28: ... reflectors are clean b The laser button in the middle will display the vacuum pods on the table c The laser button on the right will display the pieces on the table 6 The speed of the machine can be controlled using either the keys the slider bar or by clicking on the number you can type in a new number The number represents federate percentage The example below show 100 federate 7 The START butt...

Страница 29: ...8 15 2019 29 9 The RESET button will cancel a running program and stop the machine ...

Страница 30: ...8 15 2019 30 FAGOR JOG Mode 1 Open Remote Desktop 2 Click the FAGOR icon in the upper left corner of the screen ...

Страница 31: ...8 15 2019 31 3 Double click the JOG MODE option 4 When you see this screen you may use the MPG wheel to perform manual movements ...

Страница 32: ...t b X moves the spindle to the left c Y moves the spindle to the rear toward the tool rack d Y moves the spindle to the front away from the tool rack e Z moves the spindle up f Z moves the spindle down 6 The speed selection knob is used to change the distance the selected axis will move for every click of the wheel a x 1 1 click 0 0001 b x 10 1 click 0 001 c x 100 1 click 0 01 Dead man switch Spee...

Страница 33: ...8 15 2019 33 MDI Mode 1 Open Remote Desktop 2 Click the FAGOR icon in the upper left corner of the screen 3 Select the JOG menu Double click the Mdi mode option ...

Страница 34: ... listed below Example M91 M Code List M03 SPINDLE ON CLOCKWISE M04 SPINDLE ON COUNTERCLOCKWISE M05 SPINDLE OFF M06 AUTOMATIC TOOL CHANGE ACTIVATED M07 THROUGH TOOL COOLANT ON M08 HALO DOWN HALO FLOOD ON M09 ALL FLOOD OFF HALO UP M37 LIMITSWITCH Y OFF M38 LIMITSWITCH Y ON M65 FLOAT ON ...

Страница 35: ...BE PUMP OFF M87 TOOL RACK IN TOWARD SPINDLE M88 TOOL RACK OUT AWAY FROM SPINDLE M89 SPINDLE DRAWBAR DOWN EJECT TOOL M90 SPINDLE DRAWBAR UP ENGAGE TOOL M91 TOOL CHANGE BUTTON ACTIVATED M92 TOOL CHANGE BUTTON DEACTIVATED M149 SAFELY PARK MACHINE M300 SPINDLE WARM UP 5 Open TouchDrive 6 Go to CNC from the home page ...

Страница 36: ...8 15 2019 36 7 Click START The command will execute 8 Open Remote Desktop 9 Press Escape Esc on the keyboard to exit MDI mode The MDI textbox at the bottom of the page will disappear ...

Страница 37: ...8 15 2019 37 Tool Magazine Table 1 Open Remote Desktop 2 Click the FAGOR icon in the upper left corner of the screen 3 Double click the TOOL MAGAZINE TABLE option ...

Страница 38: ...eft corner of the screen until your screen looks like the image below The button will read Show tools Show table or Tools 5 Here you may edit your tool data a Name Name of the tool b L Length of the tool c LW Length wear d R Radius e RW Radius Wear ...

Страница 39: ...ower left corner of the screen Here you may add additional tools to the list 7 Click the Magazine button on the bottom of the screen Here you can allocate tools from the tool list to the appropriate tool magazine location by loading and unloading tools ...

Страница 40: ...t tools for another profile for example click the unload tool button for each tool you want to remove from the magazine Then click the Load tool button to add tools to the magazine Press Enter to move from one field to the next ...

Страница 41: ...a program in Automatic Mode 1 Open TouchDrive 2 Click PROJECTS 3 Click ALL to clear the workspace If there are suction cups in the workspace you may be prompted again click Delete All 4 Click the BACK button 5 Click PIECES ...

Страница 42: ...pace Click FILE to import a DXF file from a USB flash drive Or click PARAMETRIC to use a pre made drawing 7 Click the BACK button 8 Click MACHINING 9 Apply tool paths to the parts 10 Add suction cups stops and clamps 11 Click the BACK button ...

Страница 43: ...is correct in the LIST then write the program with CLF 14 Click the BACK button 15 Click the CNC button 16 Project the vacuum pods with the laser 17 Turn on the vacuum pump Position the vacuum pods plug in air lines Close off unused ports on the manifold ...

Страница 44: ...ject the pieces with the laser Position the pieces 20 Turn off the piece float Make sure your vacuum pressure is good a If the number is Red vacuum pressure is GOOD b If the number is Green there may be a vacuum leak 21 Turn off the laser projector ...

Страница 45: ...8 15 2019 45 22 Ensure the machine is in automatic mode Press the START button ...

Страница 46: ...RACK IN 6 ERR7 SPINDLE OVER TEMPERATURE 7 ERR8 SPINDLE DRIVE FAULT 8 ERR9 SPINDLE ROTATING NO NOT EJECT TOOL 9 ERR10 MUST REFERENCE ALL AXES 10 ERR15 SPINDLE DISABLED SETUP MODE 11 ERR16 SPINDLE DISABLED DORR S UNLOCKED 12 ERR20 CHECK VACUUM PRESSURE LOW a Click reset Press and hold the blue emergency estop button Turn on the vacuum pump and check vacuum pressure before running program 13 ERR103 Z...

Страница 47: ... an error occurred with one or more of the following systems i Tool rack in out ii Vacuum on off iii Water halo up down iv Spindle drawbar up down 1 If there is no tool in the spindle but the T in Fagor is not 0 manually load the b To solve click reset or restart the machine ...

Страница 48: ...8 15 2019 48 ...

Страница 49: ...SG19 WAITING FOR SPINDLE TO STOP 6 MSG20 WAITING FOR TC DOOR UP 7 MSG21 WAITING FOR TC DOOR DOWN 8 MSG22 WAITING FOR SPINDLE TO STOP 9 MSG23 WAITING FOR TOOL RACK OUT 10 MSG24 WAITING FOR DRAWBAR DOWN 11 MSG25 WAITING FOR DRAWBAR UP 12 MSG26 WAITING FOR TOOL RACK IN 13 MSG33 WAITING FOR HALO UP 14 MSG102 DRIVES NOT READY 15 MSG199 LUBE PUMP ON ...

Страница 50: ...8 15 2019 50 ...

Страница 51: ...8 15 2019 51 ...

Страница 52: ...m the main Menu This is the PRIMARY screen that controls tooling You must start with a COMPLETEY blank project for tooling changes to take affect 1 Select Parameters 2 Tables 3 Tools 4 From here you can modify delete or add tools ...

Отзывы: