3: A
dv
an
ce
d P
ro
gr
am
m
in
g • 2
8
Version 1.2 July 2010
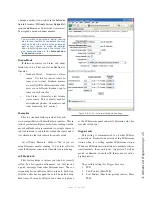
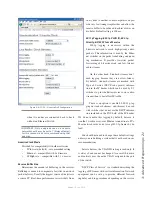
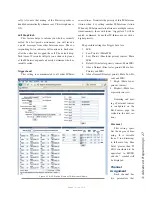
you will configure:
•
The Intercom
Source
is selected from the drop-
down menu. You may select from any connected
IP-Intercom source or any external Livewire
Sources that have been configured in the
Inter-
com Livewire Sources
section.
•
The channel
Mode
may be selected from the
drop-down. This determines the actions of the
film-cap buttons or Talk/Listen keys associated
with the channel.
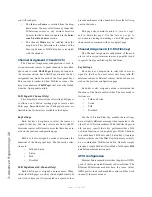
Channel Assignment (10 and 20 Ch)
The Channel Assignment configuration is used to
assign intercom sources to panel channels as described
above and to create
Shift Pages
that may be loaded to
the intercom station. Each Shift Page contains the key
assignment and mode for each of the front panel keys.
This concept is similar to Show Profiles or scenes. You
may store numerous
Shift Pages
that are easily loaded
from the front-panel controls.
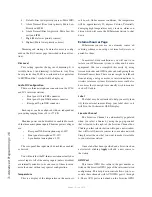
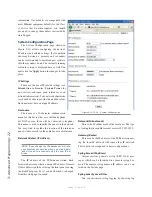
Shift Page (20 Channel Only)
This drop-down selects from all existing Shift pages
or allows you to edit an existing page or create a new
Shift page. Remember that your Shift pages names are
limited to the 10 characters available in the display.
Key Settings
Each key has a drop-down to select the source as-
signed to that key. You may select only from valid IP-
Intercom sources or External sources that have been cre-
ated on the previous configuration page.
Each key is also assigned a mode to determine the
functions of the front panel keys. The four mode selec-
tions are:
•
Talk and Listen
•
Listen
•
Talk
•
Disabled
Shift Page Name (20-Channel Only)
Each Shift page is assigned a unique name. When
listed, the Shift pages are always listed alphabetically. If
you wish to have your list presented in a specific order,
precede each name with a number to force the list to ap-
pear in that order.
This page also contains controls to “save as a copy”
and to “delete this page”. Use the “save as a copy” to
save time in creating and editing a new Shift page that
shares much in common with your original page
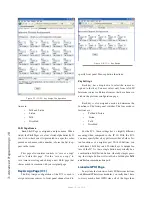
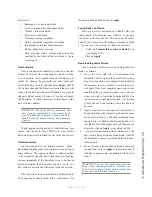
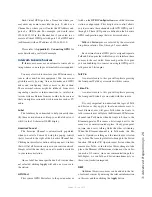
Channel Assignments (10-Btn Film Cap)
The Channel Assignment configuration of the mod-
ule is used to assign intercom sources to panel keys and
to specify front panel film-cap key functions.
Key Settings
Each key has a drop-down to select the source as-
signed to that key. You may select only from valid IP-
Intercom sources or External sources that have been cre-
ated on the previous configuration page.
Each key is also assigned a mode to determine the
functions of the front panel switches. The four mode se-
lections are:
•
Talk and Listen
•
Listen
•
Talk
•
Disabled
For the 10-Station Film Cap module, these settings
have a slightly different meaning when compared to the
other 10 or 20 Station modules. With the Film Cap mod-
ule, you may specify that a key performs either a Talk
or Listen function as you might expect. With 10 buttons,
you could have 5 Talk keys and 5 Listen keys. A unique
feature is that each of the Film Cap buttons may actually
be a combination Talk/Listen button whereby simply
pressing a single button will establish a full-duplex
Talk
and Listen
communication path.
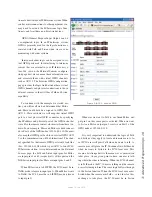
GPIO Configuration
Element Intercom modules utilize the physical GPIO
ports of their associated Element or PowerStation. The
Element IP-Intercom modules have the same virtual
GPIO ports as their rack-mounted cousins and they work
in exactly the same manner.
Содержание IP-Intercom System
Страница 44: ...Connecting GPIO 36 Version 1 2 July 2010...
Страница 45: ...Connecting GPIO 37 Version 1 2 July 2010...
Страница 48: ...Connecting GPIO 40 Version 1 2 July 2010...
Страница 52: ...Axia Audio a Telos Company 1241 Superior Ave Cleveland Ohio 44114 USA 1 216 241 7225 www AxiaAudio com...


