Chapter 4 – Setting up an array
25
C
C
h
h
a
a
p
p
t
t
e
e
r
r
4
4
S
S
S
e
e
e
t
t
t
t
t
t
i
i
i
n
n
n
g
g
g
u
u
u
p
p
p
a
a
a
n
n
n
a
a
a
r
r
r
r
r
r
a
a
a
y
y
y
This chapter explains how to:
Ö
Set RAID level on the RA4000e Series
Ö
Create an array
Ö
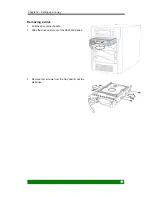
Remove and replace drives from an array
Ö
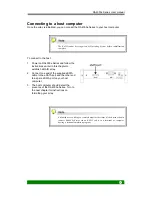
Connect RA4000e Series to the host computer
Ö
Set the time and date on
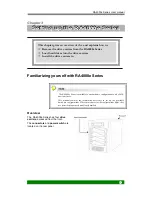
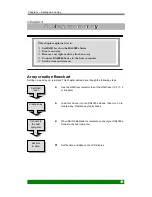
Array creation flowchart
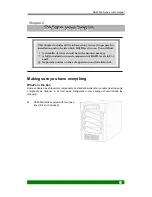
Setting up an array on is simple. This chapter will lead you though the following steps:
z
Use the RAID level selector to set the RAID level (0, 0+1, 5
or 5+spare)
z
Load four drives into the RA4000e Series, then turn on to
create array. Replace any faulty drives.
z
When RAID initialization is complete, connect your RA4000e
Series to the host computer.
z
Set the time and date on the LCD display.
Set RAID
level
Create array
Set time
& date
Connect to
the host
computer

