Using Device tabs to configure the security gateway
Issue 4 May 2005
65
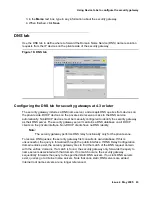
To add a static DNS server
1. From the Configuration Console Contents column, select the security gateway to be
configured. Click the DNS tab to bring it to the front.
2. In the Static DNS Servers area, click Add. Enter the IP address of the DNS server and
enable the back-up link, if required.
3. The backup link is the DNS server that is used when backup ethernet is in use. Only one of
the interfaces, either public or public-backup can be in use at the same time.
4. Click OK.
5. The maximum number of Static DNS servers is four.
Configuring the DNS tab for VSU at VPNos 4.2 or earlier
The VSU can resolve addressing for traffic using the Domain Name Service (DNS). However,
the security gateways must know the DNS Server IP address. Up to three server addresses can
be referenced by a security gateway. DNS servers can be edited or deleted.
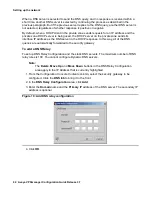
To add a DNS server address
Use Add to enter the initial or backup DNS server(s). Enter the IP address of the DNS server in
the “Resolve DNS name with this address” field so that the targeted security gateway can
register itself with the DNS server. Click Apply to add the new DNS server entry.
1. From the Contents column, select the VSU you want to configure.
2. Click the DNS tab to bring it to the front.
3. Click Add to open the Add DNS Rule dialog box.
4. Type the IP address.
5. Click Apply to add the IP address to the DNS servers list.
6. Click Close to return to the DNS tab, or Apply to add another address.
7. When finished, click Save.
8. When you want to send the configuration to one or more VSUs, click Update Devices.
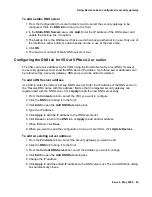
To edit an existing server address:
1. From the Contents column, select the security gateway you want to edit.
2. Click the DNS tab to bring it to the front.
3. From the Current DNS Servers list, select the address you want to change.
4. Click Edit to open the Add DNS Rule dialog box.
5. Change the IP address.
6. Click Apply to add the edited IP address to the DNS servers list. The Add DNS Rule dialog
box automatically closes.
Содержание 3.7
Страница 1: ...VPNmanager Configuration Guide Release 3 7 670 100 600 Issue 4 May 2005...
Страница 4: ......
Страница 20: ...Preface 20 Avaya VPNmanager Configuration Guide Release 3 7...
Страница 32: ...Overview of implementation 32 Avaya VPNmanager Configuration Guide Release 3 7...
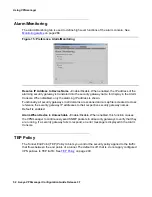
Страница 53: ...Preferences Issue 4 May 2005 53 Figure 16 Tunnel End Point Policy...
Страница 54: ...Using VPNmanager 54 Avaya VPNmanager Configuration Guide Release 3 7...
Страница 244: ...Using advanced features 244 Avaya VPNmanager Configuration Guide Release 3 7...
Страница 292: ...Upgrading firmware and licenses 292 Avaya VPNmanager Configuration Guide Release 3 7...


