DPX16: Instructions for Basic Operation and Installation
Page 7
O
PERATION
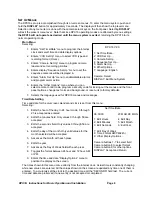
Your DPX16 has seven mode control buttons and sixteen numbered “camera” buttons which allow easy
access to all modes of operation. The seven mode buttons on the left are used to control monitor display
operations and VCR playback. An LED below each button will light when the unit is in the mode
corresponding to that button. Note that live camera display modes do not affect multiplex recording.
Following is a summary of each button’s function and the DPX16 operating modes.
DISPLAY
This button cycles the monitor display through the 4X4, 3x3, and quad displays in live or VCR playback
modes. In addition, it will return the unit to the 4x4 display mode from any other display mode. Successive
button pushes change the display operation from 4X4, to 3x3, to quad, then back to 4x4, and so forth. A
push and hold of this button for approximately 3 seconds will bring up the DPX16 set up main menu. To
view additional cameras in the 3x3 or quad display modes, push the SEQUENCE button and the DPX16
will sequence the display through the available cameras. You can stop on any set of cameras by pushing
the SEQUENCE button again to stop SEQUENCING.
FREEZE
In all display modes (except Zoom), a press on this button will freeze the camera image(s) on the monitor
display (the multiplex output to the VCR recording is still live during all display modes). Another push of
this button will deactivate the “freeze” mode. A push and hold of this button for approximately 3 seconds
will put the DPX16 front panel into Call Monitor control mode (see “Call Monitor Operation” on page 8).
This button is also used to pan “left” in Zoom mode.
SEQUENCE
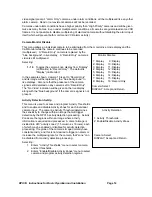
A button press will activate the camera sequencing for the present mode (except Zoom) and another push
of this button will deactivate the “sequencing” mode. The default camera hold time is 3 seconds. A button
press during “VCR Playback” mode will cause a multicamera display to switch to the next set of cameras.
This button is also used to pan “right” in Zoom mode.
PIP
When starting in the 4x4, 3x3, quad, or full screen camera display in live display or VCR playback modes,
pressing the PIP (Picture-in-Picture) button will cause the unit to switch to the "Single PIP" display.
Additional presses will cycle the unit through "Dual PIP", “Split Screen”, “Squish Screen”, "Full Frame" and
back to "Single PIP" displays. How cameras will appear in these displays is programmable (See “Display
Sequence Set Up” on page 13). This button is also used to pan “up” in Zoom mode.
QUADRANT
This button rotates the orientation of the cameras clockwise on the screen into the desired positions in
“PIP”, “Dual PIP”, “Split Screen”, and “Squish Screen” display modes. This button is also used to pan
“down” in Zoom mode.
ZOOM
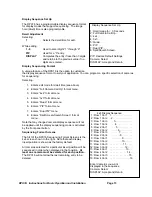
The ZOOM function will expand the selected portion of a full frame camera image. A button press will
cause a box to appear on the screen that indicates the image area that will be expanded. Successive
button presses will increase the magnification factor from 2X to 3X, 4X, and 5X.
VCR
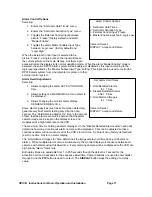
Pressing this button will switch monitor display from the live camera display mode to the VCR playback
mode. The LED indicator will light to show that VCR playback is now possible. The display will initially be
in 4x4 mode and the monitor screen will show the message “VCR Playback”. To see non-multiplexer
images (VCR setup menus for example) or to troubleshoot VCR tracking or other problems, the “VCR
Bypass” function is used. See the following page for a description of the “VCR Bypass” function. When
the DPX16 is in Zoom mode, this button will cause the image to “zoom out” to the next lower magnification
factor and eventually back to full screen.


