Chapter 2. Hardware Setup
21
Front-L Brackets Mounting (CL3800 only)
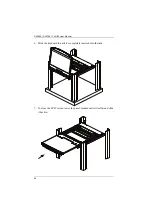
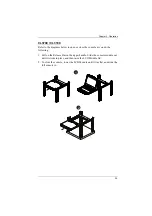
To have a comfortable and safe posture, install the Front-L Brackets which
provide an extension at the front of the rack to help the unit slide further out
and thus allowing you to tilt the LCD screen more. Instructions to use this
option are shown below:
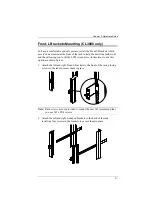
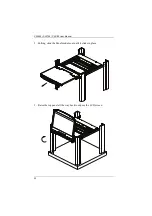
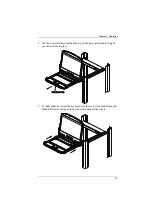
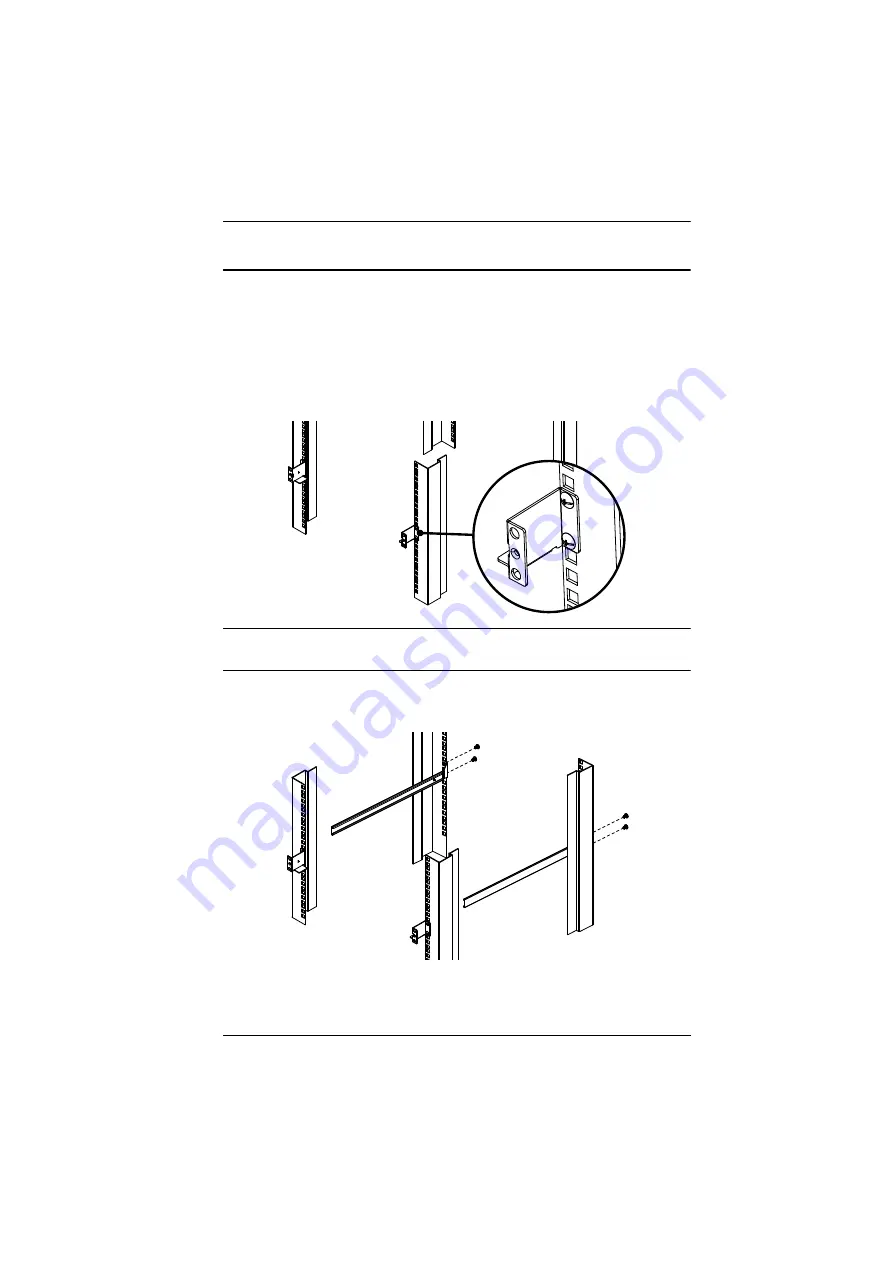
1. Attach the left and right Front-L brackets to the front of the rack, placing
screws in the tabs to secure them in place.
Note:
Rack screws are not provided to mount the unit. We recommend that
you use M5 x P0.8 screws.
2. Attach the left and right L-shaped brackets to the back of the rack,
installing four screws in the brackets to secure them in place.
Содержание CL3100
Страница 1: ...Short Depth WideScreen LCD Console CL3800 CL3700 CL3100 User Manual www aten com...
Страница 17: ...Chapter 1 Introduction 7 Operating Systems Supported operating systems include Windows Mac Linux and Sun...
Страница 26: ...CL3800 CL3700 CL3100 User Manual 16 This Page Intentionally Left Blank...
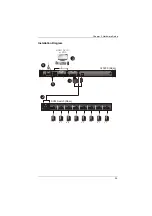
Страница 35: ...Chapter 2 Hardware Setup 25 Installation Diagram 5 3 4 1 CL3800 Rear HDMI DVI D or VGA 2 KVM Switch Rear...
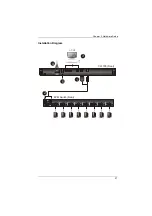
Страница 37: ...Chapter 2 Hardware Setup 27 Installation Diagram 5 3 4 1 CL3700 Rear HDMI 2 KVM Switch Rear...
Страница 39: ...Chapter 2 Hardware Setup 29 Installation Diagram 5 3 4 1 CL3100 Rear VGA 2 KVM Switch Rear...
Страница 40: ...CL3800 CL3700 CL3100 User Manual 30 This Page Intentionally Left Blank...
Страница 52: ...CL3800 CL3700 CL3100 User Manual 42 This Page Intentionally Left Blank...
Страница 60: ...CL3800 CL3700 CL3100 User Manual 50 This Page Intentionally Left Blank...


