17
Chapter 2
Hardware Setup
Before you Begin
1. Important safety information regarding the placement of this
device is provided on page 51. Please review it before
proceeding.
2. Make sure that power to all the devices you will be connecting
up has been turned off. You must unplug the power cords of any
computers that have the Keyboard Power On function.
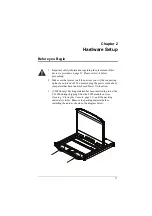
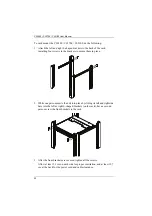
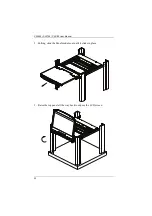
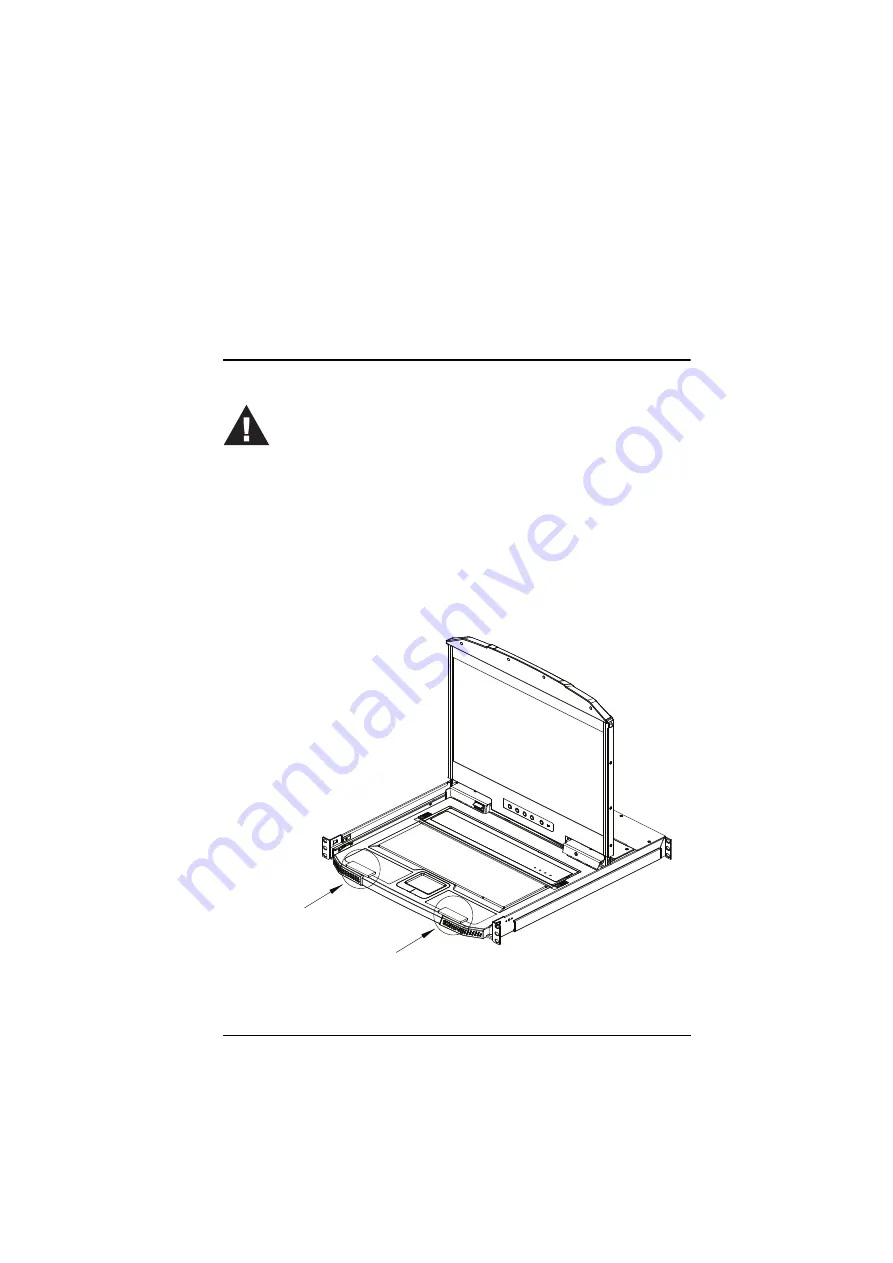
3. (CL3800 only) Packing material has been inserted to protect the
CL3800 during shipping. Slide the LCD module out (see
, page 31), until the packing
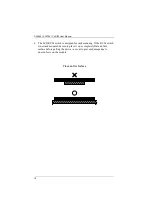
material is visible. Remove the packing material before
installing the unit, as shown in the diagram below.
Содержание CL3100
Страница 1: ...Short Depth WideScreen LCD Console CL3800 CL3700 CL3100 User Manual www aten com...
Страница 17: ...Chapter 1 Introduction 7 Operating Systems Supported operating systems include Windows Mac Linux and Sun...
Страница 26: ...CL3800 CL3700 CL3100 User Manual 16 This Page Intentionally Left Blank...
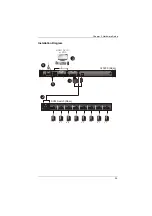
Страница 35: ...Chapter 2 Hardware Setup 25 Installation Diagram 5 3 4 1 CL3800 Rear HDMI DVI D or VGA 2 KVM Switch Rear...
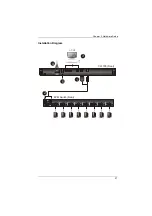
Страница 37: ...Chapter 2 Hardware Setup 27 Installation Diagram 5 3 4 1 CL3700 Rear HDMI 2 KVM Switch Rear...
Страница 39: ...Chapter 2 Hardware Setup 29 Installation Diagram 5 3 4 1 CL3100 Rear VGA 2 KVM Switch Rear...
Страница 40: ...CL3800 CL3700 CL3100 User Manual 30 This Page Intentionally Left Blank...
Страница 52: ...CL3800 CL3700 CL3100 User Manual 42 This Page Intentionally Left Blank...
Страница 60: ...CL3800 CL3700 CL3100 User Manual 50 This Page Intentionally Left Blank...

