A
Appendix
A-12
Software Problem - BIOS
Updating the BIOS.
1. Please verify the Notebook PC’s exact model and download the latest BIOS file for your model
from the ASUS website.
2. Use the “WINFLASH” utility to update your BIOS. The utility can be found in your Driver &
Utility CD that came with your Notebook PC.
3. Extract the BIOS file to a temporary location (such as the root in C:\)
4. Click
Start
|
All Programs
|
ASUS Utility
|
WINFLASH
|
WINFLASH
a. Select the new BIOS image file.
b. Confirm the selected BIOS information. Check the model, version, and data.
c. Click
Flash
to initialize the BIOS updating procedure.
d. Click
Exit
when procedure completes.
e. Reboot the system. Assuming that you have successfully flashed the BIOS file, press [
F2
] to
enter BIOS setup page when the ASUS logo appears during system boot-up.
f. After entering BIOS setup page, go to
Exit
page and choose
Load Manufacture Defaults
.
Then select
Save and Exit
and reboot the system again.
g. The BIOS flash procedure is now complete.
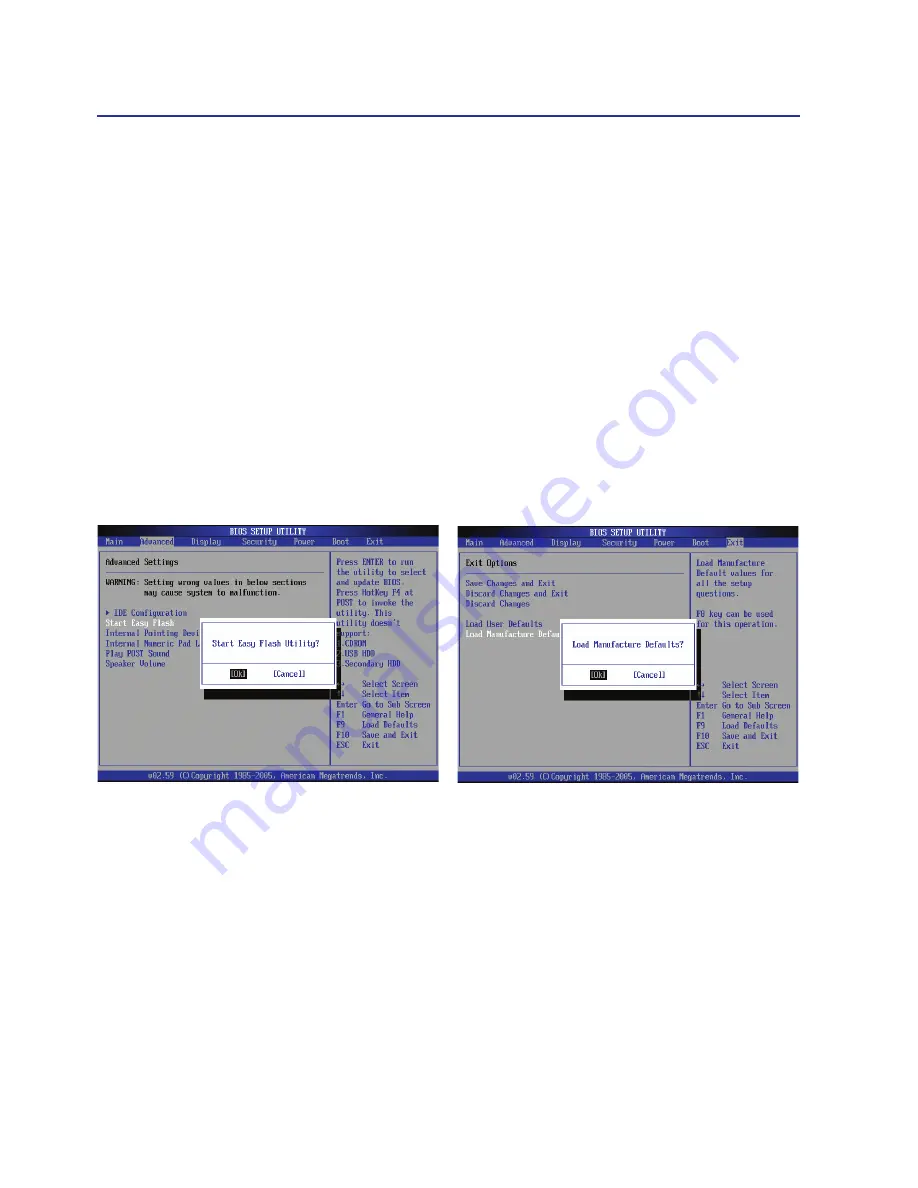
You can also use the “Easy Flash” function
on the Advanced page of the BIOS Setup
Utility� Follow the instructions shown�
You must “Load Manufacture Defaults” after
updating (flashing) the BIOS.
Содержание U2E
Страница 1: ...Notebook PC Hardware User s Manual E3474 Oct 2007 OFF ON EXPRESS u DVI ...
Страница 4: ... Contents ...
Страница 10: ...10 1 Introducing the Notebook PC ...
Страница 22: ...22 2 Knowing the Parts ...
Страница 36: ...36 4 Using the Notebook PC ...
Страница 83: ...Appendix A A 31 ...

