


4-12
Chapter 4: Software support
Chapter 4
4.3.6
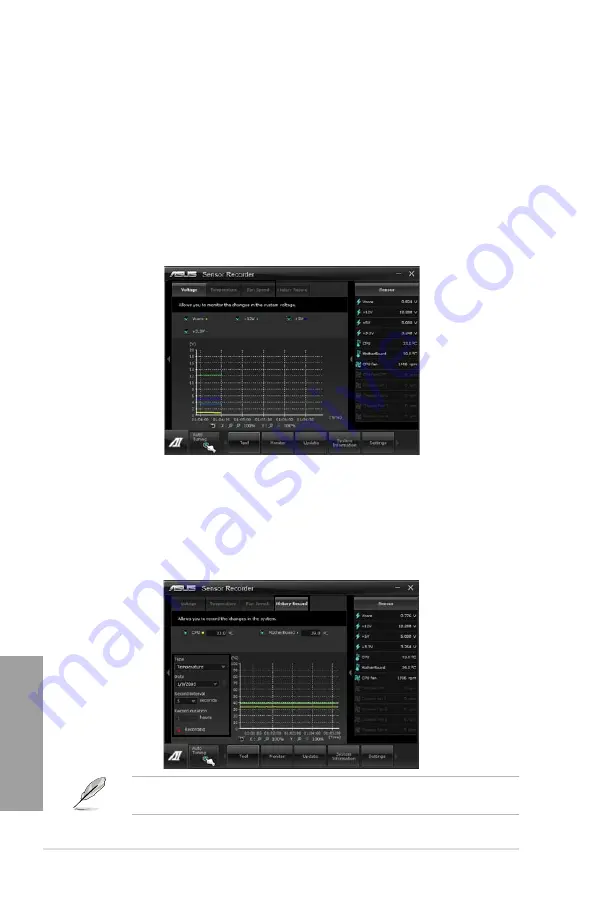
Sensor Recorder
Sensor Recorder monitors the changes in the system voltage, temperature, and fan speed on
a timeline. The History Record function allows you to designate specific time spans on record
to keep track of the three system statuses for certain purposes.
Launching Sensor Recorder
After installing AI Suite II from the motherboard support DVD, launch Sensor Recorder by
clicking
Tool > Sensor Recorder
on the AI Suite II main menu bar.
Using Sensor Recorder
Click on
Voltage/ Temperature/ Fan Speed
tabs for the status you want to monitor. Colored
lines will automatically appear on the diagram to indicate the immediate changes in the
system status.
Using History Record
1.
Click on the
History Record
tab and adjust the settings on the left for
Record
Interval
and
Record Duration
according to need.
2.
Click on
Start Recording
and start measurement and record of each sensor.
3.
When stop recording, click on
Recording
again to interrupt record.
4.
In order to track the recorded contents, please choose the Date / Type / Select display
items to display the history detail.
Click on
Monitor
> Sensor
on the AI Suite II main menu bar and a highlight of the system
statuses will appear on the right panel.
Содержание P9X79
Страница 1: ...Motherboard P9X79 ...
Страница 52: ...2 34 Chapter 2 Hardware information Chapter 2 B A 9 B A 7 8 Triangle mark 5 6 ...
Страница 54: ...2 36 Chapter 2 Hardware information Chapter 2 1 2 3 To remove a DIMM 2 3 4 DIMM installation B A ...
Страница 57: ...ASUS P9X79 2 39 Chapter 2 2 3 6 ATX Power connection 1 2 OR OR ...
Страница 58: ...2 40 Chapter 2 Hardware information Chapter 2 2 3 7 SATA device connection OR 2 OR 1 ...
Страница 146: ...4 28 Chapter 4 Software support Chapter 4 ...
Страница 154: ...5 8 Chapter 5 Multiple GPU technology support Chapter 5 ...


