ASUS P9X79 WS
5-13
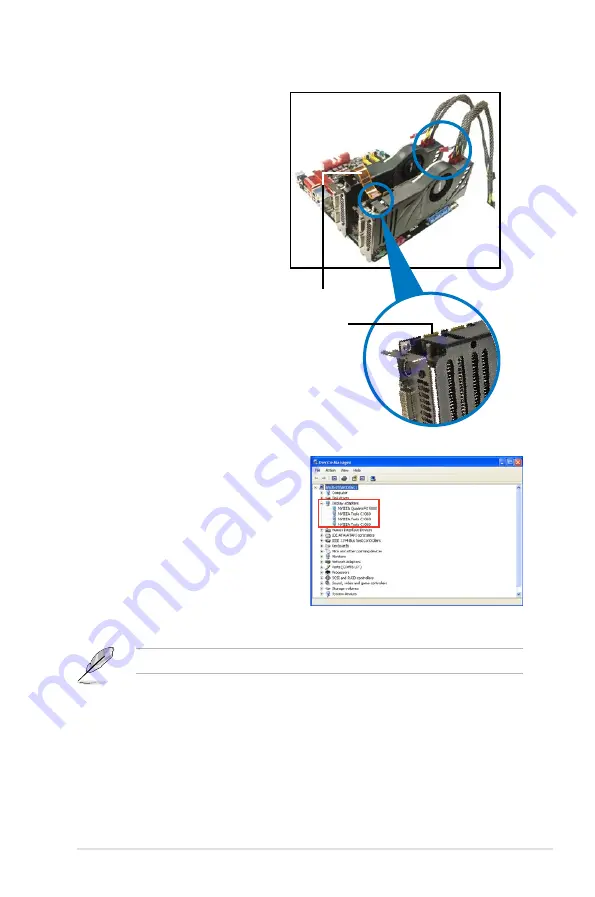
4. Refer to the documentation that
came with your graphics card
package to install the device drivers.
5. To verify graphics card driver
installation, right-click
My
Computer
and select
Properties
from the menu. Click the
Hardware
tab, and then click
Device
Manager
. Click the “+” sign before
Display adapters
, and the installed
graphics card and computing processor card(s) should appear.
The screen differs based on the components you installed.
2. Connect either one 8-pin power
connector or two 6-pin power
connectors from the power
supply to the Quadro graphics
card and Tesla computing
processor card(s).
3. Connect a display cable to the
graphics card.
Goldfingers
SLI bridge
Содержание P9X79 WS
Страница 1: ...Motherboard P9X79 WS ...
Страница 16: ...xvi ...
Страница 18: ...ASUS P9X79 WS Chapter summary 1 1 1 Welcome 1 1 1 2 Package contents 1 1 1 3 Special features 1 2 ...
Страница 65: ...9 7 8 5 6 Triangle mark B A B A ASUS P9X79 WS 2 37 ...
Страница 67: ...1 2 3 To remove a DIMM 2 3 4 DIMM installation B A ASUS P9X79 WS 2 39 ...
Страница 69: ...DO NOT overtighten the screws Doing so can damage the motherboard 3 ASUS P9X79 WS 2 41 ...
Страница 70: ...2 3 6 ATX Power connection 1 2 OR 2 42 Chapter 2 Hardware information ...
Страница 71: ...2 3 7 SATA device connection 2 OR 1 ASUS P9X79 WS 2 43 ...
Страница 75: ...Connect to Stereo Speakers Connect to 2 1 channel Speakers Connect to 4 1 channel Speakers ASUS P9X79 WS 2 47 ...
Страница 76: ...Connect to 5 1 channel Speakers Connect to 7 1 channel Speakers 2 48 Chapter 2 Hardware information ...
Страница 80: ...2 52 Chapter 2 Hardware information ...
Страница 184: ...5 14 Chapter 5 Multiple GPU technology support ...


