4-50
Chapter 4: BIOS setup
4.9
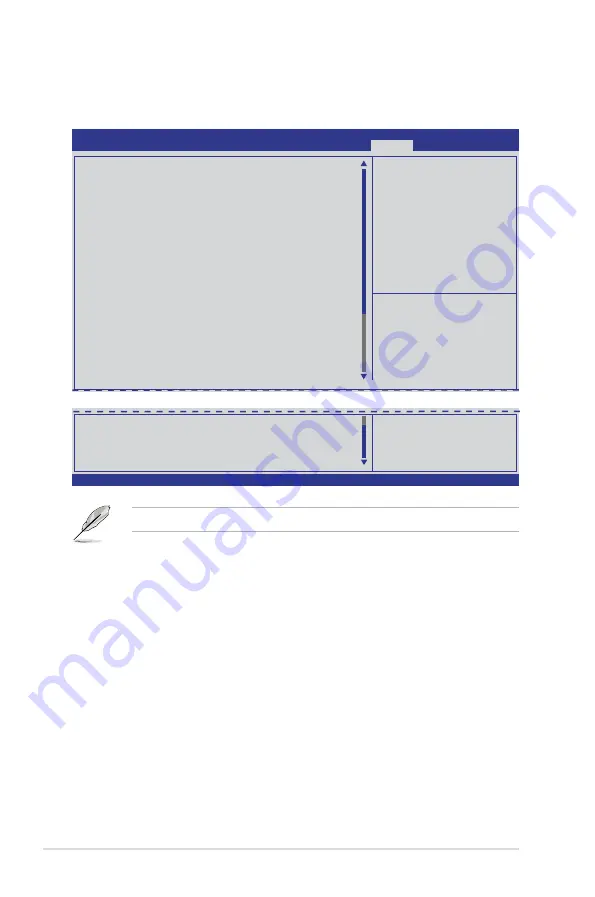
Monitor menu
The Monitor menu displays the system temperature/power status, and allows you to change
the fan settings.
CPU1 Temperature
90.0ºC/194.0ºF
CPU2 Temperature
90.0ºC/194.0ºF
TR1 Temperature
18.0ºC/64.4ºF
TR2 Temperature
6.0ºC/42.8ºF
CPU FAN1 Speed
3658 RPM
CPU FAN2 Speed
3678 RPM
FRNT FAN1 Speed
N/A
FRNT FAN2 Speed
N/A
FRNT FAN3 Speed
N/A
FRNT FAN4 Speed
N/A
REAR FAN1 Speed
N/A
REAR FAN2 Speed
N/A
+VTT_CPU
+1.026 V
VCORE_CPU1
+0.996 V
VCORE_CPU2
+0.996 V
VSA_CPU1
+0.898 V
VSA_CPU2
+0.912 V
+VDDQ_AB_CPU1
+1.510 V
+VDDQ_CD_CPU1
+1.526 V
+VDDQ_EF_CPU2
+1.474 V
+VDDQ_GH_CPU2
+1.474 V
+5VSB
+4.921 V
+5V
+4.966 V
+12V
+11.592 V
+3.3V
+3.264 V
→←:
Select Screen
↑↓:
Select Item
Enter: Select Item
+/-: Change Opt.
F1: General Help
F2: Previous Values
F5: Optimized Defaults
F10: Save & Exit
ESC: Exit
Version 2.14.1219. Copyright (C) 2011 American Megatrends, Inc.
Aptio Setup Utility - Copyright (C) 2011 American Megatrends, Inc.
Main Ai Tweaker
Advanced Server Mgmt Event Logs
Boot
Monitor
Security Tool Exit
CPU 1/2; TR1 1/2 Temperature [xxxºC/xxxºF]
The onboard hardware monitor automatically detects and displays the CPU and motherboard
component temperatures. Select
Ignore
if you do not wish to display the detected
temperatures.
CPU FAN1/2 Speed; FRNT FAN1–4 Speed; REAR FAN1/2 Speed
[xxxx RPM] or [Ignore] / [N/A]
The onboard hardware monitor automatically detects and displays the speed of CPU fans,
front fans, and rear fan in rotations per minute (RPM). If the fan is not connected to the
motherboard, the field shows
N/A
.
Use the scroll to view items.
VBAT
+3.168 V
+3.3VSB
+3.234 V
FAN Speed Control
[Generic Mode]
Содержание ESC2000
Страница 1: ...Workstation ESC2000 G2 User Guide ...
Страница 27: ...2 7 ASUS ESC2000 G2 B A 9 B A 7 8 5 6 ...
Страница 48: ...Chapter 2 Hardware setup 2 28 ...
Страница 65: ...ASUS ESC2000 G2 3 17 Connect to 5 1 channel Speakers Connect to 7 1 channel Speakers ...
Страница 174: ...5 44 Chapter 5 RAID configuration ...
Страница 191: ...ASUS ESC2000 G2 6 17 7 Follow the screen instructions to complete installation 8 When finished press Finish to continue ...
Страница 202: ...6 28 Chapter 6 Driver installation 9 Click Finish to complete the installation ...
Страница 205: ...ASUS ESC2000 G2 6 31 6 Click Finish to complete the installation and exit the wizard ...
Страница 208: ...6 34 Chapter 6 Driver installation 7 Click Install to begin installation 8 Click Finish to complete the installation ...
Страница 214: ...6 40 Chapter 6 Driver installation ...


