74
Configuring the BIOS
>I/O Device Configuration (described on next page)
Pressing [Enter] when this field is highlighted calls up a sub-menu for configuring the Notebook PC’s
serial and parallel ports.
Processor Serial Number [Enabled] (only shows on PIII CPU)
The Processor Serial Number is a unique number that is added to every Pentium III processor to help
verify the identity of the user across the Internet. Set this field to [Enabled] when you need increased
security for doing business online or e-commerce. Otherwise, set to [Disabled] for greater anonymity
when surfing the Internet. [Disabled] prohibits any software from reading the unique identifier of the
installed processor. The configuration options are: [Disabled] [Enabled]
LCD Expansion [Enabled]
When running MS-DOS or DOS applications under Windows, the image on the computer display may
not fill the entire display panel. To stretch the DOS image so that it fills the entire screen, set this function
to enabled. Using this function will decrease the stretched image’s resolution so it may appear slightly
fuzzy. Set this field to disabled for normal display. The configuration options are: [Disabled] [Enabled].
Quick Power On Self Test [Enabled]
This field speeds up the Power-On-Self Test (POST) routine by skipping certain redundant tests. Con-
figuration options are: [Disabled] [Enabled]
TV Type Select [US NTSC]
This sets the video synchronization mode for your video output device (television or video projector).
The setting depends on the territory that your video output device is manufactured for. The configura-
tion options are: [Japan NTSC] [US NTSC] [PAL]
Advanced Menu
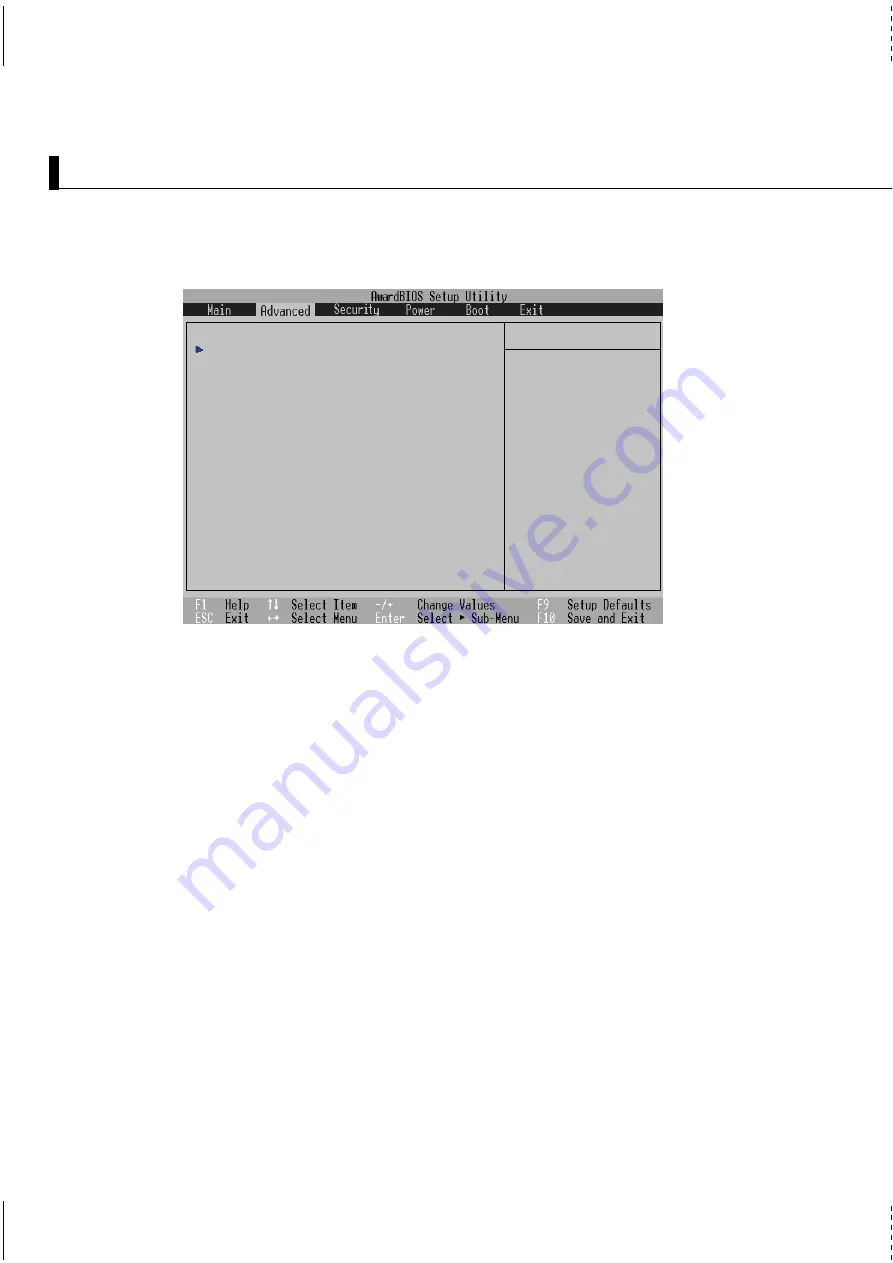
Selecting Advanced from the main menu bar display the Advanced menu as shown below.
I t e m S p e c i f i c H e l p
I / O D e v i c e C o n f i g u r a t i o n
L C D E x p a n s i o n
[ E n a b l e d ]
P r o c e s s o r S e r i a l N u m b e r
[ E n a b l e d ]
Q u i c k P o w e r O n S e l f Te s t
[ E n a b l e d ]
T V Ty p e S e l e c t
[ U S N T S C ]
< E n t e r > t o g o t o t h e
s u b - m e n u .
Содержание B1A
Страница 11: ...11 1 Introducing the Notebook PC About This User s Manual Notes For This Manual ...
Страница 13: ...13 2 KNOWING THE PARTS Top Side Bottom Side Left Side Right Side Rear Side Front Side ...
Страница 34: ...34 Getting Started ...
Страница 64: ...64 Using the Notebook PC ...
Страница 98: ...98 Appendix ...
Страница 101: ...101 Appendix A ...


