Aruba S1500 Series Mobility Access Switch
| Installation Guide
Installation |
21
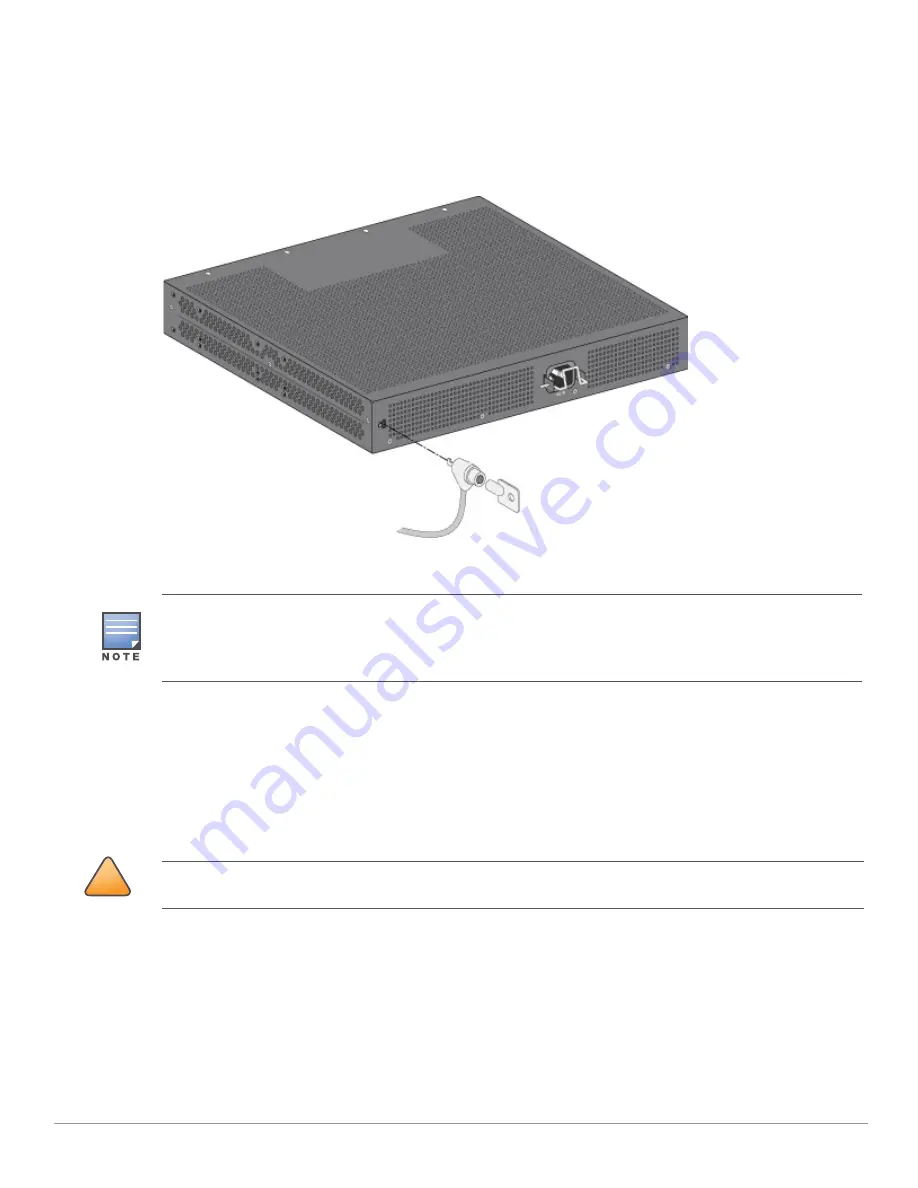
4. (Optional and only for the S1500-12P model) Attach the standard cable lock to the security slot on the
back panel of the S1500-12P Mobility Access Switch.
a. Secure the cable to a desk or a rack and set the lock to unlocked position.
b. Insert the lock into the security slot on the chassis (see
Figure 14
) and set the lock to the locked
position.
Figure 14
Securing the S1500-12P Mobility Access Switch Using Security Slots
Rack Mount Installation- Mid
For the S1500-12P model, the rack mount brackets can also be used for mounting the Mobility Access
Switch in a standard 19-inch Telco rack from the middle of the device.
For the S1500-24P or S1500-48P models
,
an optional accessory kit (purchased separately) is available that
allows mounting the Mobility Access Switch in a standard 19-inch Telco rack from the middle of the device.
Required Tools and Equipment
The following tools and equipment are required for installing an S1500 Mobility Access Switch:
Mid-mount Bracket (x2): Do not use for table or shelf installation
Screws for rack mount bracket (x8):
S1500-12P— M3 x 6.5 mm Phillips Flat Head Screws
S1500-24P or S1500-48P— M4 x 8 mm Phillips Flat Head Screws
Leave a minimum of 10 cm (4 inches) of space on the left and right side of the unit for proper air flow and
ventilation.
Leave additional space in the front and the back of the unit to access network cables, LED status indicators, and
power cord.
!
CAUTION
Each S1500 Mobility Access Switch should have its own mounting equipment. Do not place other networking
equipment directly on top of a mounted S1500 Mobility Access Switch. Failure to do so can damage the device.


