


Artemis Vision RaPTr (Rapid Pallet Tracker) | System Set-Up Guide
7
SET-UP PROCEDURE
Once the enclosures/cameras/CPU have been mounted, there is a short procedure
required to set up each camera:
1. Prepare the area - A representative pallet should be placed in the typical location
where you want to capture the barcodes.
2. Launch the RaPTr software on the system. Detailed software setup is available in
the RaPTr Interface and Architecture Guide.
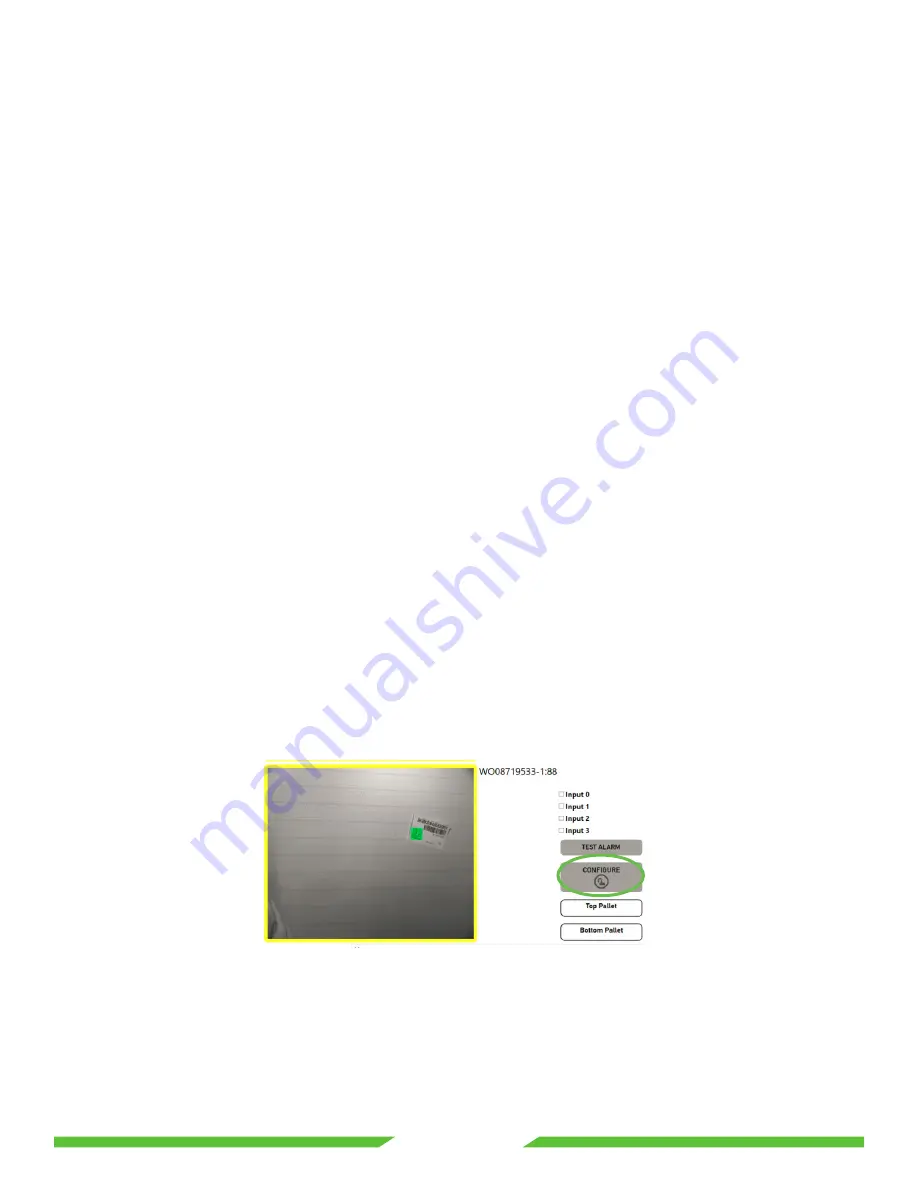
3. Position the upper physical camera canister so that the image of the pallet is
visible on screen. Ensure that a typical barcode is on the front surface of the pallet
in the middle portion of the FOV.
4. Click Stop. Click the Artemis Vision logo or press F5 to enter configuration mode.
Click Configure:
HANDLING DATA
By default, all system read data is stored in a local CSV file and, optionally, on a remote
server configured using the ABP Communications protocol (Appendix A to RaPTr
Interface and Architecture Guide. Additionally, the system can be configured to load
door-specific data (i.e. barcodes/items that are scheduled for loading at a particular door
at a particular time). With this configuration, pallets can be checked against a list and
indicate if a mismatch has occurred, leading to more accurate shipments. Please refer to
the Interfaces and Architectures Guide or contact Artemis Vision for more information on
this configuration.