8
9
Remote controller
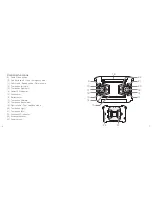
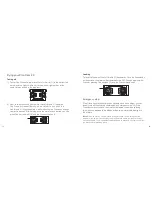
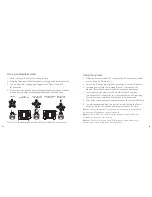
1) Carefully remove the Battery cover (16), using the Screwdriver provided
and insert 4 x AA batteries*, according to indicated polarity. Then replace
the back cover of the controller
2) Make sure the batteries (AA) are correctly installed under the supervision of
an adult. Refrain from mixing old and new batteries as well as different types
*Note:
Batteries are not included.
Pre-flight preparation
Charging the battery
1) Ensure the battery is removed from the Drone
2) Using the supplied USB charging cable, connect one end to the
battery and connect the USB end to a power supply
3) An indicator light on the USB charging cable will turn ON to
indicate it is charging
4) Charge for 45 minutes to ensure the battery is fully charged
5) When fully charged, the indicator light will turn OFF
6) Repeat this process for recharging the battery each time
Note:
We recommend charging the battery outside of the Drone to reduce heat build.
High temperatures can damage both the Drone and the battery.


