16
Starting the treatment
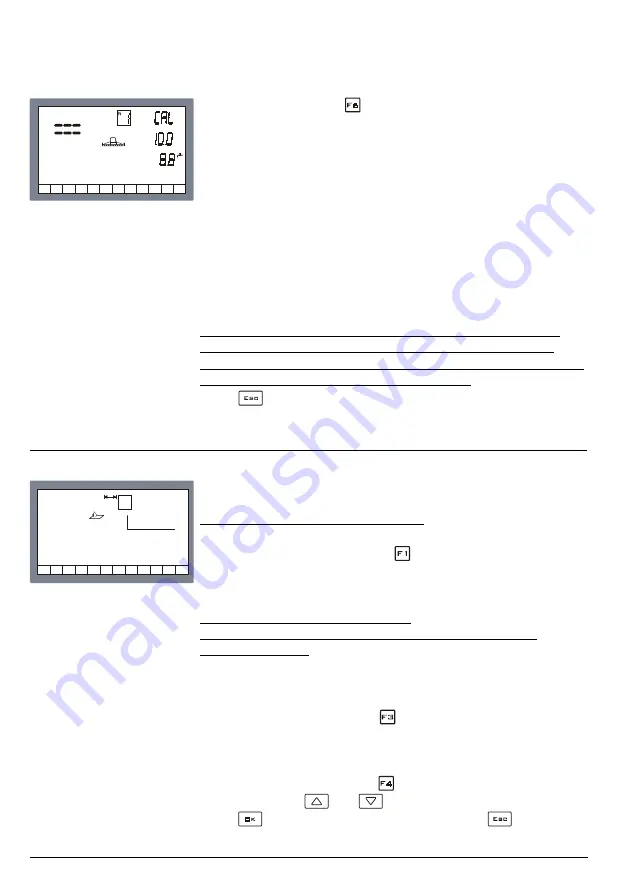
Fig.19:
Adjusting section n.1
Treatment controlled in automatic mode
Setting the litres/hectare to distribute
Prior to each distribution you first have to make sure that the
distribution set is correct: press
until the value to distribute
flashes (Fig.20) and use the modification keys to change and
confirm the value.
Setting the distance between rows
(467302 and 467304 versions only for the 2- and 4-way
orchard sprayers)
In the case of the orchard sprayer versions 467302 and
467304 you will also have to set the distance between the
rows so that the computer can then make the correct
adjustments. By pressing the
key followed by the
modification keys, you can select one out of the nine storable
distance values.
If necessary, it is possible to access modification of one of
these values by pressing the
key and setting another value
by pressing keys
and
.
Press
to confirm the data and exit or press
to exit
without changing the data.
return is shown beside
.
(In the example if fig. 19, this is 8.8).
At this point the calibrated return has to be adjusted so that the
two values are the same: when they coincide the section valve
can be reopened and the operation can be repeated for all the
other section valves.
Adjustment of the calibrated return is assisted by a beeper and
indicator lights; as the calibrated return approaches the
optimal setting, the intermittent sound emitted by the beeper
becomes quicker and quicker, until it becomes continuous
(setting OK). During the adjustment three flashing segments
indicate whether the flow-rate generated by the calibrated
return is too high or too low (in the example, it is too low).
Caution: the section valves must be closed one at a time: if
more than one section valve is closed simultaneously, the
display shows a dash in the position of the field; otherwise, the
number of the closed section valve appears.
Press
to exit from the calibrated return setting procedure.
N
2
240
5.00
P 3
Fig.20:
Setting l/ha for distribution


