


Connectivity
Made Easy
Page 53 of 164
Next we proceed to define the IP addresses for the different scopes:
1.
Setting up the Default Scope – See Section 3.2.1.1.
2.
Setting up the User Provision Routed Scope – See Section
3.2.1.2.
When the client first connects on the downstream LAN, the InnGate will
assign an IP address from the Default Scope to the client via DHCP initially.
The client may be allowed to request for a routed IP address from the User
Provision Routed Scope.
The propagation of this new routable IP will only occur when the client
seeks to renew the DHCP lease, which is half of the lease expiry time.
Alternatively, the client can force an immediate change in IP by releasing and
renewing its IP address.
3.2.1.1
Setting up the Default Scope
To setup the Default Scope:
1.
Click on LAN.
2.
Click on DHCP.
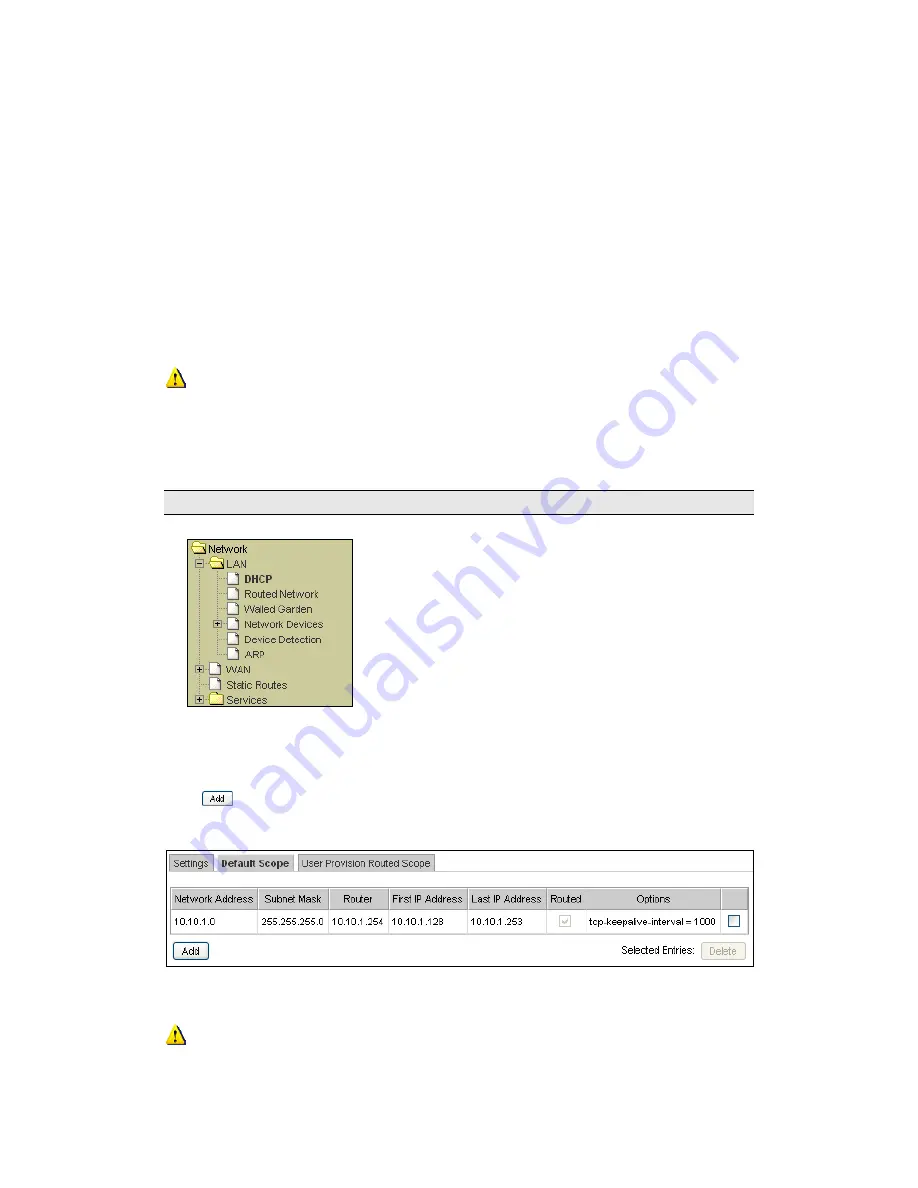
Select the Default Scope tab as shown in Figure 3-5.
A list of IP address ranges will be presented. Click on an entry to modify it or
click
to create one.
Figure 3-5 Default Scope IP Addresses
Ensure that there is no overlap of the IP address ranges between the
Default Scope and User Provision Routed Scope.
Содержание InnGate 3 E-series
Страница 1: ...INNGATE 3 ADMINISTRATOR S MANUAL DOCUMENT RELEASE 1 01 ...
Страница 49: ...Connectivity Made Easy Page 49 of 164 Figure 2 22 Auto Logout ...
Страница 91: ...Connectivity Made Easy Page 91 of 164 Figure 6 7 Test Posting Log Click button to clear the log ...
Страница 132: ...Connectivity Made Easy Page 132 of 164 Figure 8 28 Change of Telnet Console Password ...


