44
7.3.2 Layer adjustments
The layer properties are found by opening the tab on the right side of the screen. Click on the double arrow
button on the right to show or hide the layer adjustment tab.
Selected layer
The selected layer status information will indicate which screen, layer and source assigned to that layer are
selected. You must select a layer in order to see the layer properties menu for that layer.
Reset feature
You can reset each category of layer settings quickly (Pos/Size, Transparency, Cropping, Border, Transitions,
Effects, Timing) or you can choose to reset every settings in one click using the
ALL
button. You can freeze the
input assigned to the selected layer using the Freeze button.
The settings reset here only affects the selected layer on the selected preset. For example, you can reset the
layer settings for layer A on Preview, and Program will be unaffected until you press
TAKE
.
7.3.2 Layer adjustments
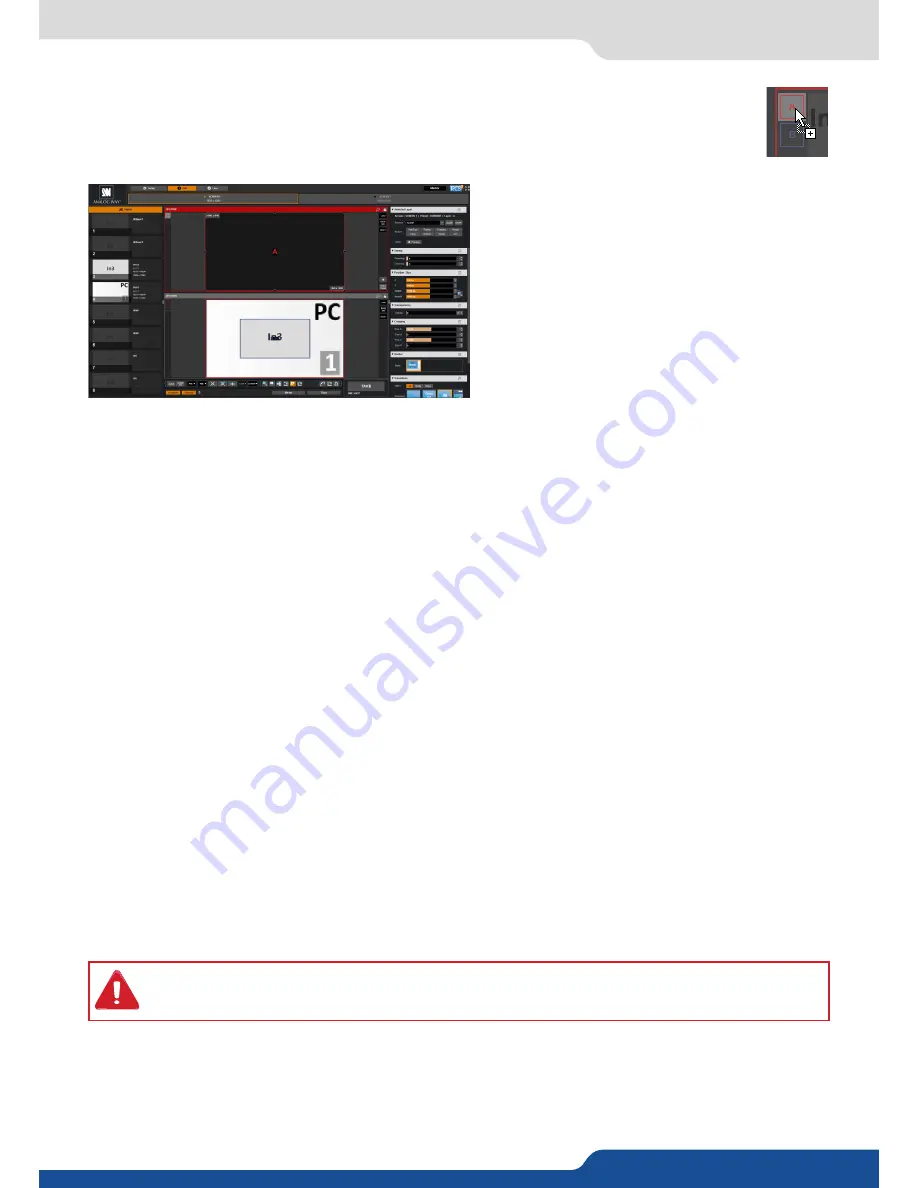
In this example, 2 inputs are affected to 2 layers into the Screen 1 Preview. The
TAKE
button on the bottom
right side allows sending your configuration, made on the Preview screen, to the Program screen.
With each press of the
TAKE
button, the Preview screen is transitioned to the Program screen. By default,
PRESET TOGGLE
mode is disabled. That means, after a
TAKE
, the Preview stays as it was before. The Program
and Preview will have the same content.
If desired, you can activate the
PRESET TOGGLE
mode from the
SETUP > PRECONFIG >MISC
menu, which will
automatically swaps preview and program with each
TAKE
. After each
TAKE
, the Preview is reloaded with the
previous Program.
The
QuickMatriX
has the possibility to use a second layer. This layer can be displayed only with a
controler (RCS², RK-350 or Vertige™). This layer has to be keyed. If not, it will be displayed in black.
You can assign a source to a layer by dropping the selected source into the layer letter icon, located
on the left side of the layout window. This is particularly useful when the desired layer is hidden
or blocked by other layers.
When a layer contains an input and is not empty, the
RCS² displays the input number or a customizable
thumbnail icon that represents your input. Please
note: this thumbnail is not a live image.
Position/Size
Adjust the size horizontally (X) or vertically (Y), then adjust the width and the height of your layer. You can
use the cursor or directly enter a value. To keep the aspect ratio by using the cursor, please enable the
KEEP
ASPECT RATIO
button. You will find it on the right of the width and height cursors.
Содержание QuickMatriX QMX150
Страница 1: ...QuickMatriX Ref QMX150 QMX150 H USER MANUAL...
Страница 75: ...QMX150 QMX150 H 01 NOV 2017 Follow us...


