235 2 Walsh A ve. Santa Clara, CA 9 505 1. U . S. A . Tel.: (40 8) 7 48-91 00, Fax: (4 08) 748 -9 111 w ww .analo gtechnolo gies.com
©
Copyrights 2000 – 2015, Analog Technologies, Inc. All Rights Reserved. Updated on 10/9/2015 www.analogti.com
2
Analog Technologies
Touch LED Table Lamp
ATSLTL1R8W
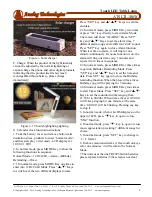
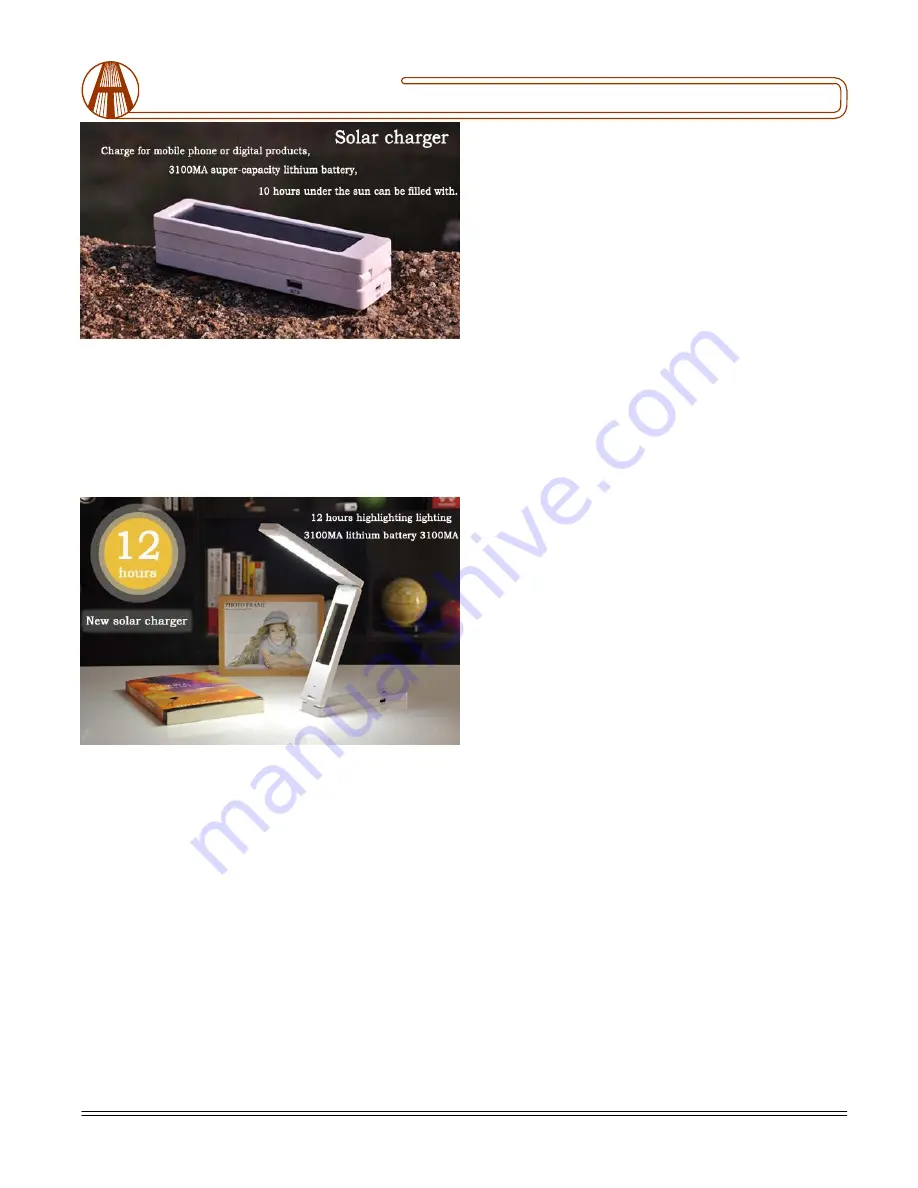
Figure 3. Solar charger
F. Charge: When the product of the light intensity
cannot be adjusted by the normal lightening or
cannot charge the phone and other digital products,
indicating that the product itself is not much
rechargeable lithium battery, please charge
immediately,
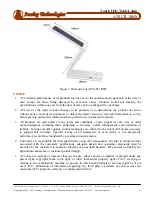
Figure 4. 12 hours highlighting lighting
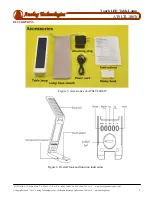
G. Calendar clock function instructions:
1. Take the battery cover and remove button cells
insulation slices, products to enter “normal mode”,
and that state play 1 first music. LCD display for:
12:00 1/1 THU.
2. In normal mode, press MODE Key to show the
following functions in sequence:
Normal Mode---12 Hr/24Hr---Alarm---Birthday
Reminding---Timer
2.1 In normal mode, press MODE Key one time to
enter into 12 Hr/24 Hr Mode. Press “
▲
,
▼
” Keys
to switch over the two different displays format.
Press “SET” key and
▲
“
▲
,
▼
” Keys to set time
and date.
2.2 In normal mode, press MODE Key two times
or press “AL” key directly to start Alarm Mode.
The screen will show “ALARM”. Press “SET”
key and “
▲
,
▼
” Keys to set the alarm time, 7
different alarm songs and 2 different “didi” sound.
Press “SET” key again to close Alarm function.
When it is time to alarm, it will ring for one
minute continuously. If snooze function is on, the
alarm will ring one time every 3 minutes and
repeat it for 4 times in sequence.
2.3 In normal mode, press MODE Key three times
to get into Birthday Reminding Mode. Press
“SET” key and “
▲
,
▼
” Keys to set the time and
date. Press SET” key again to close the Birthday
reminding function. When the preset time arrives,
birthday song will be playing for 5 minutes.
2.4 In normal mode, press MODE Key four times
to start Timer Mode. Press “SET” key and “
▲
,
▼
”
Keys to set the countdown time ranging from
23:59 hr to 00:00hr. When time arrives at 0:00:00,
it will keep ringing for one minute, at the same
time “0:00:00” will be blinking. Pressing any key
to stop it.
3. In normal mode, when ALARM displays on the
upper of LCD, press “
▼
”key to open or close
“SNZ” function.
4. In normal mode, press “
▼
” key to open or close
music appreciation providing 7 different songs for
choice.
5. In normal mode, press “SET” key to change in
C
/
F
format.
6. In above mentioned terms, if free touch on keys
is for one minutes, it will return to the Normal
Mode.
7.The units uses the one CR2025 button batteries,
please replace batteries if the screen is not clear.


