


Replacing the Batteries
47
5.5" Color Passive Mini-Touch Panels
Replacing the Batteries
There is one lithium battery on the touch panel card, with a life of approximately 2.5 years. It
protects stored commands and pages against a power outage. The battery is not used when DC
power is supplied to the touch panel. Write down the replacement date on a label by adding 2.5
years to the date of installation; attach it to the panel for future reference.
Before replacing the lithium battery, make sure you have a current copy of the pages stored in the
touch panel. This will avoid any inadvertent loss of data or service outage. To replace the lithium
battery, you will need a Phillips screwdriver and a non-conducting flat-blade tool to slip under the
battery to pry it up and out of the socket.
AXD-MCP (/PB) and AXM-MCP (/PB) Battery Replacement
To remove the lithium batteries from the touch panel:
1.
Discharge the static electricity from your body by touching a grounded metal object and
unscrew the Decor-style faceplate.
2.
Carefully insert a flat-blade tool into the release slot on the rack-mount backing plate and
remove the engraved overlay or unscrew the Decor faceplate.
3.
Remove the four #6-32 mounting screws and carefully lean the touch panel backward to
expose the connectors.
4.
Disconnect all the connectors and remove the touch panel from the Back Box or equipment
rack.
5.
Place the touch panel facedown onto a soft cloth.
6.
Carefully pry one battery out of its socket and insert the new battery.
7.
Return the touch panel to the Back Box or equipment rack and connect the AXlink connector
for approximately 1 minute; remove the connector from the panel again.
8.
Flip the touch panel facedown onto a soft cloth and carefully remove the other battery from the
socket. Insert the new battery.
9.
Return the touch panel to the Back Box or equipment rack and reconnect all connectors.
10.
Insert the four mounting screws and tighten.
11.
Place the rack-mount backing or Decor faceplate onto the bezel and install the engraved
overlay.
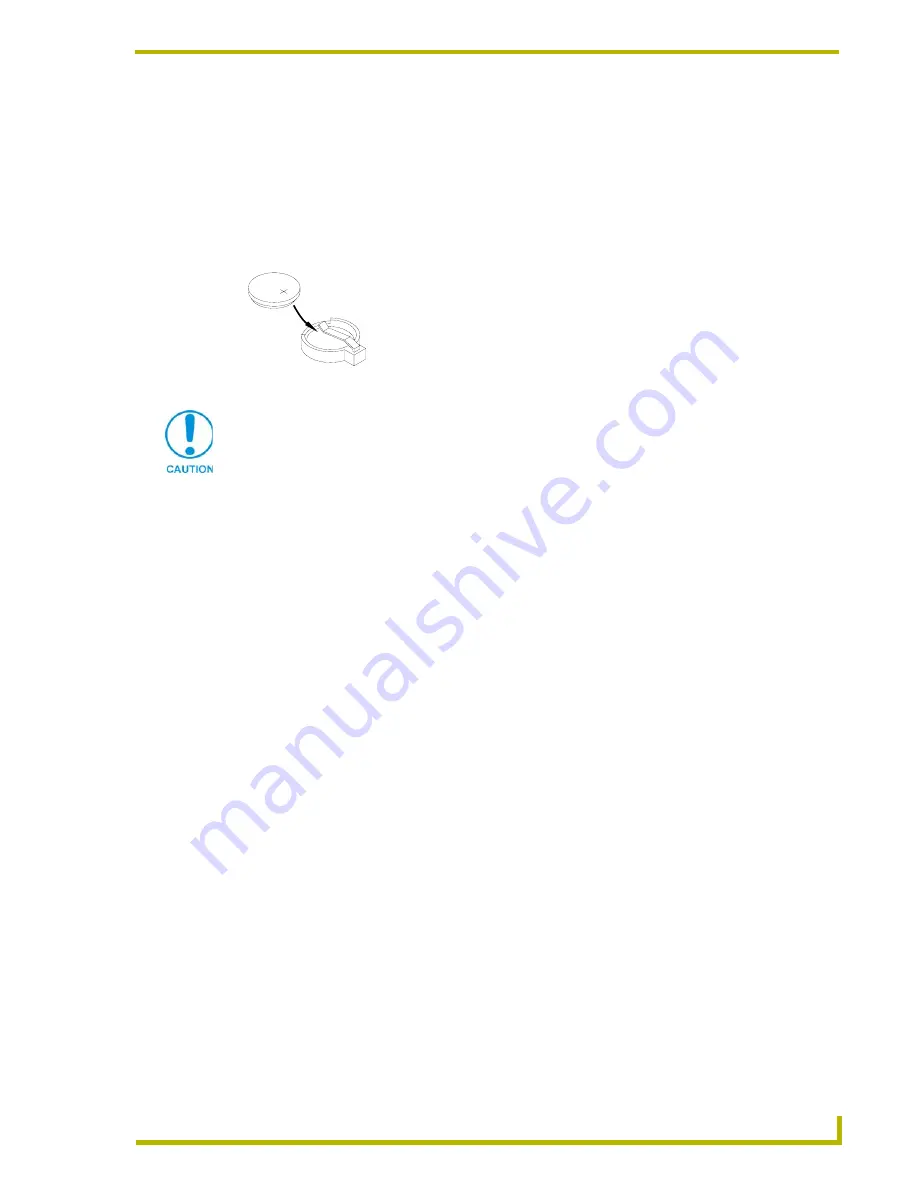
FIG. 17
Lithium battery and socket
Static electricity can damage electronic circuitry. Before removing the touch panel
circuit card from the enclosure, discharge any accumulated static electricity from your
body and flat-blade tool by touching a grounded metal object.


