


9. When the desired depth is achieved, retrieve the instrument and pull it completely out of
the water. The instrument will close it’s log file when it detects that it is out of water.
10. When out of water the instrument will turn it’s WiFi back on. Sailfish will automatically
detect the return of the instrument and connect.
a. Note: If the instrument’s WiFi connection was manually disconnected from
Sailfish prior to deployment (by pressing
Disconnect
), then the instrument will
need to be manually re-connected to Sailfish by the user.
b. If re-connecting via USB-C, dry the instrument prior to removing the USB-C
waterproof cover.
11. Upon (re)-connection, Sailfish will recognize new log files available for download.
Automatic downloads can be enabled in Sailfish, but this is not the default setting.
12. New log files may be viewed, plotted, and exported in various formats using the
Data
Manager
tab in Sailfish.
2.3 Connecting a GPS Listener
Sailfish has the ability to connect to an external GPS listener so that GPS location data may be
sent to an instrument. To set up an external listener, follow these steps:
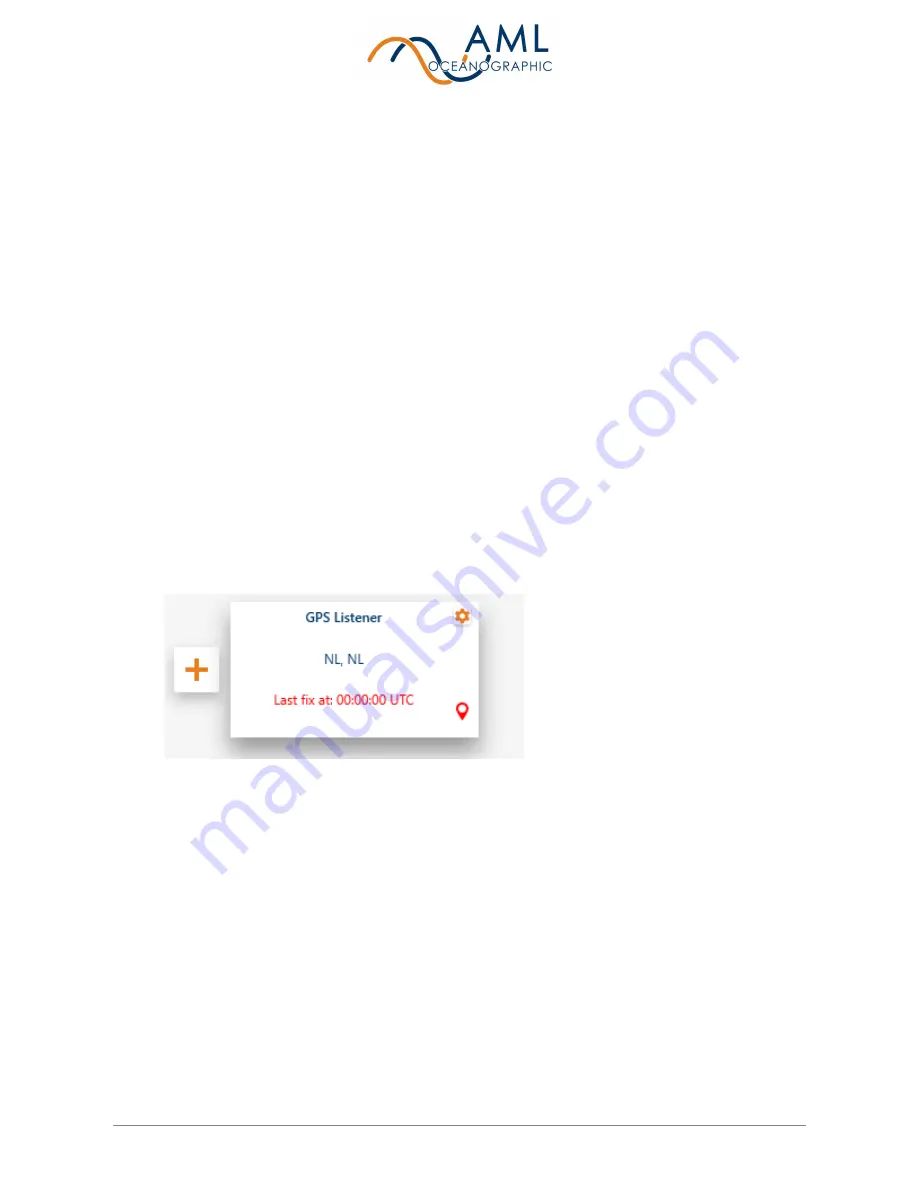
1. Navigate to the
Devices
page and click on the ‘Add Listener’ button. Select ‘GPS
Listener.
2. To configure the GPS listener settings, click the ‘Gear Icon’ on the listener tile.
3. Configure the settings according to your external GPS listener device. Both serial and
UDP connections are supported. Sailfish will remember your GPS listener settings and
AML Oceanographic Ltd.
15/38


