Asterion DC Multioutput ASA Series Operational Manual
M330516-01
3-92
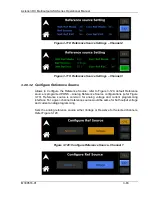
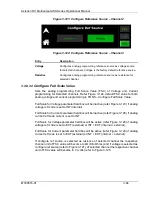
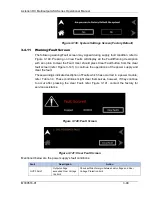
Figure 3-142: Local/Remote Screen
3.5
Output Verification
3.5.1
Constant-Voltage Mode Operation
Constant-Voltage Mode (CV) operation is individual for each channel, the output
voltage is regulated at the programmed value while the output current varies with the
load requirements. The voltage could be programmed separately for each channel
either through the front panel or by the remote analog voltage programming input. To
verify operation in Constant-Voltage mode, follow these steps:
1. Ensure that there is no load connected to the output.
2. Ensure that the remote sense is connected to the output terminals.
3. Connect a digital voltmeter (DVM) across the rear panel positive and negative
output terminals, observing the correct polarity. Make sure the DVM is in the
DC voltage mode and the range is adequate to handle the full-scale voltage of
the power supply.
4. Apply power to the AC mains input and turn on the power supply.
5. If the Power ON Settings (PONS) had previously been configured to be OFF,
when the supply reaches the Dashboard Screen, enable the output by pressing
th
e “Output On/Off”.
6. Use the Dashboard Screen to program the Voltage and Current.
7. Program the Current to 10% of rated output by entering the value in the
“Setting” section on the Dashboard Screen. Program the current above zero to
enable supplying output current while in the constant-voltage mode.
8.
On the Dashboard screen, rotate the rotary knob to select the “Voltage” text
box in the “Setting” section. Press the rotary knob to highlight the voltage value.
Rotate the rotary knob clockwise and observe both the voltage display in the
“Measure” section on the Dashboard screen and output of the DVM begin to
accelerate up. The output voltage should increase from 0 V to the maximum
rated voltage of the supply. The voltage display in the “Measure” section on
the Dashboard screen and DVM readings should track within the accuracies of
the meter and the Dashboard.

