StorTrends® 1300 Set Up Guide
11
Completing the Hardware Installation
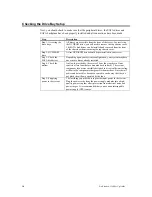
Next, you should check to make sure that all SAS drives have been properly inserted and
have not come loose in transit.
Step Description
1. Checking the drive
bays
All drives can be accessed from the front of the server. Verify that
the hard disk drive trays are inserted all the way into their bay.
2. Check the airflow
Airflow is provided by six high performance fans. The system
component layout was carefully designed to promote sufficient
airflow through the 1U rack mount space. Verify that all cables in
your rack are not obstructing the chassis’s airflow.
3. Connect your
network cable(s)
Plug your Network Cable(s) to both the NIC ports (or to just one of
them) located on the back of the server.
4. Connect your
keyboard and monitor
Plug your keyboard and monitor to the proper ports located on the
back of the server.
5. Supply power to the
system
The last thing you must do is to provide input power to the system.
Plug the two power cords from the power supply units into a high-
quality power strip that offers protection from electrical noise and
power surges. It is recommended that you use an uninterruptible
power supply (UPS).
6. Power your system
on
Power on your server by pressing the power button on the front of
your server.
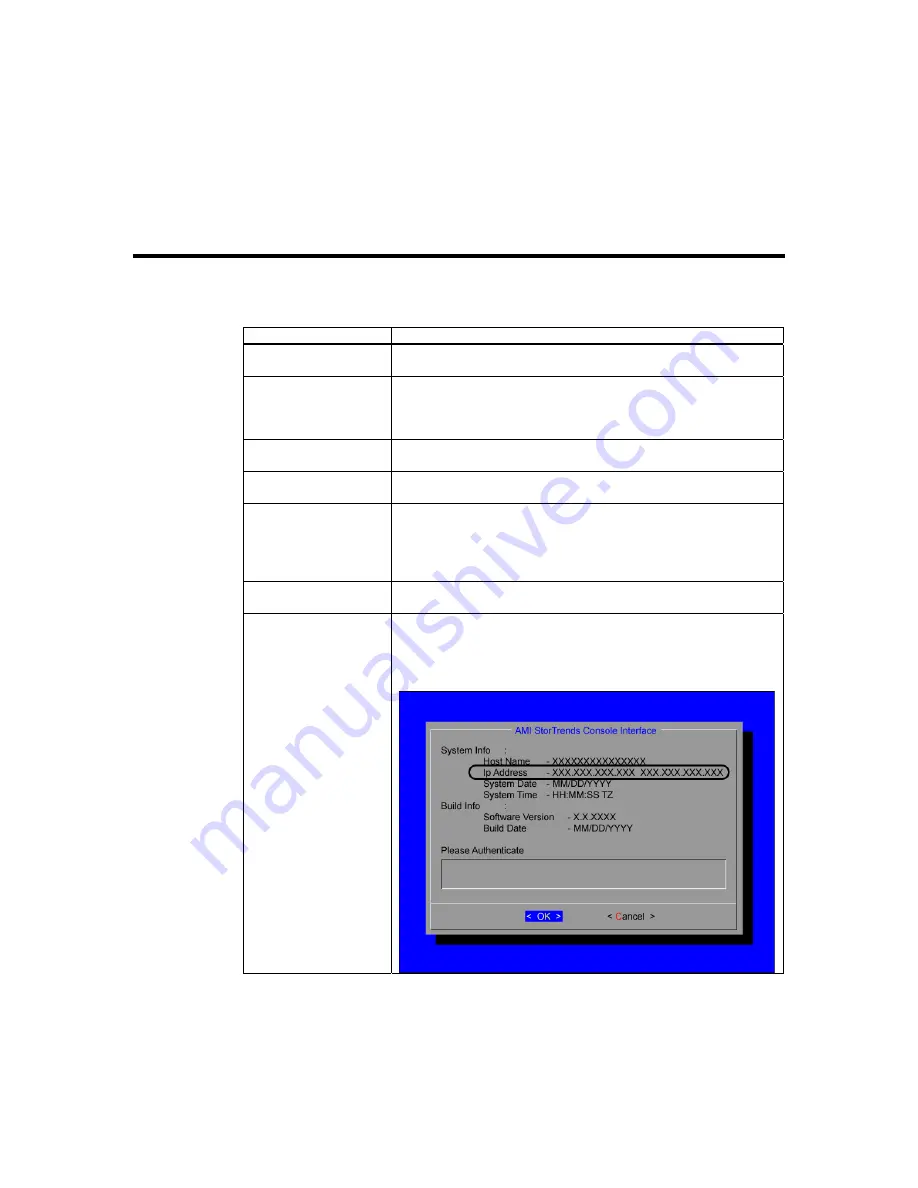
7. Get the IP address
Once the StorTrends Storage Appliance is fully operational, you will
see the following screen. Write down the IP Address listed in the “Ip
Address” field. If you have both NICs connected to your network,
there will be two IP Addresses.
Содержание StorTrends 1300
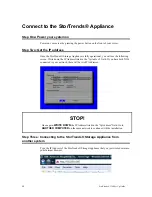
Страница 9: ...StorTrends 1300 Set Up Guide 9 Accessing the Inside of the System...
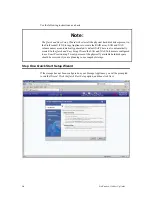
Страница 21: ...StorTrends 1300 Set Up Guide 21 Do not close the window or click anywhere else until the operation completes...
Страница 35: ...StorTrends 1300 Set Up Guide 35 Step Seven All Done No Errors STOP YOU SHOULD NOW BE UP AND RUNNING...

