


Console Setup
Using the device search method
21
Adding cameras
Using the console‟s built-in interface, WiFi and PoE IP cameras can be added in 2 ways: using
the
device search
method and using the
direct connection (PoE)
method.
Note: ONVIF cameras, or cameras that support the ONVIF protocol can also be added to
this NVR.
These steps will be covered after the
Using the device search method
below.
The
device search
method is recommended for any user who already has IP cameras (e.g. WiFi
cameras) installed in the home or business. This method uses the NVR‟s network scan function
to locate, identify, and add these cameras to the NVR‟s interface. The NVR and the previously
set up cameras must be connected to the same local network (your home/business WiFi/router).
The
direct connection (PoE)
method is the primary recommended method for setting up PoE IP
cameras on your NVR using a direct Ethernet connection. Using this method, you will quickly be
able to see and set up your cameras for the
first time all within the NVR‟s interface for instant
access to the live video streams.
Using the device search method
Before beginning this process, make sure that the cameras you are trying to add have already
been set up on your network, or at least connected to the router with an Ethernet cable. If the
username and password were not set up previously, you can still set them up on the NVR and
access the feeds with the default username and password.
It is recommended that you identify that camera‟s IP address before continuing. But, if you don‟t
have the IP address, you can just try adding each list item in the step bel
ow until your camera‟s
live feed appears on the NVR.
Note:
Changing your default password is
always
highly recommended to secure access to your
cameras.
1.
Log into your NVR console‟s built-in interface using your credentials. Refer to Part 3 of
this guide,
Console Setup
>
Logging in
.
2. Open the main menu by left-clicking once, or right-clicking then left-clicking
MAIN MENU
from the right-click menu.
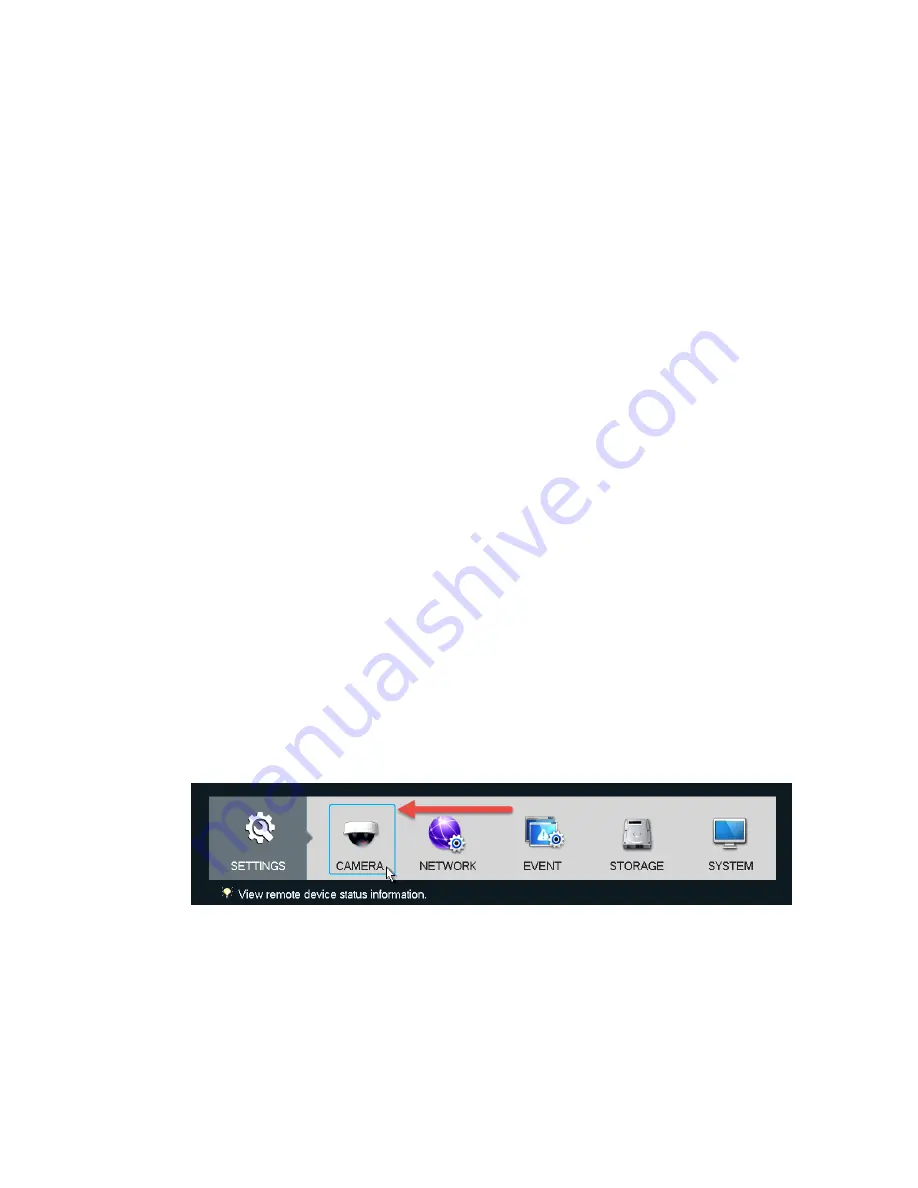
3. Click
CAMERA
from the bottom
SETTINGS
row.
4. Click
REMOTE
from the left navigation panel, then click the
REMOTE
tab on the right to
get to the device search page.


