


20
This is the interface for the playback menu. There are 8 main sections:
Section 1
: Allows the user to filter between video (.mp4) or snapshots (.jpg).
Section 2:
Allows the user to playback events based on calendar dates. If events are detected via the microSD card
the days will be highlighted indicating recordings are available for that day.
Section 3
: The File List option provides a list of all recorded file types reported on a specific day. The files
represented in the file list can be played back and downloaded from this menu.
Section 4:
Use the play option to play all recordings provided in the time bar. To stop a recording press the Stop
button. Click the Next Frame button to view the recording frame by frame. Click the Slow button to play the
recording in slow motion. Click the Fast button to fast forward the recording. Use the volume bar to increase or
decrease the audio of the recording.
Section 5:
These options allow the user to filter between recording types such as, General, Motion, Alarm, or
Manual events. The “All” option will select all recording types in the interface.
Section 6:
Provides a timeline of each recording detected for a selected day. Use your mouse to scroll back and
forth on the timeline to view a recording at a specific time.
Section 7:
Use these options to cut and download a specific recording from the timeline. Enter a start and end time
and click the cut (scissors) icon. Once the recording has been cut, click the download icon to download the cut
recordings.
Section 8:
Use these options to select between a 24-hour, 2-hour, 1 hour, or 30-minute intervals on the timeline.
Cloud Storage
The Cloud Storage tab allows the user quick access to the Amcrest Cloud website. On this website users can
register for new accounts as well as view or modify existing accounts. For more information on Amcrest Cloud visit:
amcrest.com/cloud
Setup
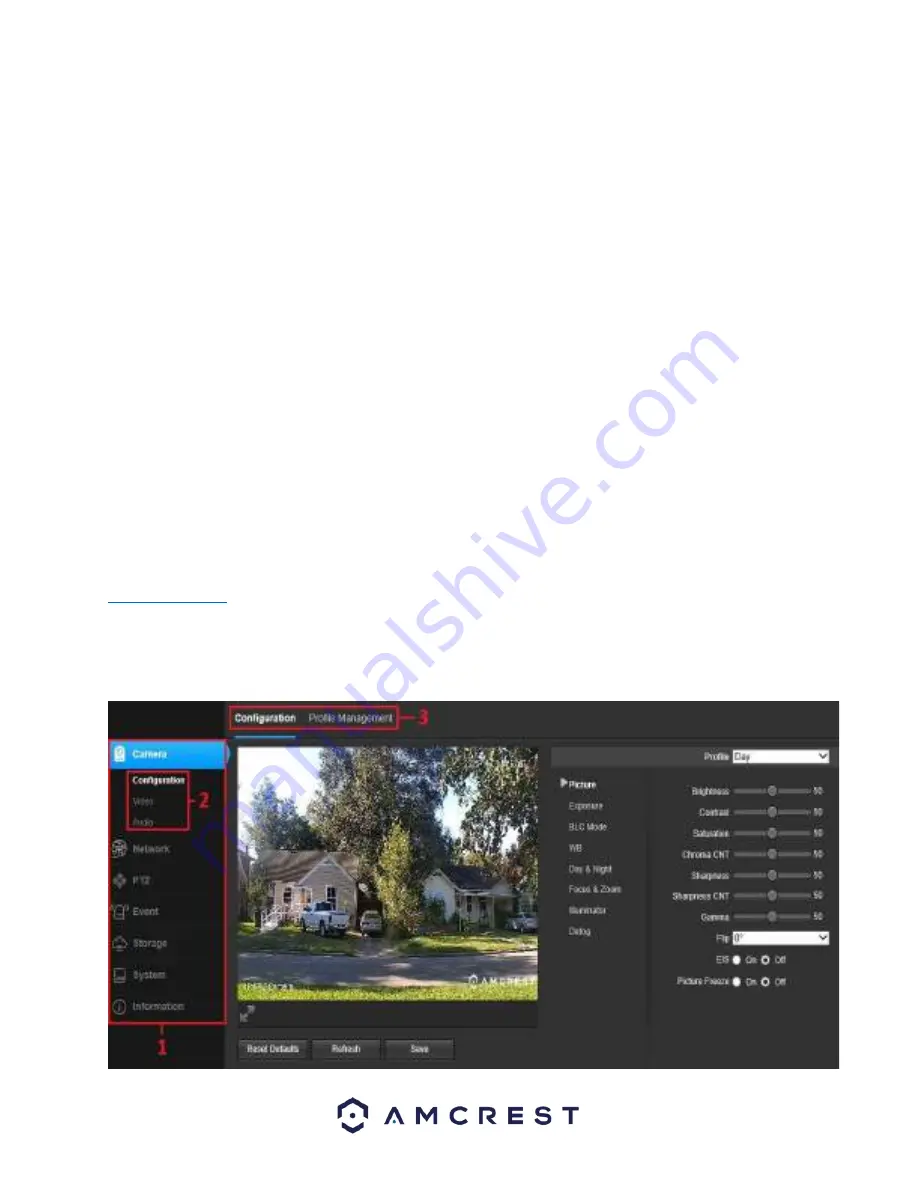
The Setup tab allows the user to change different camera settings Below is a screenshot of the setup tab:


