


17
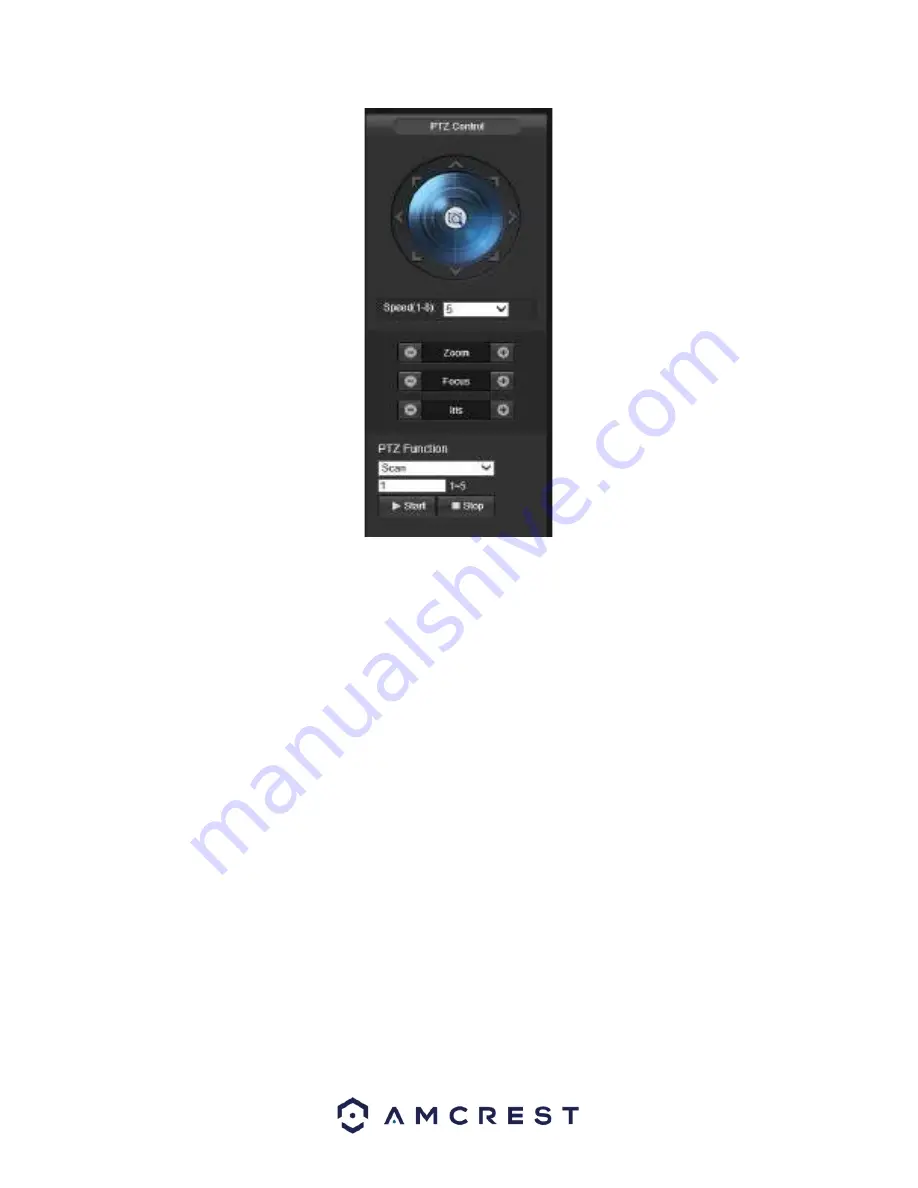
The PTZ control panel allows the user to position the camera in different ways
The arrows on the PTZ control panel allow the user to move the camera’s position in a s
pecific direction. The
button in the middle of the direction arrow allows the user to select an area in the live view to zoom in on. The
speed dropdown box allows the user to control the speed at which the camera moves. The values range from 1 to
8, 8 being the fastest.
The zoom, focus, and iris buttons allow the user to digitally zoom in and out, focus, and just the camera’s image on
the live screen.
The dropdown box under
PTZ Function
allows the user to configure presets, scans, tours, etc. Preset allows the
user to designate specific PTZ positions for the camera. To create and manage presets, follow the steps below:
Configure the camera positioning as needed.
Input the preset number, and then click the + Add button
Click - Del to delete the current preset.
Click Go To access a preset.
Tour allows the user to string multiple presets together. To create and manage tours, follow the steps below:
Ensure you have more than 1 preset configured already.
Input the tour value and click Start.
Input the preset value and then click the Add Preset button to add a preset.
Continue adding presets as needed.
Click Del Preset to remove a preset from the tour.
Click - Del to delete the entire tour.
Pattern allows the user to set specific PTZ patterns. The set patterns allow the camera to move in specific or focus
on specific areas automatically. To create a pattern, follow these steps:
From the PTZ Function dropdown box, select Pattern
Ensure you have a preset initially setup for the camera.


