


78
Below is an explanation of the fields on the NAS settings tab:
•
Enable
: This checkbox allows the user to enable NAS uploading for the camera’s rec
orded media.
•
Server Address
: This field allows the user to designate a DDNS address for the NAS server/device.
•
Remote Directory
: This field allows the user to specify a remote directory on the NAS to send the recorded media
to.
To reset to default settings, click the
Reset Defaults
button. To refresh the page, click the
Refresh
button. To save
the settings, click the
Save
button.
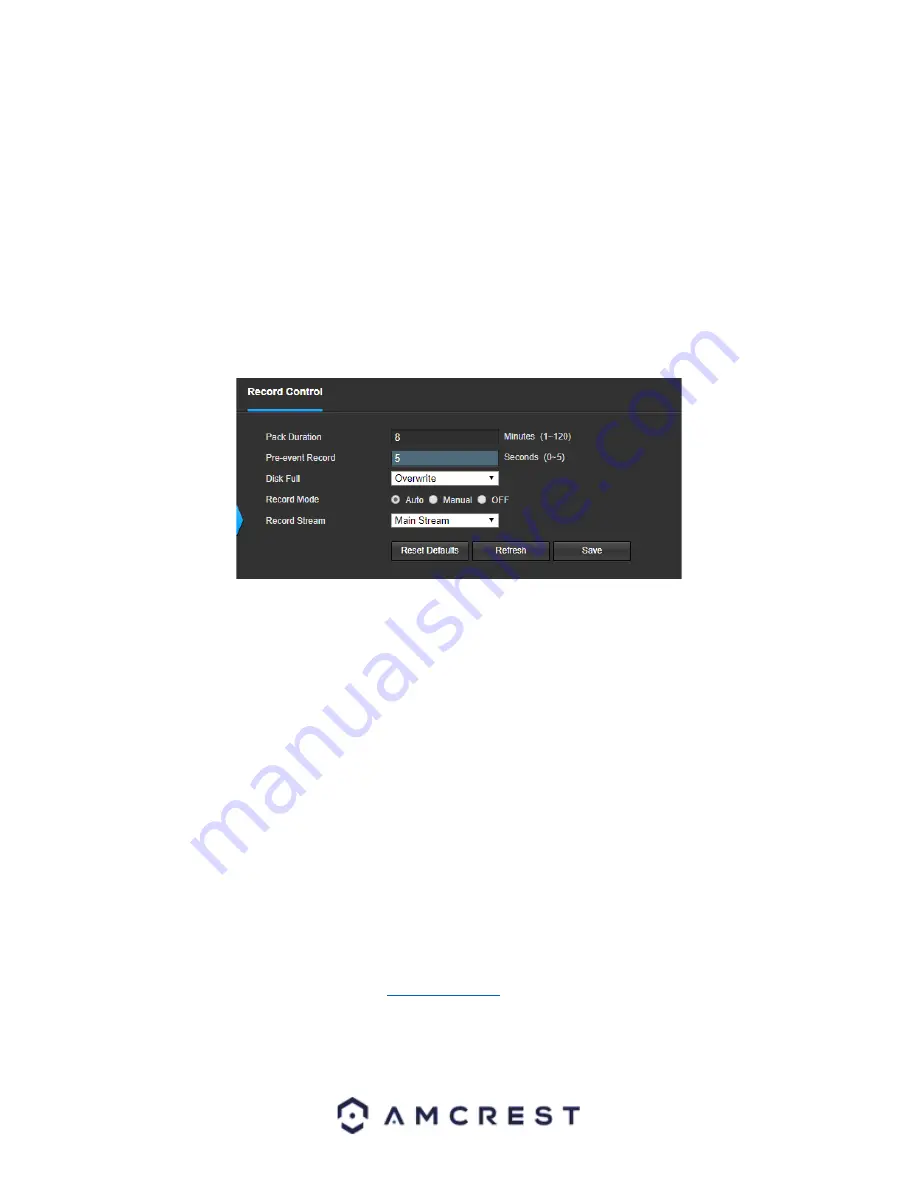
Record Control
This menu is where general recording settings are configured. Below is a screenshot of the record control menu:
Below is an explanation of the fields on the Record Control settings tab:
•
Pack Duration
: This field allows the user to set how many minutes each file is comprised of.
•
Pre-event Record
: This field allows the user to specify how many seconds before an event should be recorded.
Disk Full
: This dropdown box allows the user to designate what the camera should do when the disk is full. There
are 2 options: Overwrite or Stop.
•
Record Mode
: This set of radio buttons allows the user to designate the recording mode. The options are Auto,
Manual, and Off.
Record Stream
: This dropdown box allows the user to specify which stream to record. The options are mainstream
and sub stream.
To reset to default settings, click the
Reset Defaults
button. To refresh the page, click the
Refresh
button. To save
the settings, click the
Save
button.
Cloud Storage
This menu redirects the user to the Amcrest Cloud web site. At this website (amcrestcloud.com) users can register
for new accounts as well as view or modify existing accounts.
For more information on Amcrest Cloud visit:
System
This menu section allows the user to change general settings for the camera.


