NetWay8MV / NetWay16MV
- 9 -
Configuring NetWay8MV/NetWay16MV for Network Connection:
Since every Network Configuration is different, please check with your Network Administrator to see if your
NetWay8MV/NetWay16MV should use static IP addresses, or DHCP assigned IP addresses and/an Inbound
Port assignment prior to setting up network connection .
1 . Click
Network Settings link .
If you are prompted for an administrative password, type and submit the password .
Note: Default settings have password requirements turned off .
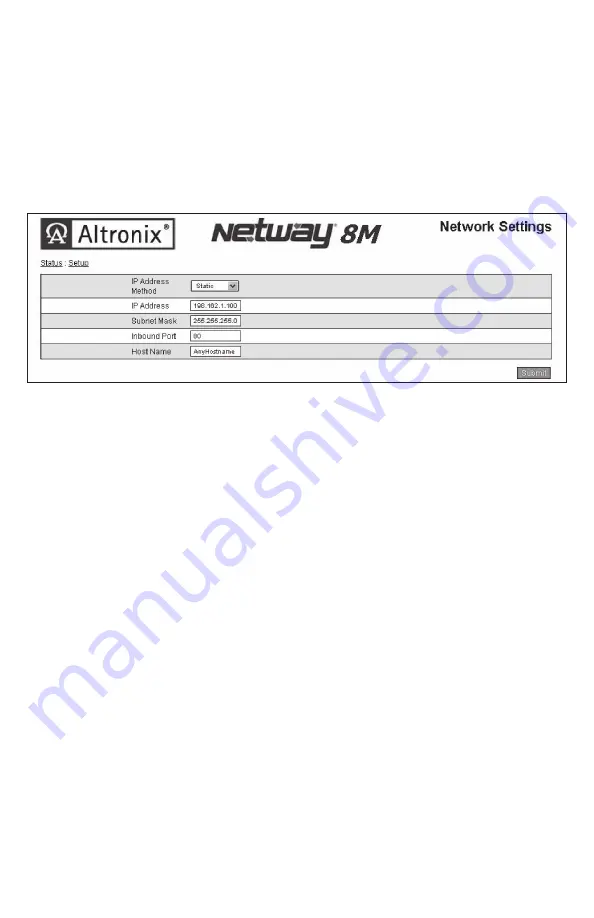
2 . Network Setup page will be displayed .
You may now configure your NetWay8MV/NetWay16MV for network connection .
Figure 6 is a screenshot of the NETWORK SETTING MENU . This menu is for configuring the NetWay8MV/
NetWay16MV units for a network connection .
Network Type:
Static IP:
User can set a fixed IP for network connection .
DHCP:
DHCP server in LAN will automatically an assign IP configuration for the network connection
IP:
This field shows the NetWay8MV/NetWay16MV current IP Address . A static IP address must
be set manually . If DHCP this value will be assigned automatically .
Subnet Mask: This field shows the subnet mask for your network so the NetWay8MV/NetWay16MV will be
recognized within the network . If DHCP is selected, this value will be assigned automatically .
Inbound Port: Port number for HTTP/WEB communication .
Host Name:
Name of the NetWay8MV/NetWay16MV device on the LAN
Additional information:
1 . If using DHCP, all settings will be detected automatically .
While DHCP is a useful tool for determining the network settings, if you set up your NetWay8MV/Net-
Way16MV
in this manner its IP address may change at different times for different reasons, particularly after a power
failure . If the IP address of the NetWay8MV/NetWay16MV changes, you may have difficulties accessing your
NetWay8MV/NetWay16MV locally and/or remotely .
It is strongly recommended that you connect via host name when units configured as DHCP .
Please do not set the DHCP address issued to the NetWay8MV/NetWay16MV by the router as its static
IP address unless you take specific steps that program your router to prevent such address conflicts .
2 . If using a Static IP (recommended), you will need to input the information manually . In order for DDNS to
work, you must enter valid data, compatible with your network, for all of the network setting fields:
IP address, Subnet Mask, Inbound Port and Host Name .
3 . If you are connecting through a router, make sure that you have ‘opened up’ all the required network ports in
the port forwarding section of your router’s setup options . That is, you have directed the router to send any
incoming traffic using those IP ports to the LAN IP address of the NetWay8MV/NetWay16MV .
Useful information about router port forwarding can be found at www .portforward .com . Different routers
may use different terms for port forwarding function . For instance, D-Link calls it virtual server, Netopia
calls it pinholes .
The default port for NetWay8MV/NetWay16MV is: 80


