First Lab: DE2 Top-Level and Default Bitstream
50
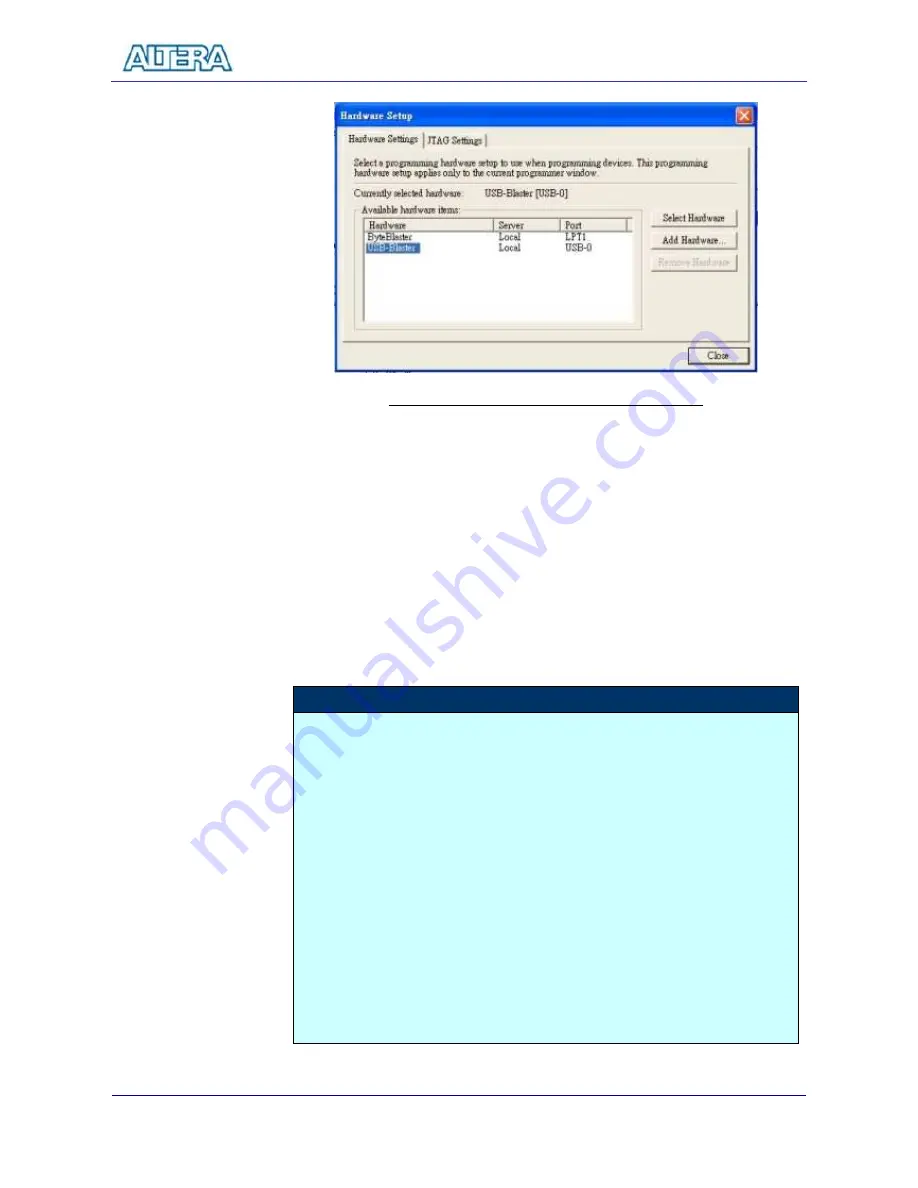
Figure 5.6. Hardware Setup Menu for USB-Blaster
5.
Click Close to close the Hardware Setup dialog box.
6.
In the programming window, select the desired mode (JTAG or Active Serial
Programming mode).
7.
Click Add File button and select the desired SOF(for JTAG) or POF(for AS
mode) accordingly.
8.
Click Start button to download the selected bitstream.
9.
In JTAG mode, you should see the behavior of the design right away. In AS
mode, you have to reboot the board (power on/off) so that the FPGA can
load the bitstream from the Serial Configuration Device.
Note
The first time when you open up a Quartus II design project copied from
somewhere else and open the Programming Window, you should delete the
existing SOF/POF file by selecting the file and clicking on Delete button
because the existing SOF/POF file path might be different from your current
path.
Once you save the Quartus II configuration before you exit the quartus II, it will
remember the SOF/POF file path next time when open the programming
window.
Remember to check the Configuration/Program box after you add a new file.
In JTAG mode, you can use Auto Detect to confirm that the link and device are
correct.
Содержание DE2 Board
Страница 59: ...Lab 3 USB Paint Brush 56 Figure 7 2 The Lab Setup for USB Paint Brush Application...
Страница 67: ...Lab 6 Ethernet Packet Sending Receiving 64 Figure 10 2 The Lab Setup for Ethernet Lab...
Страница 84: ...Lab 8 SD Card Music Player 81 Figure 12 2 The Lab Setup for SD Card Music Player Lab...


