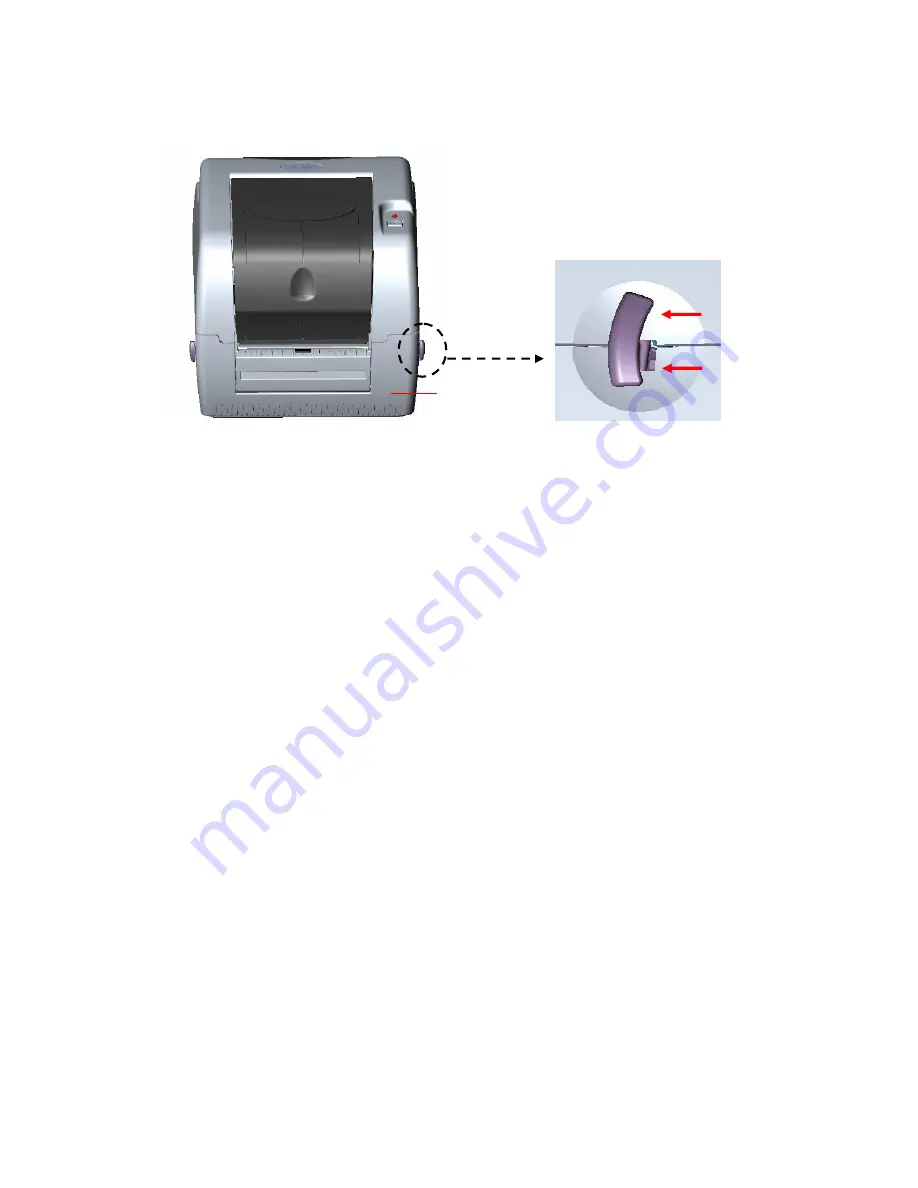
support at the rear of the printer will hold the printer top cover open.
Lower Cover
Fig. 7 Pull the lever to open the cover
3. Place a roll of paper onto the center of the paper roll mount.
4. Feed the paper, printing side face up, through the Teflon bar and the paper
guide and pass over the platen.
5. Adjust the green center-biased paper guides to slightly touch the edges of
the label backing.
6. To close the printer top cover, lift the cover to the ultimate open angle then
use both hands to close the cover gently. C
lose the printer
top
cover slowly
and make sure the cover latches securely.
Note:
1. Make sure hands are not placed between printer top cover and
lower cover when close the top cover.
2. Do not free fall the top cover.
3.
Failure to securely close and lock the cover will result in poor print
quality.
7


