27
Broadcast Band.
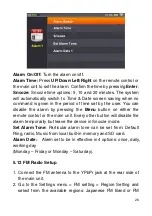
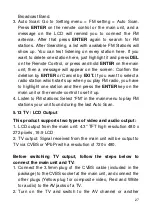
3. Auto Scan: Go to Setting menu > FM setting > Auto Scan.
Press
ENTER
on the remote control or the main unit, and a
message on the LCD will remind you to connect the FM
antenna. After that press
ENTER
again to search for FM
stations. After Searching, a list with available FM Stations will
show up. You can test listening on every station here. If you
want to delete one station here, just highlight it and press
DEL
on the Remote Control, or press and hold
ENTER
on the main
unit, then a message will appear on the screen: Confirm the
deletion by
ENTER
or Cancel by
EXIT.
If you want to select a
radio station which starts up when you play FM radio, you have
to highlight one station and then press the
ENTER
key on the
main unit or the remote control to set it up.
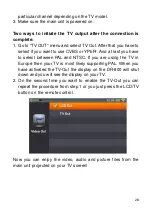
4. Listen to FM stations: Select “FM” in the main menu to play FM
stations your unit found during the last Auto Scan.
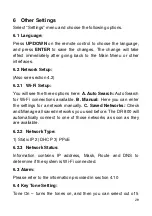
5.13 TV / LCD Output
This product supports two types of video and audio output:
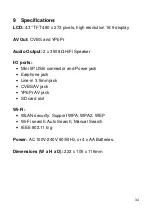
1. LCD output from the main unit: 4.3” TFT high resolution 480 x
272 pixels, 16:9 LCD
2. TV output: Signal received from the main unit will be output to
TV via CVBS or YPbPr with a resolution of 720 x 480.
Before switching TV output, follow the steps below to
connect the main unit and TV:
1. Connect the 3.5mm plug of the CVBS cable (included in the
package) to the CVBS socket at the main unit, and connect the
other plugs (Yellow plug for composite video, Red and White
for audio) to the AV jacks of a TV.
2. Turn on the TV and switch to the AV channel or another


