AL-MEISTER ALM3220 Instruction Manual <Rev.2>
Page 20 of 50
4. INITIAL THREADING OF THE ALM3220 (cont’d)
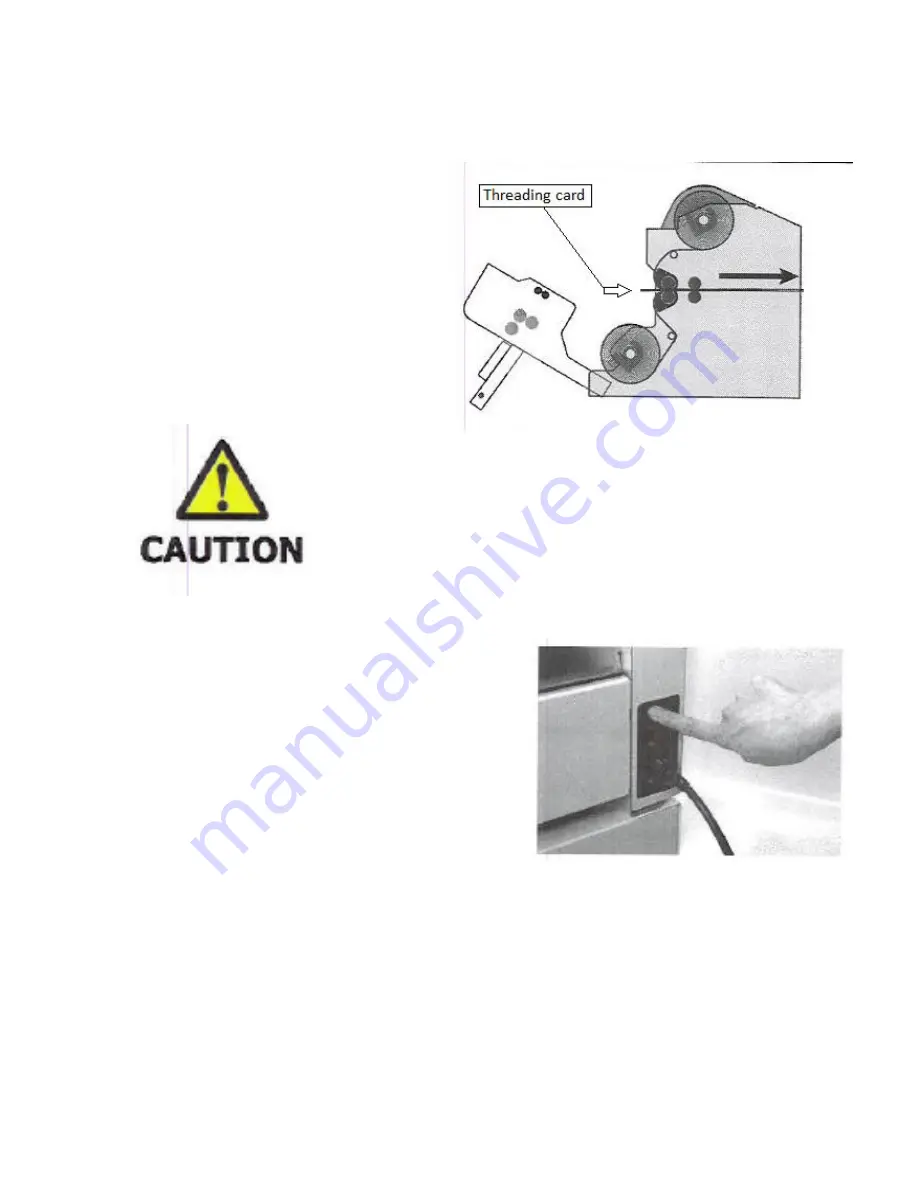
9. Using an 11” long threading card, push both
sheets of film between the chambers (and
into the ‘nip’). Holding the card level continue
to push both sheets of film all the way
through the machine. There should only be 1”
of threading card exposed at the fronts of the
chambers at this time.
If the threading card will not pass a point about 4” into the machine it
is likely being stopped by the film guides on the Cutter Unit. The
threading card MUST pass yet another 4”, or so, beyond that point
before the lamination handle is lowered. Putting plenty of slack in the
film and holding the threading card as level as possible and “stabbing”
the card until it passes through the film guides will help to get the
card fully inserted. If this part of the threading is not performed
correctly damage to the film guides on the Cutter Unit, or other
damage to the machine will result.
10. Do NOT lower the Lamination handle at this time.
11. Turn on the power switch, if not already on.
NOTE:
During the following instructions (i.e. during “normal
threading”) do not use the “MOVE” switch without the
intent of “moving” film out of the rear of the laminator.
Always use the “MOVE” switch until film appears at the exit (but, do not use over 10 seconds if film does
NOT exit). Then, and always, use the “CUT” button and pull that sheet of waste from the exit.
12. Push the Manual MOVE Switch towards the exit of the machine. Even though the Lamination Handle
is up the threading card and film should start to move. If they do not move it may be necessary to push
the threading card firmly at the chambers to make it engage the rollers at the exit. In one or two
seconds the threading card, along with two sheets of film should exit the discharge.


