MULTI MODE
S3200XL Operator’s Manual - Version 1.00
Page 43
SETTING UP A MULTI
Assigning programs to a multi is simplicity itself. You simply move the cursor to the appropriate
part and selecting the program using the DATA control. To set parameters such as level, pan,
etc., move the cursor to the appropriate column and adjust the value for the selected part. The
MULTI mode is always active for modifying with no special edit mode to enter. Let’s now see
how to make up a simple multi.
Firstly, you need to load in a few sounds. Referring to the section that explains the LOAD
mode, load a few programs.
NOTE: It is suggested you use the IND P+S (individual programs and samples) selection. For
the first program and samples you load, use the CLEAR option to clear out any junk that may
be in memory. After you have loaded the first program and its associated samples, just use
LOAD so that the new programs you load are added to the programs in memory. Load in
something sensible. For example, load in a drum kit, a few acoustic and electric pianos, a few
bass sounds and some string and/or pad sounds. We will use these sounds as the basis for
this tutorial.
Assuming that you now have some programs in memory (you can check this in SINGLE mode
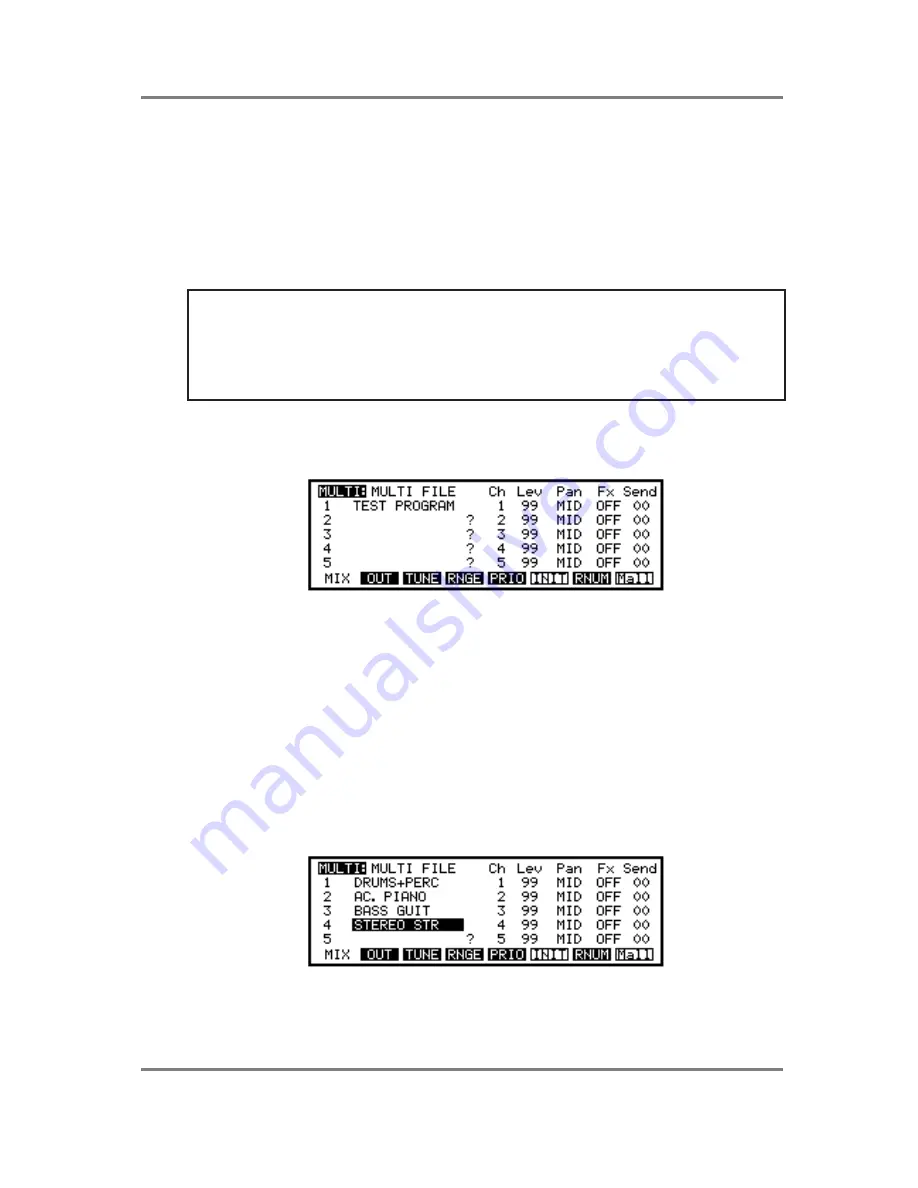
by scrolling through them with the DATA wheel), press MULTI. You should see something like
this screen:
This is showing us that the multi currently in memory is called MULTI FILE, the default name
given to a multi when you power up the S3200XL (you can rename it to something more
suitable as we shall see later). It is also showing us that PART 1 has the default TEST
PROGRAM assigned to it. Now, let’s imagine we want to arrange our multi as follows:
Part 1
Drums
Part 2
Piano
Part 3
Bass
Part 4
Strings
After you have loaded some suitable programs and assigned them, you should end up with
something like this:
On your sequencer, record a basic rhythm into the sequencer using the drums program so that
you have a rhythm to play the other parts to and then overdub some piano chords, a bass part


