14
BUTTONS NAVIGATION
When you are managing Control Clever, text in blue color or flashing sign indicates where you currently are.
ON
OFF
Turn ON /OFF the equipment
When multi equipment (more than 1 unit) it will ask if you want to turn ON/OFF
the current unit or all
MENU
BACK
EXIT
State
Screen
Go to User Menu
Menus
- Exit Menu (if you are in first level)
- Go back to previous menu screen (if you are in level 2 or higher)
- When editing the name, time and hour, etc… it goes back to the
previous value
SCROLL UP/DOWN
GO NEXT/BACK
State
Screen
Manual: Modifies the ventilation (fan icon will flash). Once
ventilation is chosen, button “
✓
” must be pressed, and then arrows
buttons will modify the heating. If you press “
✓
” again then arrows
modify the temperature set.
Auto: Modifies only the Set temperature
Menus Scroll through option (left) or editing value (between arrows)
(SET)
SELECT DEVICE
ENTER OPTION
CONFIRM
State
Screen
Turn the device name into blue and then using arrows you can
change between devices (different units and Modbus number) (Only
multi-equipment)
Menus
Go from left side to the right side (in order to edit the values)
Confirm the selected value (between arrows) and go back to left
Enter to edit an option with “
✓
”sign
MENUS
There are different menus depending on who is managing the equipment:
-
“User” very easy for final user
-
"Basic" with main parameters to configure the unit. Suitable for people with technical knowledge.
-
"Advanced" only for professionals
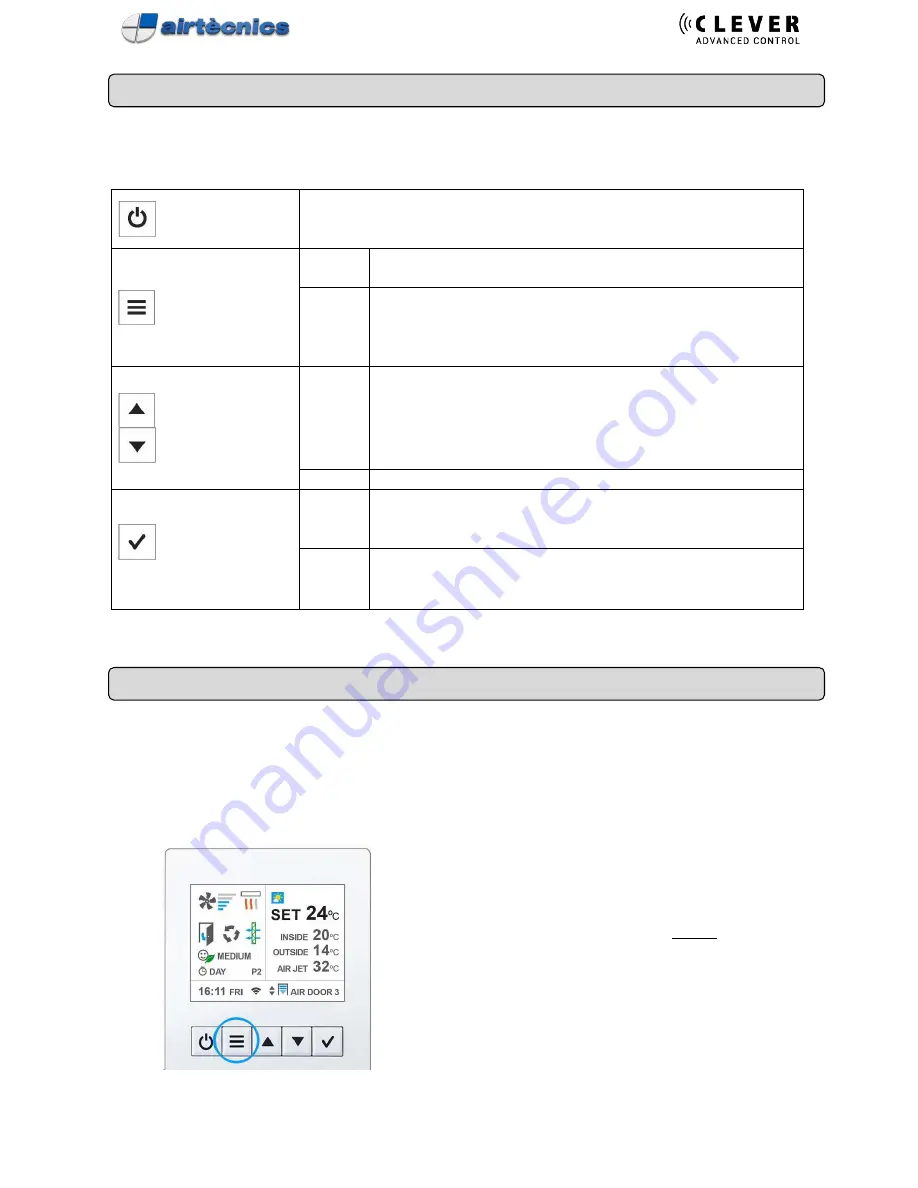
Access User Menu by pressing "Menu"
Button


