


31
Designing labels
The best way of designing labels will depend on your printer and your label design software. The
following information may be helpful although it may not be relevant in all cases.
Set the page length to the cutting die plate length.
Set the page width to your media width. Remember that your media width should be wider
than the cutting plate width to allow for a black mark that is at least 5mm wide.
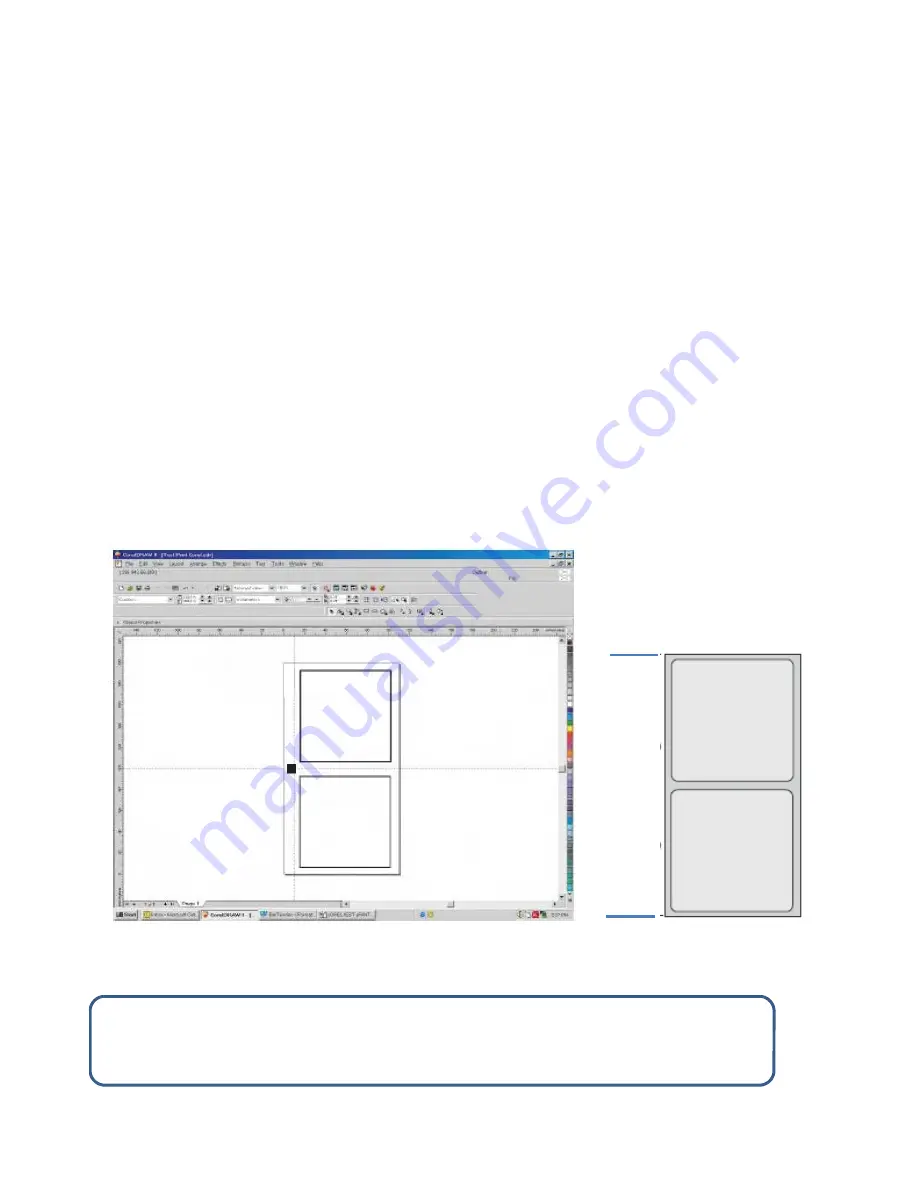
Most graphics packages use guidelines or grids that can be used to separate your label picture
into sections that relate to the die. The example below shows a die that is 2 up, that is, two
images along the web. In this case you would use your guidelines to split the screen area into
two.
Once you have created the first label design, copy the design and place it where the second
label will be printed, again by using the guidelines.
Place your black mark, which ideally should be about 5mm across the web and 3mm along the
web,
as close as possible to the center of the printed image(s) as possible
. This saves a lot of
time in set up and registration.
With the DLP-2000 you will be able to move the die position in relation to the black mark with
full control over lengthways and sideways adjustments as detailed on page 19.
Cut
tin
g
Pl
at
e
Le
ng
th
(P
ag
e
xx
x)
Hint:
Try creating a page template with your software program for each cutting plate that
you use. Include all details such as page size and black mark size and position. Once you
have a template you will find label design extremely simple.
Содержание DLP-2000
Страница 1: ...Version 1 2 Version 1 2 ...