AEQ
PHOENIX MERCURY
29
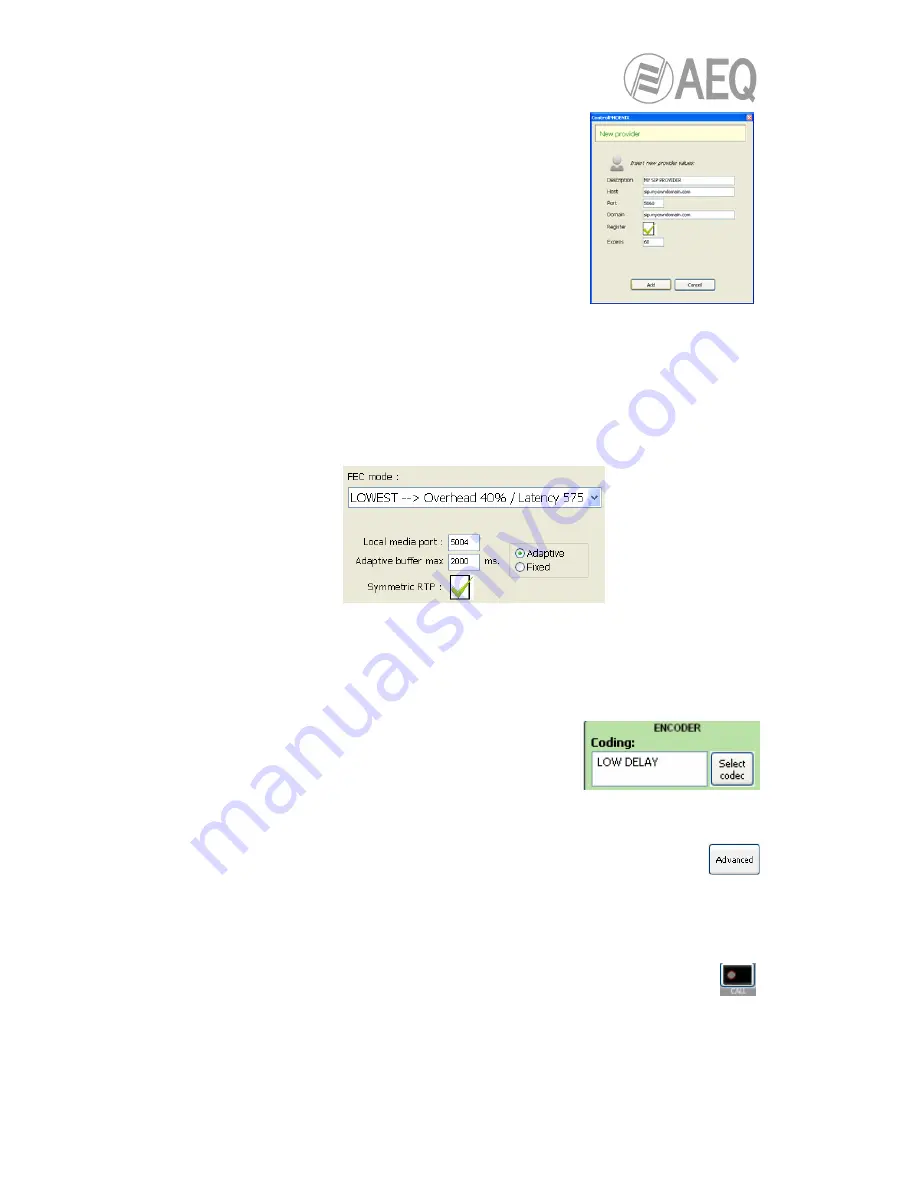
Check the SIP server configuration (“Proxy Provider”).
Select one that is already configured from the list, for
example the default “AEQ”, or otherwise go to ”Manage
Providers”, create a “New provider” and fill in the following
fields: name, port, address of the server (either its IP or
URL) and, if necessary, check the “Register” field. In this
case, you also need to re-write the “Authentication” data in
the channel’s SIP parameters so they match those in the
new server, as the ones by default are only for “AEQ”.
Note that, in case you specify the SIP Server by its URL
instead of its IP address, the DNS Server must be correctly
configured and reachable (at “Configuration”
Æ
“Ethernet”).
•
Select the working mode to traverse NAT devices (“
NAT Traversal
”) that is more
adequate for the network the unit is connected to.
NOTE:
It is recommended that you follow Application Notes 0-A or 0-C, according to the
type of equipment’s connection.
•
At “I/F Setup“, fill in the “Local media port” (where the unit expects to receive RTP audio
traffic at). If you enable Symmetric RTP mode, the unit will send audio to the same port
where it is receiving it from. This is sometimes useful to overcome NAT routers.
The same screen allows you to configure the type and size of the receiving buffer and
FEC parameters as a function of the IP network quality so we have the shortest delay
while audio cuts are minimized or eliminated in poor quality networks (see paragraph
3.4 of this manual in order to select the optimal buffer configuration depending on your
application).
•
Return to the general configuration screen, check that the
selected coding algorithm in the green “ENCODER“ area
is correct, or otherwise click on “Select codec” to change
it. There are several pre-defined profiles containing
several particular algorithms each one, with preference
ordering. They can be edited and more profiles can be added. The called unit will
accept the call using the first coding algorithm that it supports from the list
(independently of the profile selected in that unit at that time).
•
Decide whether you will use the advanced automatic connection options or not:
o
“Autoanswer”: Automatic call answering for all incoming calls, or only those
corresponding to a predefined caller.
o
“Auto hang-up”: Automatic hang-up whenever audio packets are missed for a given
time.
o
“Permanent call”: Automatic redial to the last IP in case the connection is lost.
•
Return to the individual codec control window and click on “
CALL
“ button
,
showing then the call screen:


