44
Remark:
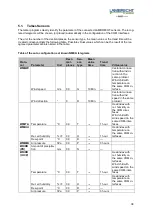
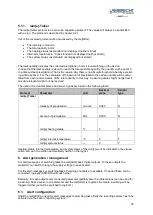
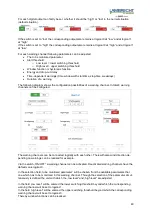
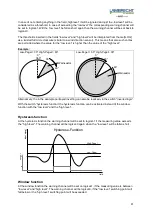
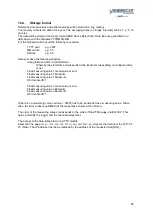
For the sum and mean value formation max. 20 buffers with 60 values each are avail-
able.
At a one-minute sliding mean value every second a value will be taken and each sec-
ond the buffer or the mean value will be updated.
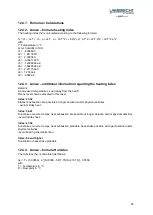
At a ten-minute sliding mean value every ten seconds a mean value will be set up out
of ten values and be written in the buffer, the earliest ten second mean value will be
deleted and out of the buffer a mean value of the ten second mean values will be cre-
ated.
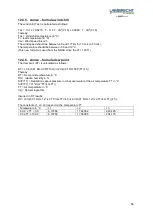
At a 120-minute sliding mean value every 120 seconds a mean value will be set up
out of 120 values and be written in the buffer, the eldest 120 second mean value will
be deleted and out of the buffer a mean value of the 120 second mean values will be
created.
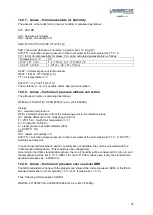
Time-controlled alerting (e.g. for building technology)
Alarms or control tasks will partially be carried out time based respectively daily based
.
E.g. shading
an office doesn’t need to take place during weekends.
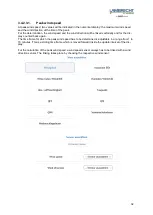
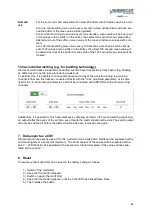
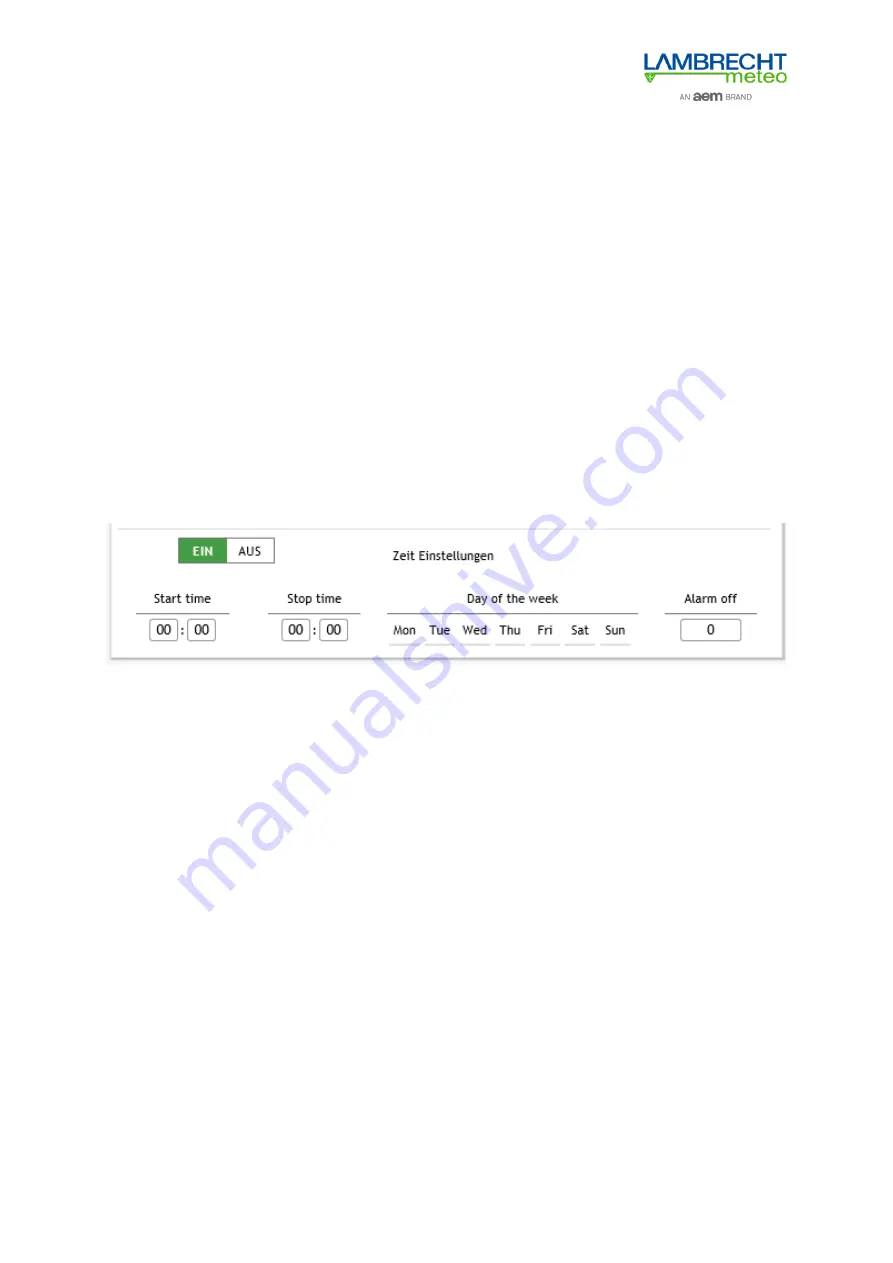
To perform this, it is possible to choose timeframe and a day of the week for alerting in a warning
channel. Either can this date be connected directly with the “to be monitored parameter” or the time
itself is the “to be monitored parameter” and will be connected with AND/OR with the other warning
channels.
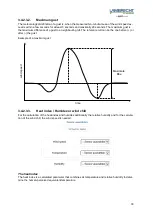
Additionally, it is possible to finish automatically by entering an “alarm off“ time and alerting (switching
an output) after the expiry of the set time even though the alarm situation still exists. The switch output
will only be switched if before the alarm situation has been removed once again.
7. Data export as a CSV
Stored data can be exported as a CSV-file, performed on a daily basis. Fields can be separated with a
comma (English) or a semicolon (German). The decimal place of the values will be separated with a
point “.”. Will the fields be separated with a semicolon, the decimal place of the values will be sepa-
rated with a comma “,”.
8. Reset
If necessary, the met[LOG] can be reset on the factory setting as follows:
1.) Switch of the met[LOG]
2.) Keep the front button pressed
3.) Switch on again the met[LOG]
4.) Keep the front button pressed, until the front LED has blinked three times.
5.) Then release the button.
Содержание LAMBECHT METEO 00.95800.010000
Страница 9: ...9 Wiring diagram EOLOS...
Страница 10: ...10 Wiring diagram ARCO Modbus...
Страница 11: ...11 Wiring diagram rain e Modbus...
Страница 13: ...13 Connection example with power cube met LOG EOLOS Modbus rain e Modbus...
Страница 14: ...14 Connection example with power cube met LOG u sonic...

