Chapter 2 Connecting Peripherals
23
2.2
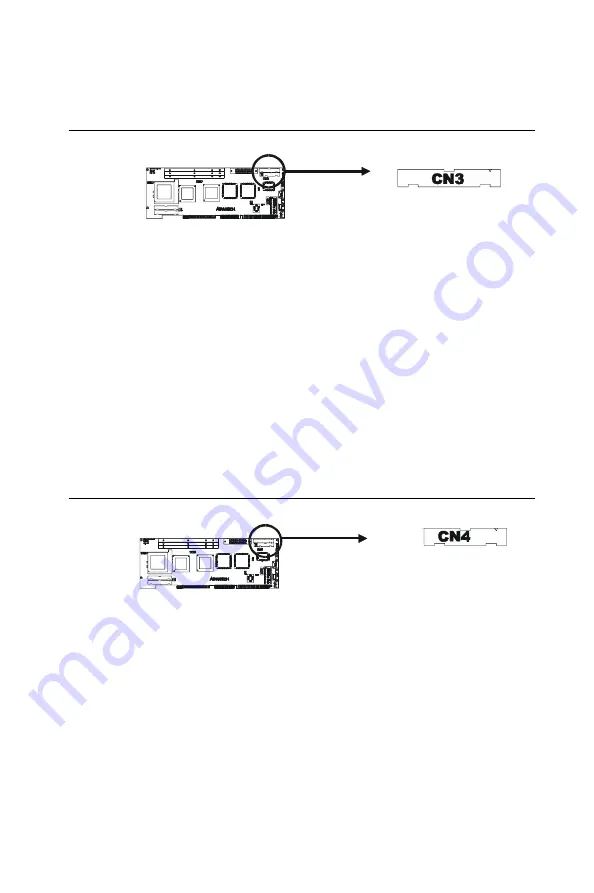
Floppy Drive Connector (CN3)
You can attach up to two floppy disk drives to the PCA-6166's
on-board controller. You can use any combination of 5.25"
(360 KB / 1.2 MB) and/or 3.5" (720 KB / 1.44 MB / 2.88 MB) drives.
The card comes with a 34-pin daisy-chain drive connector cable. On
one end of the cable is a 34-pin flat-cable connector. On the other end
are two sets of floppy disk drive connectors. Each set consists of a
34-pin flat-cable connector (usually used for 3.5" drives) and a
printed circuit-board connector (usually used for 5.25" drives). You
can use only one connector in each set. The set on the end (after the
twist in the cable) connects to the A: floppy drive. The set in the
middle connects to the B: floppy drive.
2.3
Parallel Port Connector (CN4)
The parallel port is normally used to connect the CPU card to a
printer. The PCA-6166 includes an on-board parallel port, accessed
through a 26-pin flat-cable connector, CN4. The card comes with an
adapter cable which lets you use a traditional DB-25 connector. The
cable has a 26-pin connector on one end and a DB-25 connector on
the other, mounted on a retaining bracket. The bracket installs at the
end of an empty slot in your chassis, giving you access to the connec-
tor.
The parallel port is designated as LPT1, and can be disabled or
changed to LPT2 or LPT3 in the system BIOS setup.
Содержание PCA-6166
Страница 1: ...PCA 6166 Full size Super 7 Pentium MMX processor based PCI ISA bus CPU card...
Страница 44: ...32 PCA 6166 User s Manual...
Страница 45: ...Award BIOS Setup This chapter describes how to set the card s BIOS configuration data CHAPTER 3...
Страница 69: ...Chapter 4 PCI SVGA Setup 57 7 When the Setup Complete screen appears click Finish...
Страница 71: ...Chapter 4 PCI SVGA Setup 59 4 Click Browse to look for the driver program 3 Click Have Disk...
Страница 72: ...60 PCA 6166 User s Manual 6 Select Sis530 and then click Open 5 Select Winnt40 and then click Open...
Страница 73: ...Chapter 4 PCI SVGA Setup 61 8 Select SiS 530 then click OK and follow the instructions 7 Click OK...
Страница 79: ...Chapter 5 LAN Configuration 67 3 Click Next 4 Click Next...
Страница 80: ...68 PCA 6166 User s Manual 6 Click Browse 5 Follow the instructions on the screen and click Have Disk...
Страница 81: ...Chapter 5 LAN Configuration 69 7 Select net82557 inf and click OK 8 Click OK...
Страница 82: ...70 PCA 6166 User s Manual 10 Click Next 9 Click OK...
Страница 83: ...Chapter 5 LAN Configuration 71 12 Click Yes 11 Click Finish...
Страница 87: ...Chapter 5 LAN Configuration 75 6 Select Intel R PRO Adapter and click OK 5 Click OK...
Страница 97: ...SiS IDE Driver Installation This chapter explains how to install the SiS IDE driver CHAPTER 7...
Страница 100: ...88 PCA 6166 User s Manual...
Страница 105: ...Chapter 7 On board Security Setup 93 3 Complete the setup Figure 8 3 Hardware Doctor setup completion screen...
Страница 106: ...94 PCA 6166 User s Manual Figure 8 4 Exploring SisMon 4 Using the Exploring SiS Monitor screen click on SiSMon...
Страница 110: ...98 PCA 6166 User s Manual...
Страница 114: ...102 PCA 6166 User s Manual...
Страница 132: ...120 PCA 6166 User s Manual...


