


NeuronBot
List of Figures
51
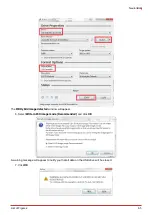
1. Open the terminal.
2. Set up the SSH connection to access the NeuronBot remotely on your computer.
ssh –X [email protected]
3. Start Byobu to run multiple sessions on a single SSH connection.
Note:
“Session” means a window in a single terminal with an SSH connection to a NeuronBot.
byobu
•
Session 0:
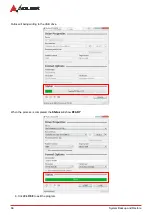
4. Source the environment.
source /opt/ros/<YOUR_ROS2_DISTRO>/setup.bash
source ~/neuronbot2_ros2_ws/install/
local_
setup.bash
5. Launch NeuronBot.
Note:
This launch file contains multiple nodes and enables communication between the motor controller, laser
SLAM, and all NeuronBot TF definitions. If you end the node with
ctrl + c
, remember only to press once and
allow it to shut down automatically. The rplidarNode node requires some time to shut down the serial port.
ros2 launch neuronbot2_bringup bringup_launch.py
•
Session 1:
6.
Source the environment.
source /opt/ros/<YOUR_ROS2_DISTRO>/setup.bash
7. Start teleoperation.
Note:
The manual driver used for this scenario is teleop_twist_keyboard. The default command is a little too
fast, so press
x
and
c
to decrease the linear speed to 0.4 m/s and the angular speed to 0.4 rad/s. Press
k
or
s
to immediately stop.
ros2 run teleop_twist_keyboard teleop_twist_keyboard
Figure 4-1-4-1: teleop_twist_keyboard
Terminal 2:
8. Set up the environment.