


94
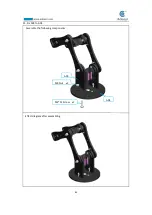
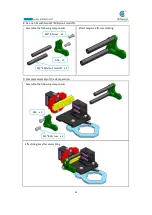
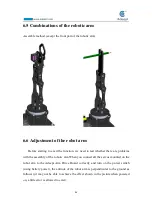
6.5 Combinations of the robotic arm
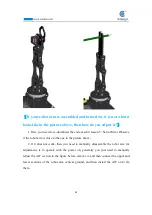
Assemble method (except the front part of the robotic arm).
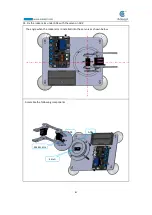
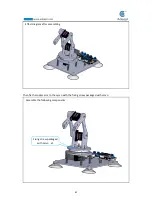
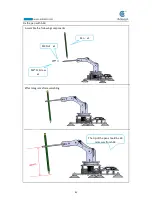
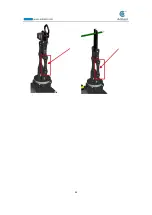
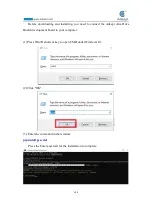
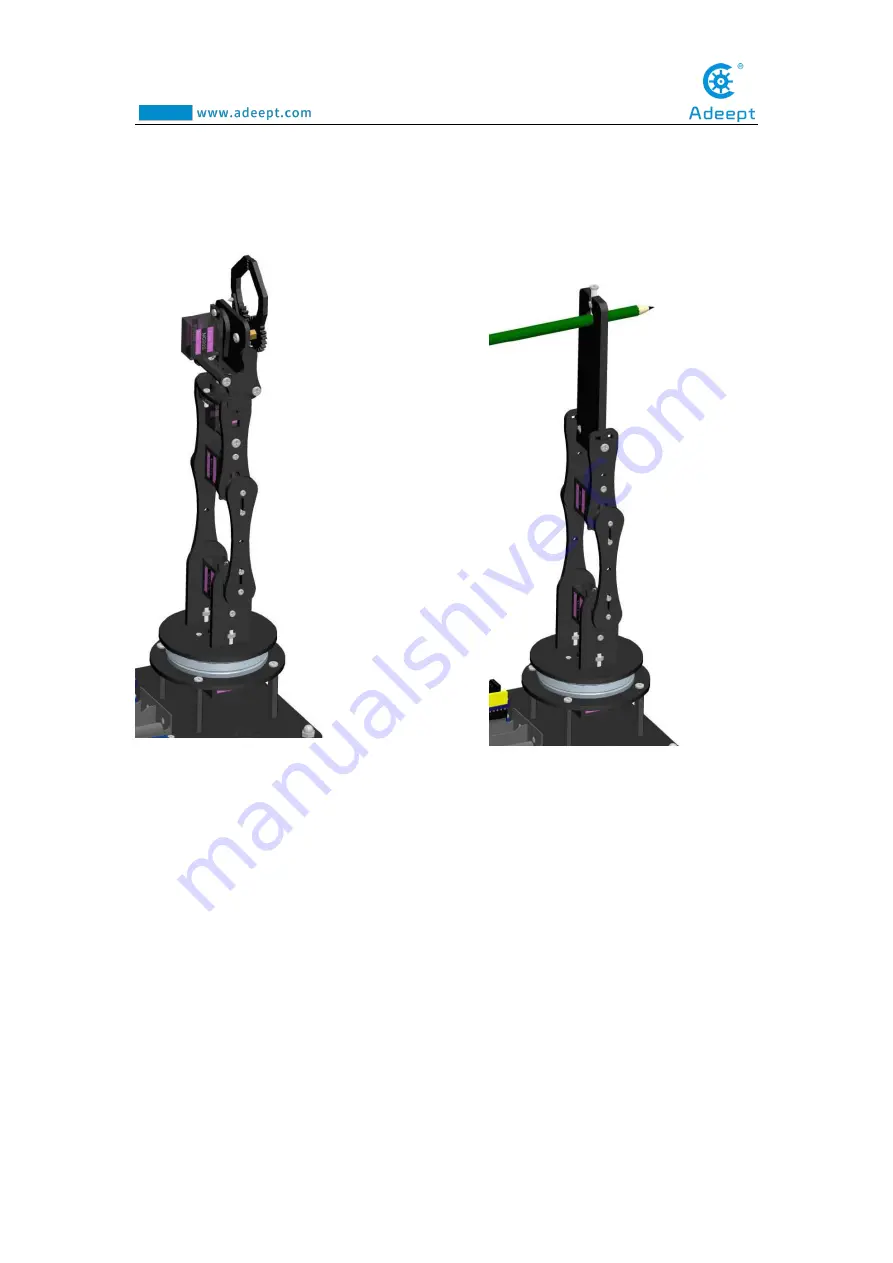
6.6 Adjustment of the robot arm
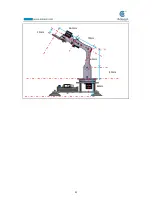
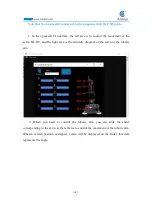
Before starting to exert the function, we need to test whether there are problems
with the assembly of the robotic arm.When you connect all the servos mounted on the
robot arm to the Adeept Arm Drive Board correctly and turn on the power switch
(using battery power), the attitude of the robot arm is perpendicular to the ground as
follows ((it may not be able to achieve the effect shown in the picture when powered
on, a little error is allowed to exist).
Содержание Robotic Arm
Страница 1: ...1...
Страница 33: ...30 9 Running effect is as follow...
Страница 70: ...67 Effect diagram after assembling Assemble the following components M3 8 Screw x4 M3 30 Nylon Standoff x4...
Страница 74: ...71 SERVO of number 5 4 2 1 3...
Страница 86: ...83 Effect diagram after assembling...
Страница 95: ...92 40mm 60mm 66 5mm 65mm 13mm 70mm...
Страница 99: ...96...
Страница 111: ...108...
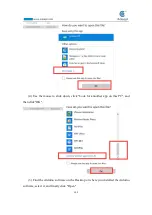
Страница 117: ...114 6 Click More apps then click OK 7 Slide the mouse down click Look for annother app on this PC and then click OK...
Страница 137: ...134...
Страница 154: ...151 7 the library file controlP5 needs to be added...
Страница 156: ...153 9 Click Run 10 Running effect is as follow...
Страница 164: ...161...
Страница 181: ...178...
Страница 182: ...179...


