User Manual of Network Zoom camera
70
(1)
Enter the HDD Settings interface (
Advanced Configuration > Storage >
Storage Management
), in which you can view the capacity, free space,
status,
type and property of the disk.
(2)
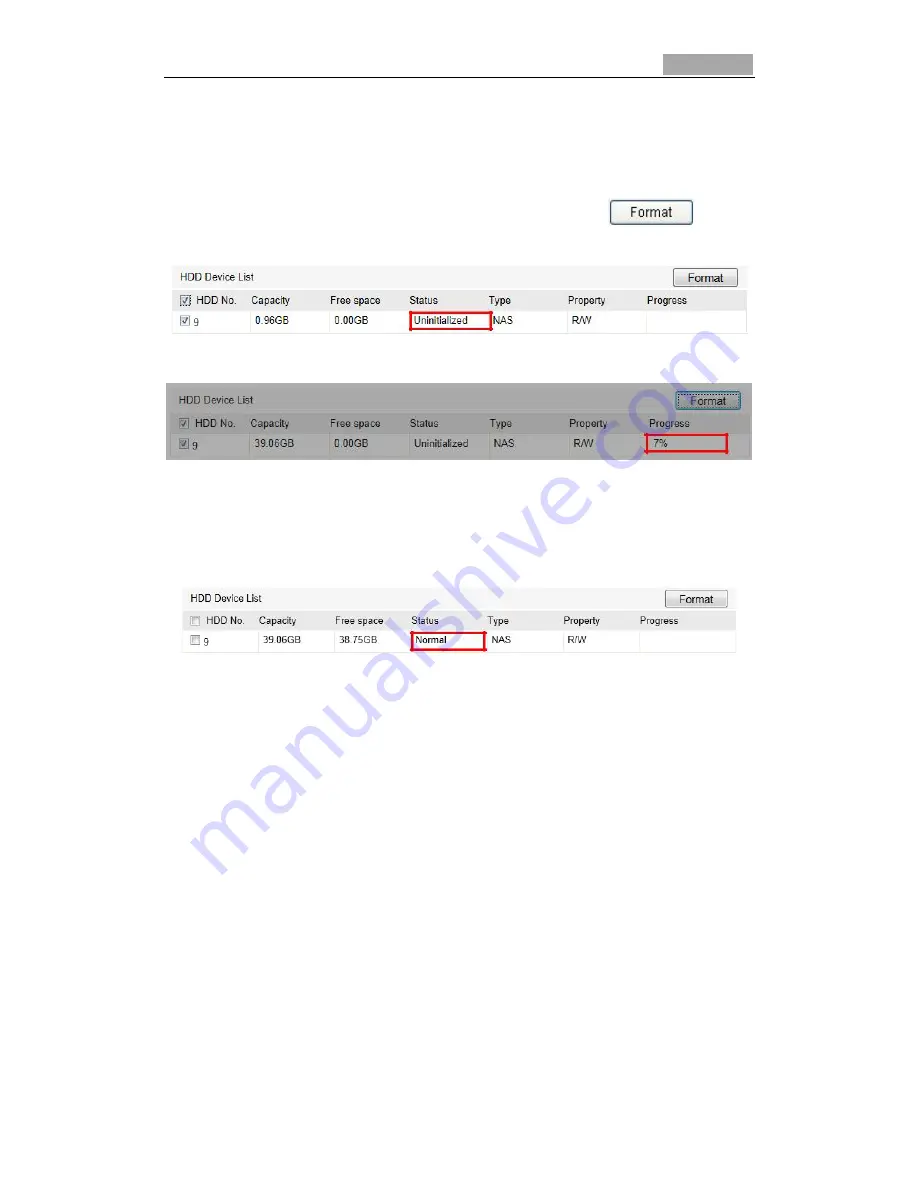
If the status of the disk is
Uninitialized
as shown in Figure 7-3, check the
corresponding checkbox to select the disk and click
to start
initializing the disk.
Figure 7-3 Initialize Disk
Figure 7-4 Initializing
When the initialization completed, the status of disk will become
Normal
as
shown in Figure 7-5
.
Figure 7-5 View Disk Status
Notes
:
Up to 8 NAS disks can be connected to the zoom camera.
To initialize and use the SD card after install it to the zoom camera, please refer to
the steps of NAS disk initialization.
7.2 Configuring Recording Schedule
Purpose:
There are two kinds of recording for the zoom cameras: manual recording and
scheduled recording. For the manual recording, refer to Section
5.3 Recording and
Capturing Pictures Manually
. In this section, you can follow the instructions to
configure the scheduled recording. By default, the record files of scheduled
recording are stored in the SD card (if supported) or in the network disk.
Steps:
1. Enter the Record Schedule Settings interface:


