background image

9

Installing the 

Actiontec 802.11b Access Point

8

Installing the 

Actiontec 802.11b Access Point

The 

Action

tec 802.11b Access Point can be installed in 2 different ways:

On a desktop.

Determine a clear area within your desktop where the 

Action

tec 802.11b

Access Point can be placed in an upright position clear of obstructions.

Mounted on a wall.

Prior to drilling holes into a wall, make sure the wall area of interest is clear of elec-
trical wiring or water pipes.

Determine the position of the screws and mark with a pencil.

Drill holes in the wall at the location of the marks.

Insert plastic lugs into the holes

Fasten the screws into the plastic lugs and make sure to leave a 3mm distance

as clearance between the wall and screw heads.

Mount the 

Action

tec 802.11b Access Point onto the screws.

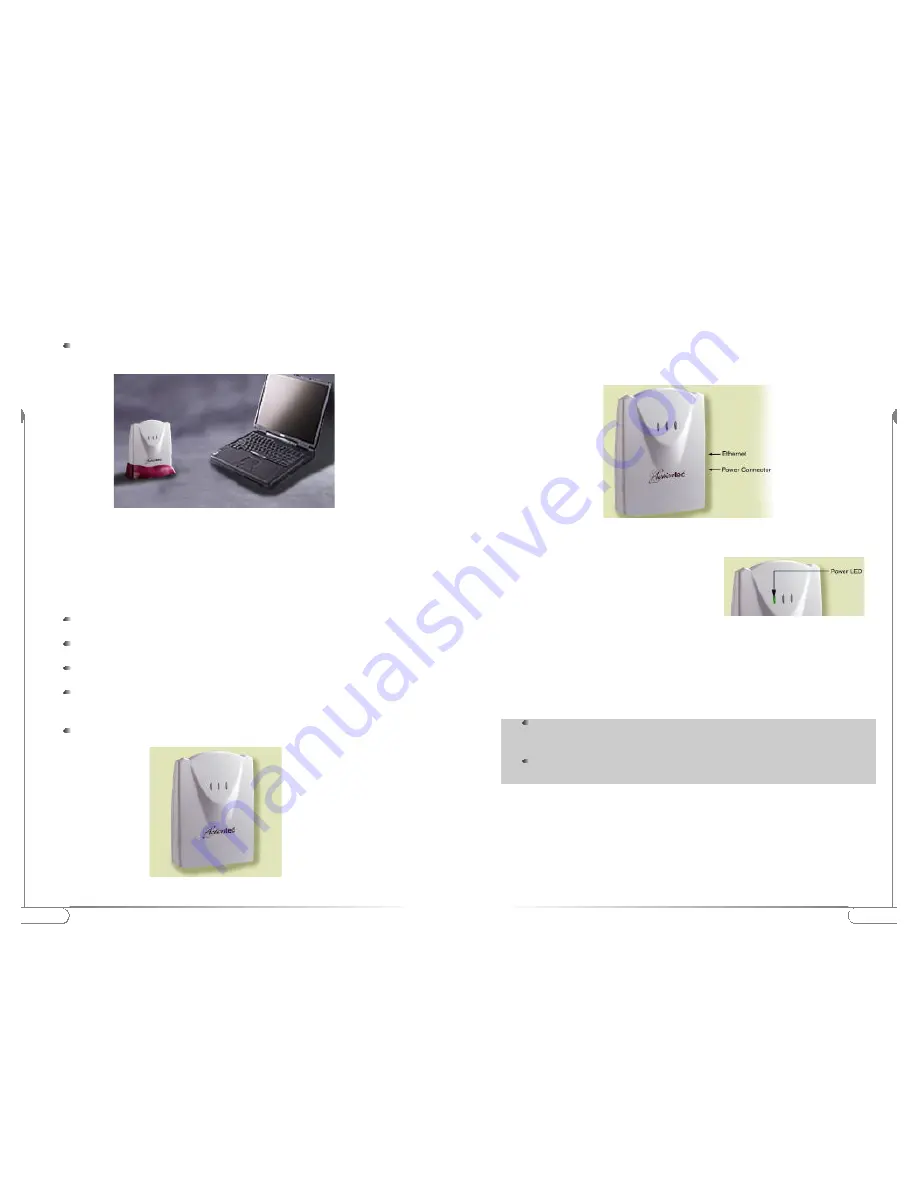
Figure 5. 

Actiontec 802.11b Access Point on a desktop

Accessories such as screws and lugs to fasten the Access Point to a wall
are provided in the Accessories bag.

Connecting the Access Point to a network

Now that your 

Action

tec 802.11b Access Point has been installed, it is ready to be

connected to the power outlet and to your wired network.

1. 

Attach the power adapter output connector

to the 

Action

tec 802.11b Access  Point and 

check the power LED to see if you are

connected properly.

2.

Identify the Ethernet port; this is located next to the power connector on the

Action

tec 802.11.Access Point.

3. 

Attach the Ethernet cable to the 

Action

tec 802.11b Access Point and connect the

cable on the other end to either a hub in the network, or a computer. Please see 

note below for proper connection.

Figure 6. 

Actiontec 802.11b Access Point on a wall

Figure 7 

Actiontec 802.11b Access Point connectors

If the 

Action

tec 802.11b Access Point is connected to a hub or switch, a

'normal' (not a cross-wired) Ethernet cable must be used.

If the 

Action

tec 802.11b Access Point is connected directly to a computer,

a 'cross-wired' (not a normal) Ethernet cable must be used.

Содержание 802.11b Wireless Access Point

Страница 1: ...l not be copied or reproduced in whole or in part nor used in any manner except to meet the pur poses for which it was delivered The information in this document is subject to change without notice an...

Страница 2: ...r network from anywhere within your home or office then take your networking to the next level with the Actiontec 802 11b Wireless Access Point You will be able to have full access to your network and...

Страница 3: ...Follow the steps below to create a wireless network Introduction to Wireless Networks Figure 1 Creating a Wireless Network Note Refer to the appropriate user manual for successful installation of you...

Страница 4: ...ss Point 6 Introduction to Wireless Networks 3 For further functionality and security the Actiontec 802 11b Access Point can be configured using the Actiontec 802 11b Access Point KickStart software u...

Страница 5: ...ws and lugs to fasten the Access Point to a wall are provided in the Accessories bag Connecting the Access Point to a network Now that your Actiontec 802 11b Access Point has been installed it is read...

Страница 6: ...not depends entirely on how you apply the Actiontec 802 11b Access Point to your environment When to configure the Actiontec 802 11b Access Point Configuring the Actiontec 802 11b Access Point means i...

Страница 7: ...l be asked to confirm that all of the choices you made are correct once you are satisfied click on Next to continue 6 Once the files are copied you will be presented with the Setup Complete window you...

Страница 8: ...the Rescan button refer to the troubleshooting guide for help 4 Once the KickStart Ready to start window appears you are ready to start the Web Interface Click on Finish to continue Starting the Web I...

Страница 9: ...low from and to the Access Point This can be configured in the Security against eaves dropping page To display the Security against eavesdropping page click The security features available are Open Sy...

Страница 10: ...you have set a password WCS anyone who opens the Web Interface will be presented with a dialog asking for a user name and password Leave the user name field empty and in the password field enter the...

Страница 11: ...per IP settings you need to use KickStart and change them manually Possible Cause Is the Actiontec 802 11b Access Point powered up No link with the Wireless card in your computer Is there a Network co...

Страница 12: ...Access Point factory default settings that allow immediate access without configuration The KickStart utility has been provided for further configuring of the device the Actiontec 802 11b Access Poin...

Страница 13: ...rence Statement This equipment has been tested and found to comply with the limits for a Class B digital device pursuant to Part 15 of the FCC Rules These limits are designed to pro vide reasonable pr...

Страница 14: ...ecifications as being compatible Actiontec Electronics will make reasonable efforts to provide compatibility except where the non compatibil ity is caused by a bug or defect in the third party s produ...

Страница 15: ...LL FAIL OF ITS ESSENTIAL PURPOSE DISCLAIMER Some countries states or provinces do not allow the exclusion or limitation of implied warranties or the limitation of incidental or consequential dam ages...

Отзывы: