Model TT339-0700
4-Wire Isolated Frequency Transmitter w/USB
Acromag, Inc. Tel: 248-295-0880
[
14
]
http://www.acromag.com
CONFIGURATION SOFTWARE
Quick Overview – Android
This transmitter can be configured and calibrated via the Acromag Agility™
Config Tool App. This software can be downloaded free of charge from the
Google Play store at
. To connect to this transmitter, a USB
OTG (On-The-Go) cable (Acromag 5028-565) and USB A to Mini-B cable
(Acromag 4001-113) are required. This app is compatible with Android devices
using Ice Cream Sandwich (4.0) or later.
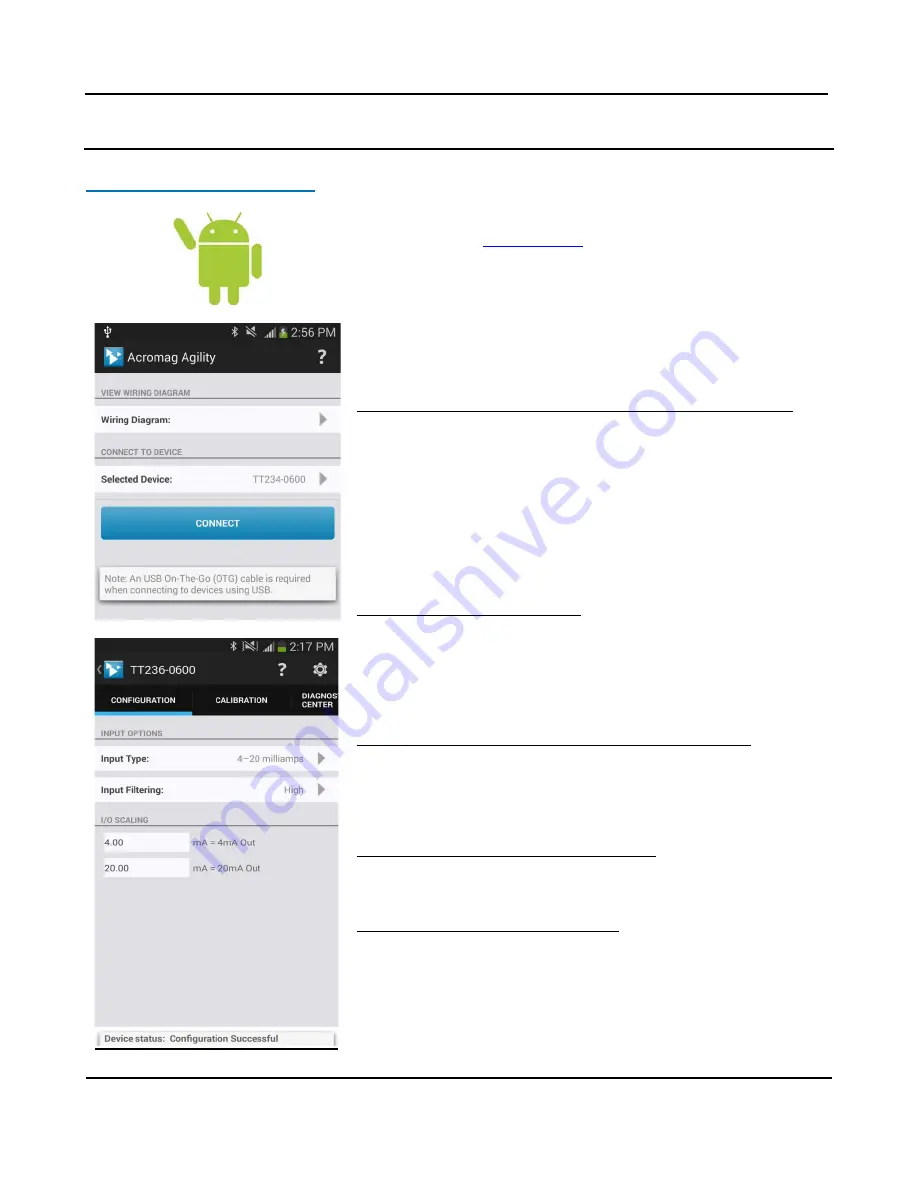
The initial connection screen of the app is shown at left. Once a device is
connected, the main portion of the app will launch. The screen is divided into
three tabs for this model. A short description of each tab follows.
Connection Screen Setup – DEVICE SELECT (First Connect to Unit Here)
•
Select from connected transmitters by tapping the
[Select Device]
button.
This will bring up a list of attached devices. Select the desired device and
tap the Connect button to open the device.
•
To view wiring diagrams of a particular transmitter, tap the
[Wiring
Diagram]
button and select the desired model. Swipe left or right to view
more diagrams. No connection is required to view the diagrams.
•
Android requires user permission to access external hardware. If the
Device List displays “No Device Permission”, select this device and when
prompted to give permission to access the USB device, tap
[OK]
.
Configuration Tab – CONFIGURE I/O
•
Once connected, the app will automatically read your transmitter and
display its current configuration.
•
Changing any option on this page will send the changes to the transmitter
instantly. The device status at the bottom of the page will report if the
changes were sent successfully.
Calibration Tab – (Calibrate the Input and/or Output if Needed)
•
On screen instruction will guide the setup to properly calibrate the
transmitter. After completing instructions, tap the
[Calibrate]
button.
•
The device status at the bottom of the page will report if the calibration
was sent successfully.
Diagnostic Center Tab – (Verify Input operation)
•
Select the polling indicator by tapping the
[Indicator]
button.
•
Start polling by tapping the
[Start Polling]
button.
Utility Page – (Reboot or Restore Settings)
•
Tap the
[Gear]
in the Action bar to access the Utility Page.
•
You can tap the
[Restore/Reset Factory]
utility buttons to get out of
trouble if you ever misconfigure or miscalibrate a transmitter.


