31
Switch the date setting, up to 6 date segments, as described in the table below.
Serial number date
select
description
1
01-01 No1
Indicates that the multi-rate energy is calculated using time period 1 from
January 1 to March 1.
2
03-01 No2
Indicates that the multi-rate electric energy is calculated using time period
2 from March 1 to May 1.
3
05-01 No2
Indicates that the multi-rate energy is calculated using time period 2 from
May 1 to July 1.
4
07-01 No3
Indicates that the multi-rate electric energy is calculated using time period
3 from July 1 to September 1.
5
09-01 No3
Indicates that the multi-rate electric energy is calculated using time period
3 from September 1 to November 1.
6
11-01 No4
Indicates that the multi-rate electricity is calculated using time period 4
from November 1 to January 1.
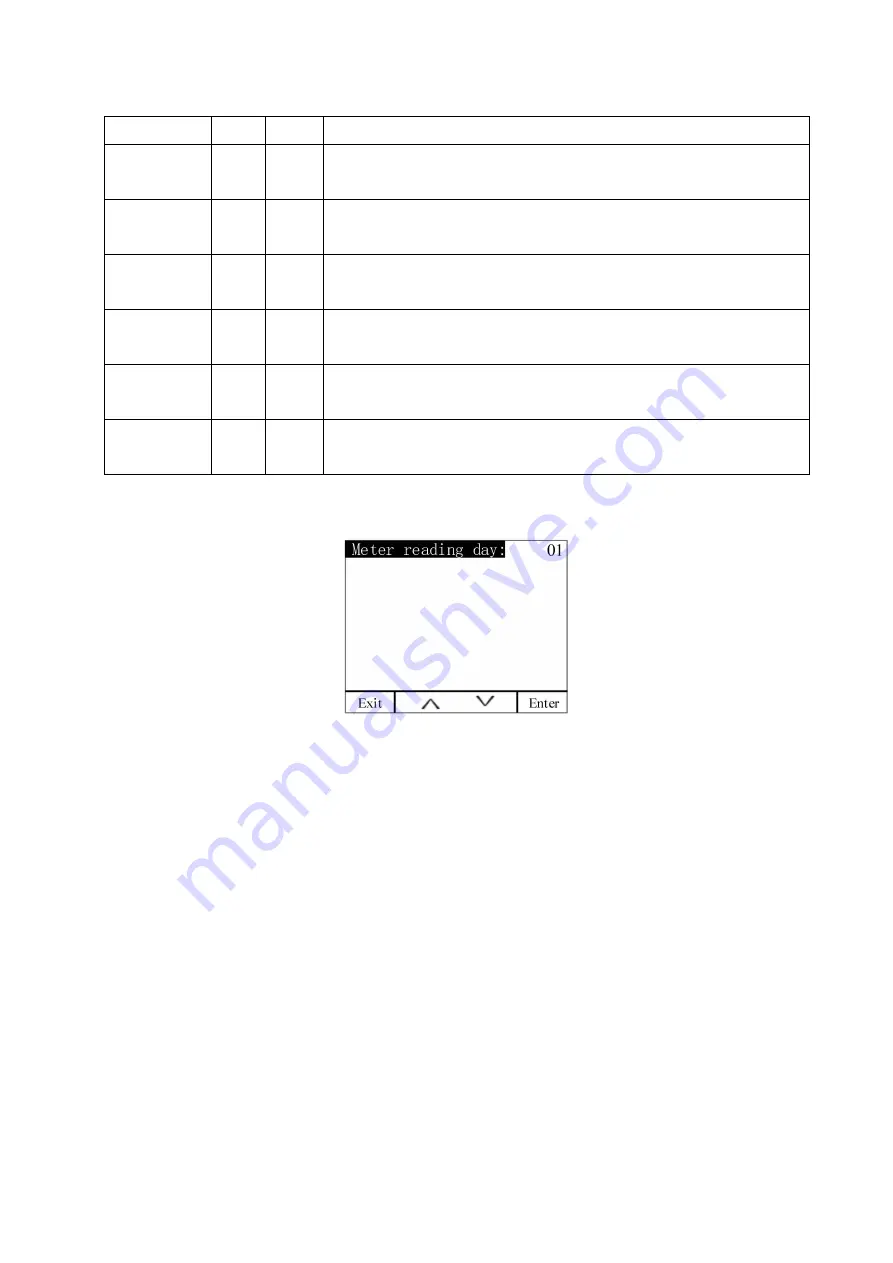
6.8.3 Meter reading day
Set a monthly fixed meter reading date
Note:
1、
The multi-rate electric energy meter can set up to four time zones, with 14 time zones per time zone. There are
4 kinds of rates (T1 (tip), T2 (peak), T3 (flat), T4 (valley)) to complete the electric energy. The time-sharing
measurement can be set by pressing the button and communication.
2、
T represents the total multi-rate active energy for the month or history.
3、
The meter reading date is the natural day. It is recommended to set it to 1. At the end of each month, from
23:59:59, the next month will call the active energy IMP (T0-T4, T) of the current month at 00:00:00. Put into the
active energy display interface of last month, the active energy value of last month is put into the active energy
display interface of last month, and the active energy display value of this month is cleared.
6.9 Recording settings
On the main interface, press Menu to enter the menu interface, press
∨
until
“
Parameter Setting
”
is
highlighted, and press
√
to enter the parameter setting interface. Press
∨
until
“
Transient Settings
”
is displayed,
press
√
to enter the transient setting interface. Press
∧
or
∨
to switch the item of the transient setting, press
Enter to enter the setting of the item, press + or - to change. After the change is completed, press Exit, enter the
password in the pop-up window, press SaveExit to save the changes and exit, press Esc to exit without saving the
changes.


