©2017 ACP, Inc.
Cedar Rapids, IA 52404
Page 15 of 24
Part No. 20206401
Revised 01/11/2017
Save a Menu Item from Manual Cook:
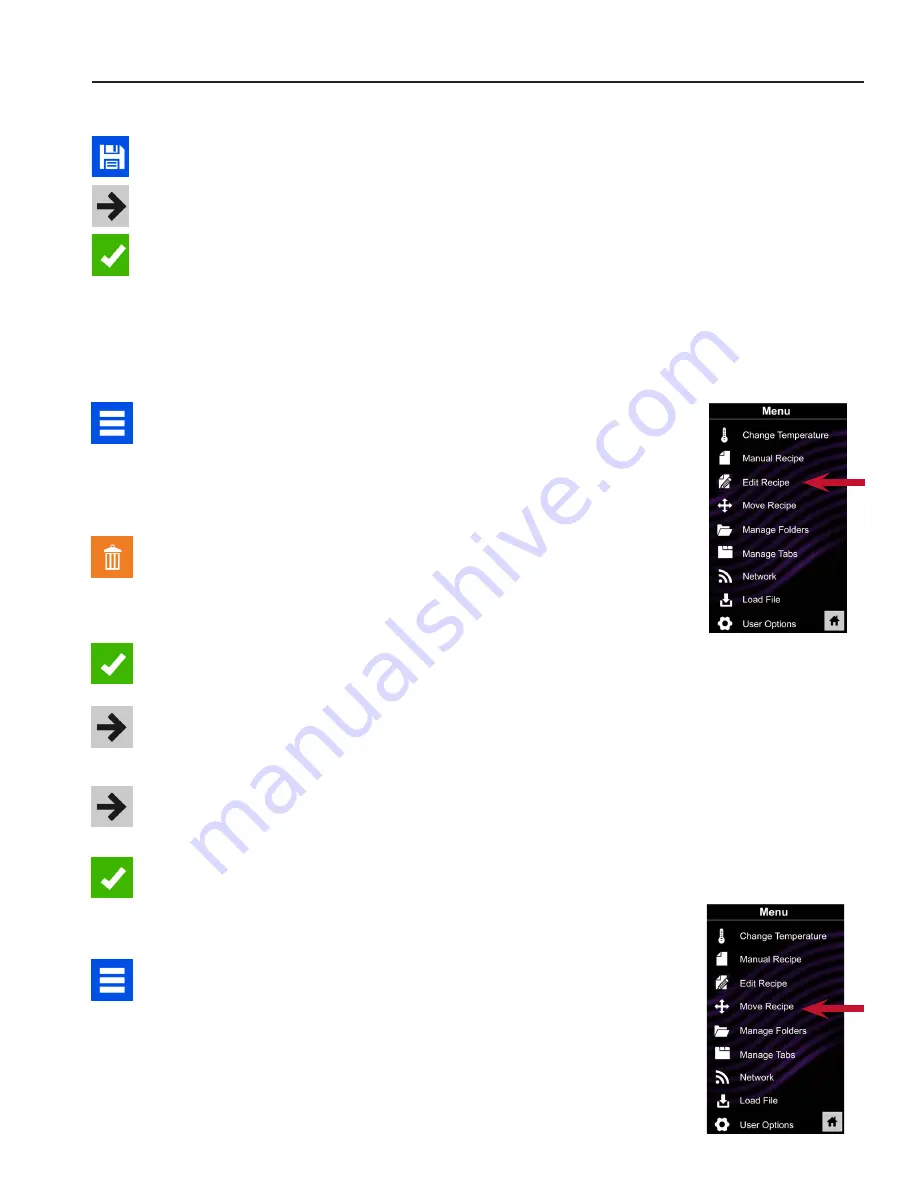
1 To save the settings and create a menu item, touch the blue save icon
2 Choose a background color and image to customize the menu item and
then touch the right arrow to move to the next screen
3 Name the recipe and then touch the green check mark to save
4 Next, you may touch, hold and drag menu items to reorganize them
Touch the green check mark to complete this step and save the menu
item
Manually Edit an Existing Menu Item:
1 Touch the blue menu icon at the bottom of the screen
2
Touch the “Edit Recipe” option.
3 Touch the desired recipe to be edited The control will prompt you to the
manual editing screen, where you may revise the cooking settings
To delete the menu item
,
touch the orange garbage can icon� Touch the
green check mark to confirm, or touch the “X” to dismiss.
4
Note:
Skip this step if you do not want to cook anything�
Open the oven door and place the food in the oven, then touch the green
check mark icon to begin cooking with the revised menu item settings
The display will return to the manual input screen at the end of the cook
cycle
5 Touch the right arrow icon to save any changes made to cook settings
and move to the next screen
6 If desired, choose a different background color and then touch the right
arrow to select an image at the next screen Then touch the right arrow to
move to the next screen
7 If desired, change the name of the recipe and then touch the green
check mark to save the menu item
Manually Move Recipe:
1 Touch the blue menu icon at the bottom of the screen
2
Touch the “Move Recipe” option.
3 Touch, hold, and drag recipes to different locations on the screen
Move a recipe into a folder:
Touch, hold and drag the recipe to the folder
Move a recipe out of a folder:
Touch, hold and drag the recipe to the top of
the screen
Manual Programming
Note:
For larger, and
more complex menus, it
may be more
manageable to create
and edit menus using the
ACP Remote
Programming Interface�
For detailed instructions,
please see website�
2
2


