


SuperWorkstation 5039D-I User's Manual
Chapter 3: Maintenance and Component Installation
26
27
3.4 Chassis Components
Hard Drives
Four fixed 3.5" SATA drives may be installed into the chassis. In order to access and install
components in the chassis, it is necessary to rotate the hard drive cage. Note that the 5039D-I
must be powered down before hard drives can be installed or removed
Installing a Hard Drive
Begin by removing power from the system as described in section 3.1 and remove the chassis
cover as described in section 3.2.
1. To rotate the hard drive cage, lift the release tab (A) as shown in Figure 3-11.
2. Rotate the hard disk drive cage (B) outward.
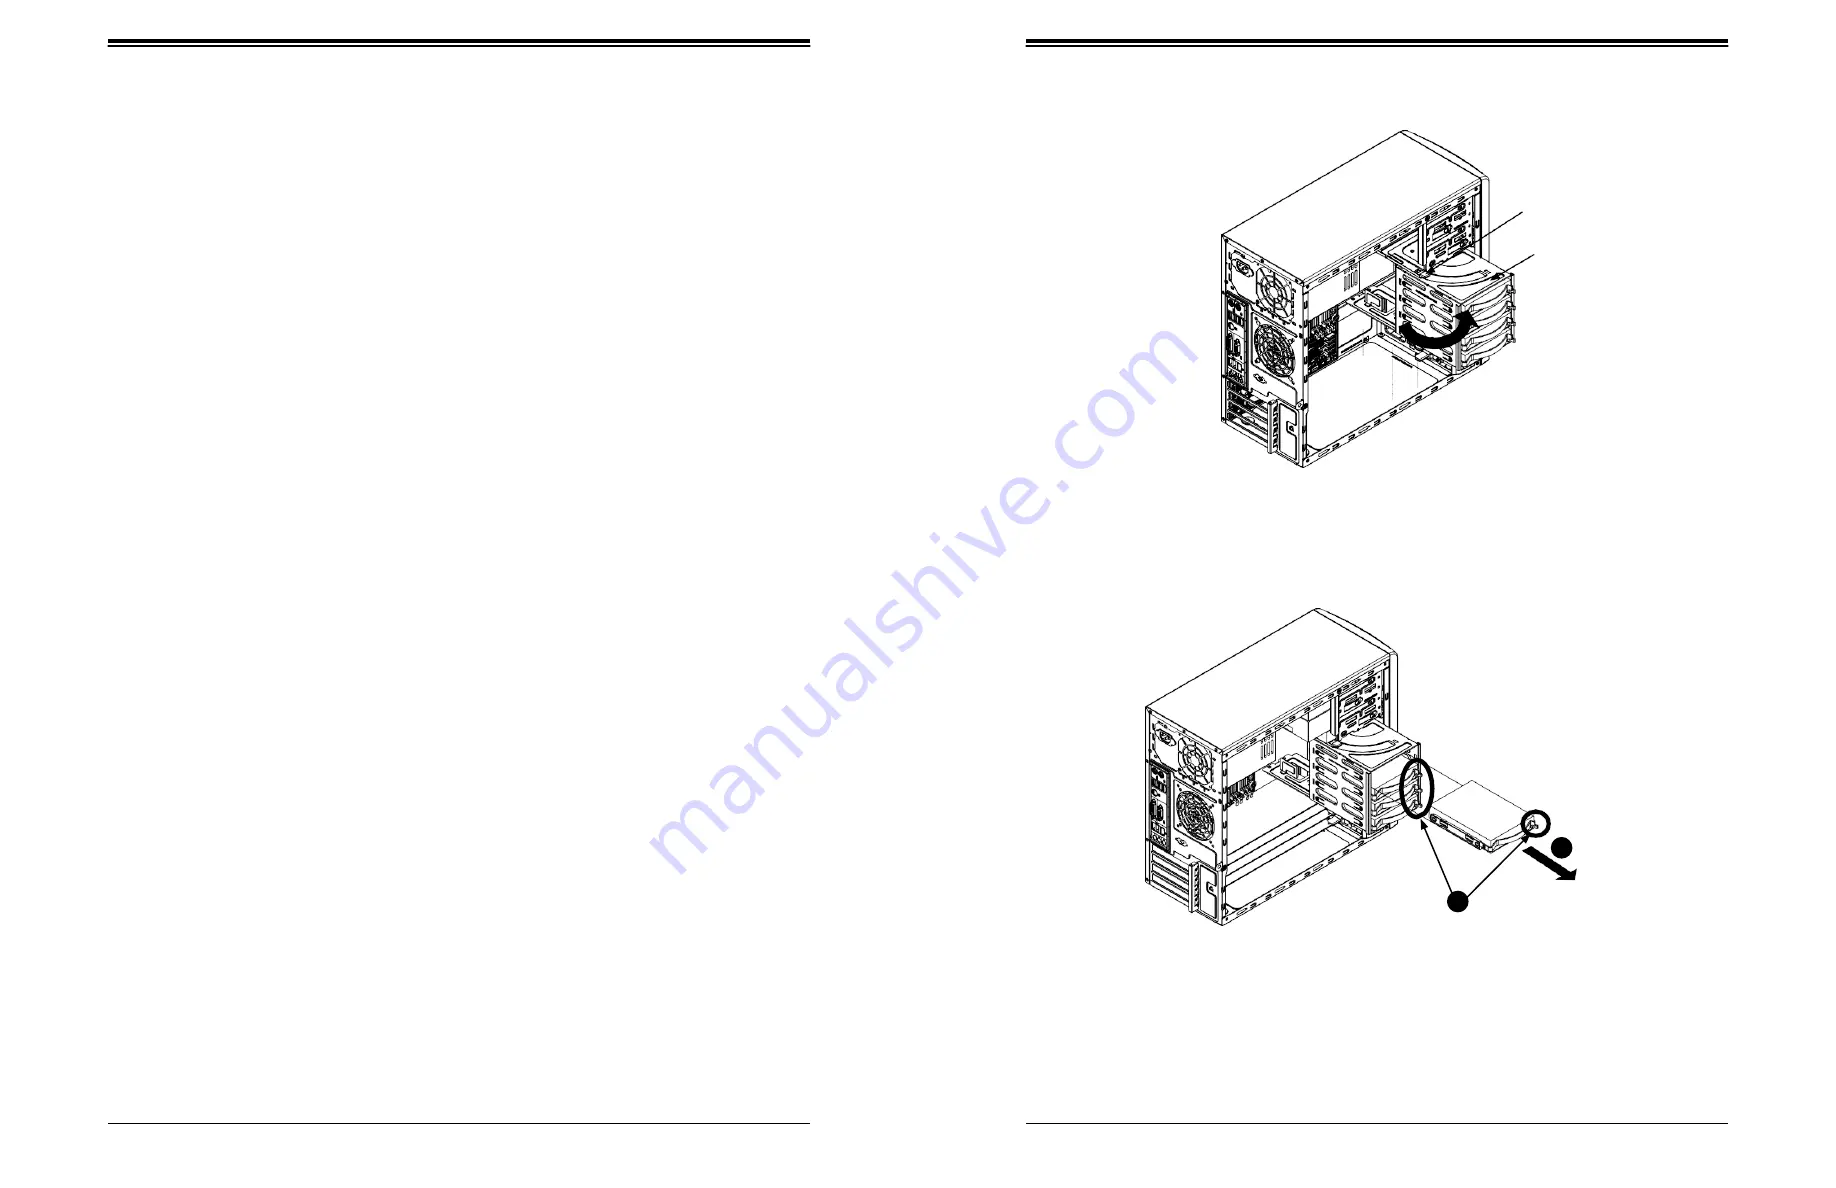
3. Press the release tab on the side of the hard drive carrier that is to be removed from the
hard drive cage as shown in Figure 3-12.
4. Gently slide the hard drive carrier out of the hard drive cage.
5. Insert a new hard drive into a hard drive tray by sliding it towards the back of the the
hard drive cage until it clicks into a locked position.
6. Connect the power and data cables to the hard drive.
7. Rotate the hard drive cage 90 degrees inward, returning it to the closed, operational
position in the chassis.
8. If desired, each hard drive may be further secured to the drive cage with an additional
(optional) screw at the middle of the drive.)
Release Tab (A)
HDD Cage (B)
Figure 3-11. Rotating the Hard Drive Cage
Figure 3-12. Installing Drives in the Chassis
3
2
Release Tabs


