11
For more cool Wattage products visit our website at http://watt-age.globalhobby.com
❑
Kwik Bond Thin C/A
YOU'LL NEED THE FOLLOWING PARTS:
❑
{1} Fuselage w/Motor & Gear Box
SECTION 3: MOUNTING THE WING
❑
{1} 4mm x 20mm Flange-Head Machine Screw
YOU'LL NEED THE FOLLOWING SUPPLIES:
❑
# 1 Phillips Head Screwdriver
Step 1: Mounting the Wing
❑
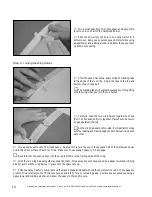
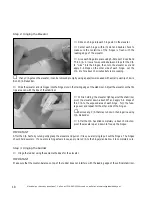
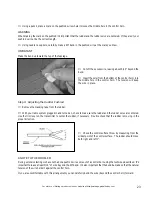
Carefully apply a couple of drops of thin C/A into the
threaded wing hold-down hole in the fuselage.
☛
The C/A will strengthen the threads.
WARNING
Allow the C/A to thoroughly cure before mounting the wing.
❑
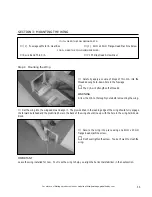
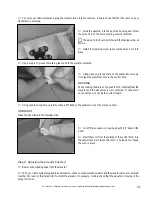
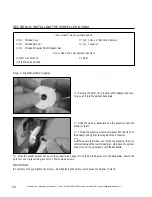
Secure the wing into place using one 4mm x 20mm
flange-head machine screw.
☛
Don't overtighten the screw. You don't want to crush the
wing.
❑
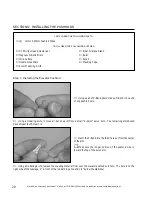
Set the wing into the wing saddle and align it. The plywood tab in the leading edge of the wing should fully engage
the forward bulkhead and the predrilled hole in the back of the wing should line up with the hole in the wing hold-down
block.
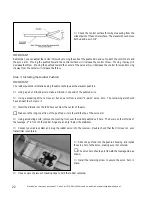
IMPORTANT
Leave the wing installed for now. You'll use the wing to help you align the horizontal stabilizer in the next section.


